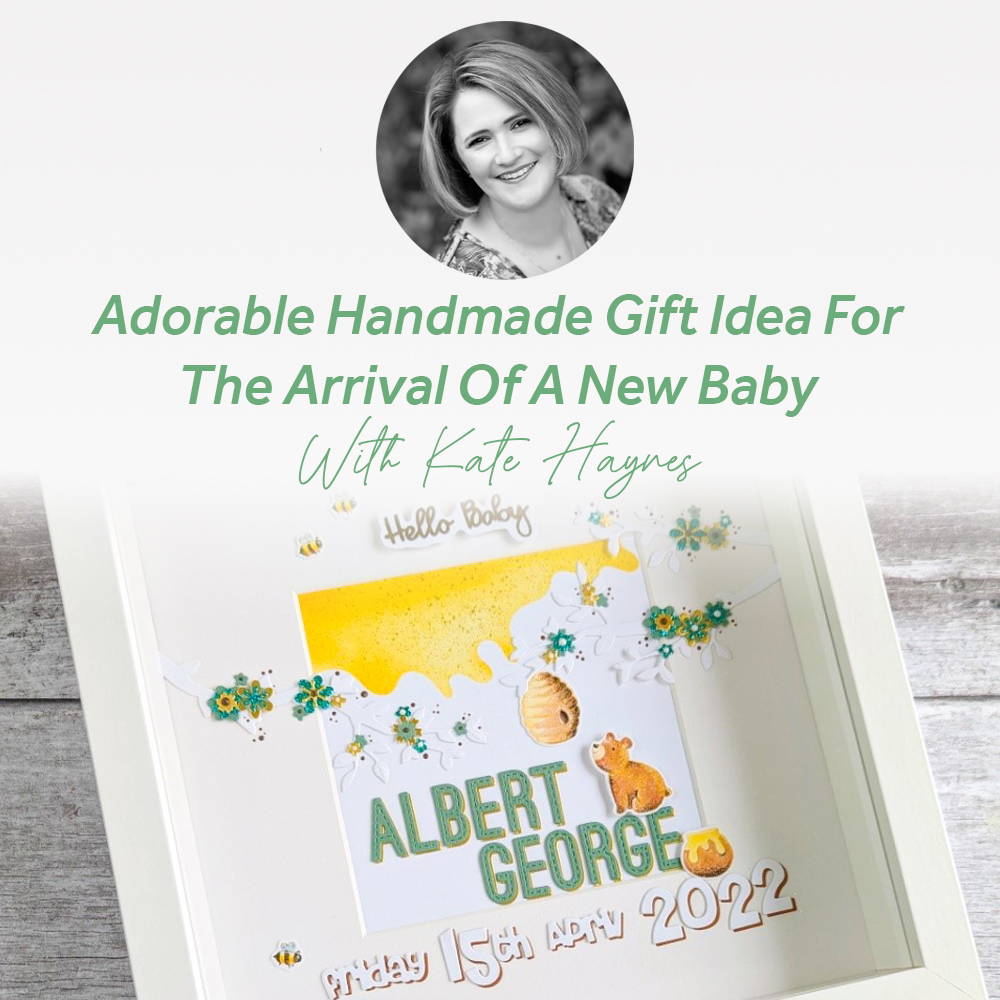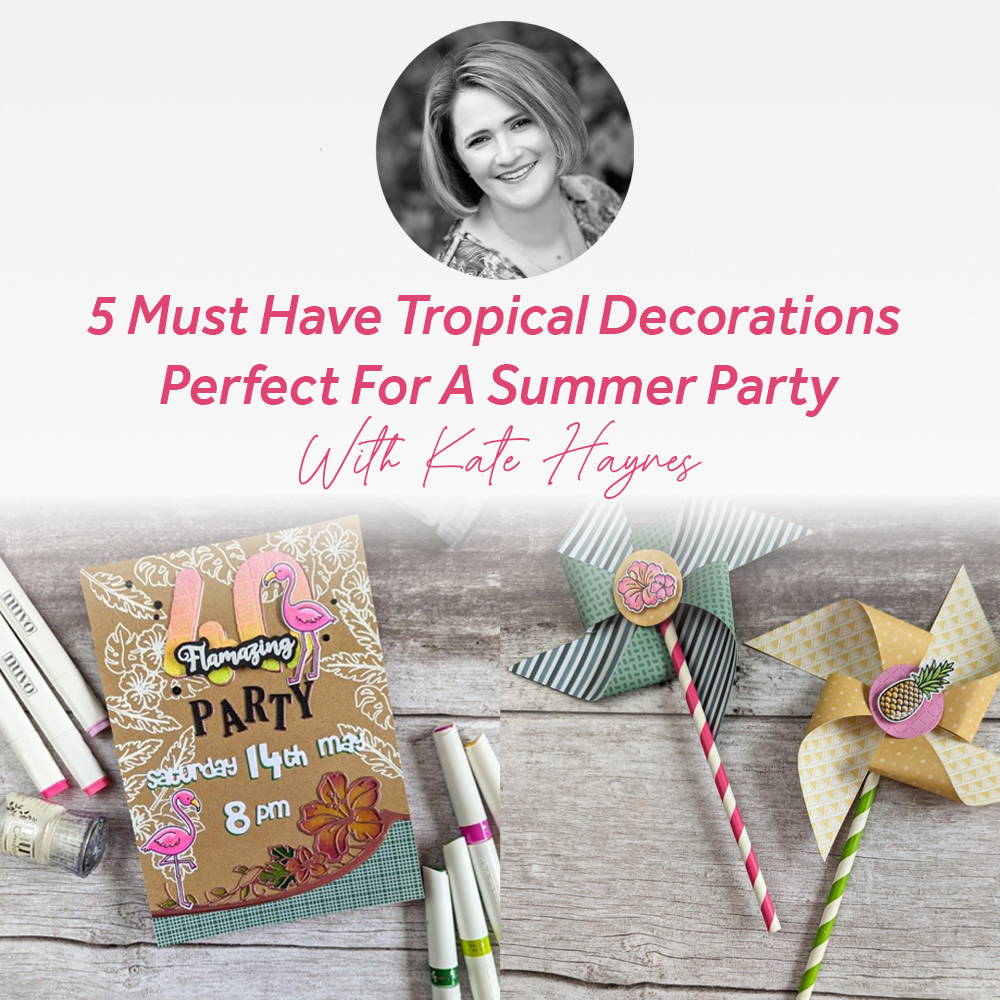
Hi friends!
Thanks for joining me on the Tonic blog. Today I’m here to show you this month’s Stamp Club release and as is the case with all of Tonic’s unique Stamp Club sets, how it can be used to create multiple crafty things beyond just cardmaking. This month’s set is called ‘Aloha Paradise’ and as the name suggests, it is packed full of all things fun and tropical; ideal for some brightly coloured, totally-tropical, party decorations to get us in the mood for the summer months ahead!
Below are a few ideas that I had immense fun putting together. I hope you find this month’s Stamp Club as fun as I did, and feel inspired to have a play around with the set.
Party Bunting
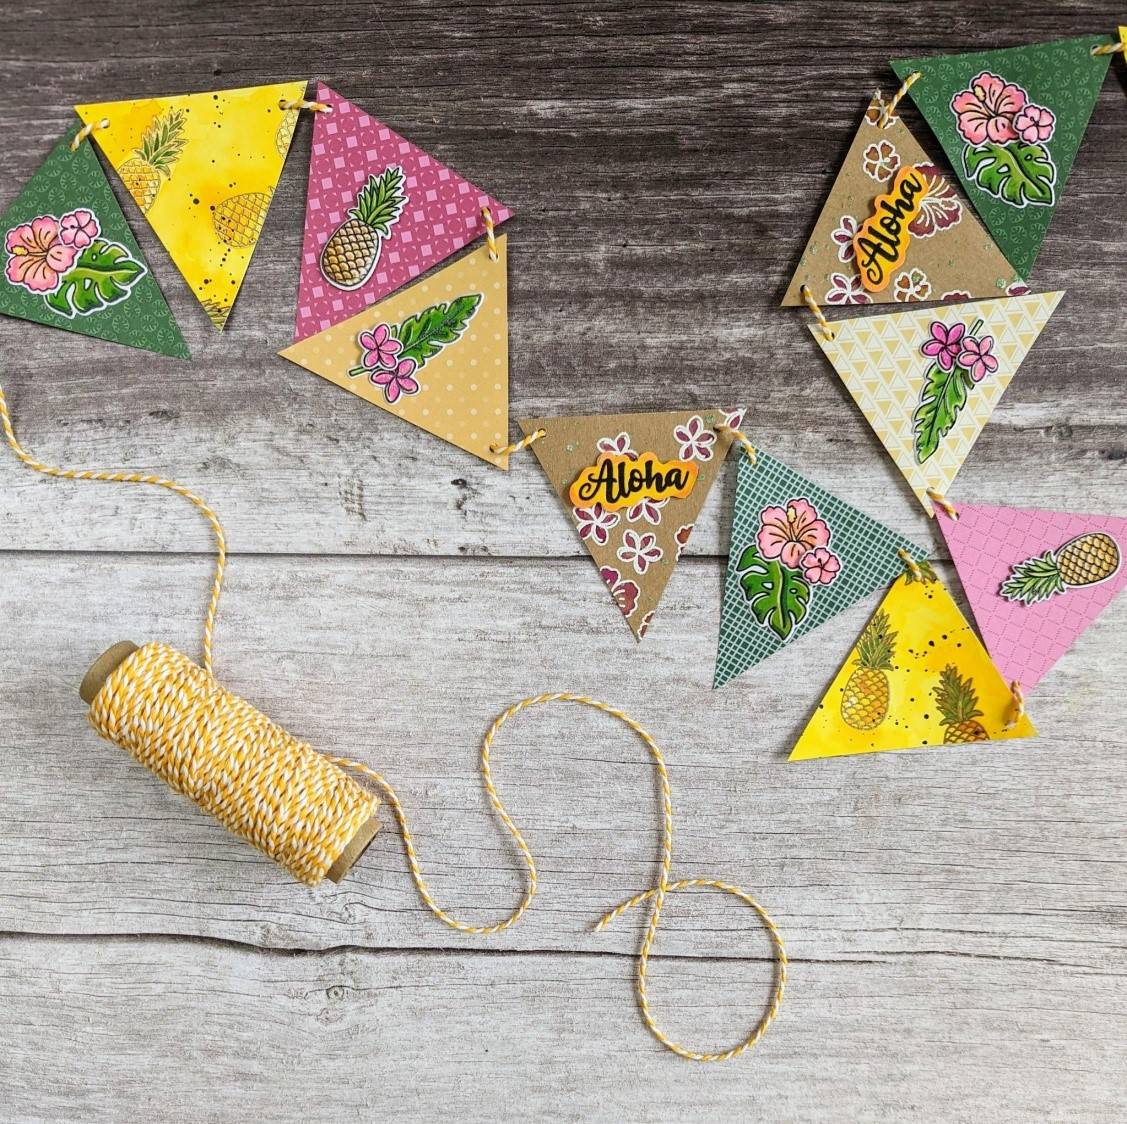
A summer garden party is the perfect excuse for ‘bringing out the bunting’!
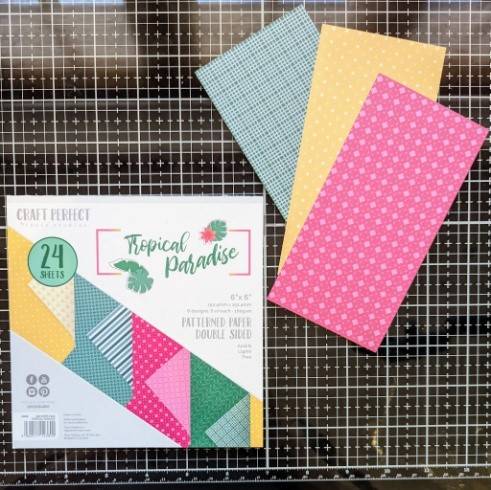
Here I have made some mini bunting using a combination of cardstock that I decorated myself using the stamps from the set, along with some of the beautiful Craft Perfect - Tropical Paradise double-sided patterned papers, which I thought would be the perfect combination of colours for my theming.
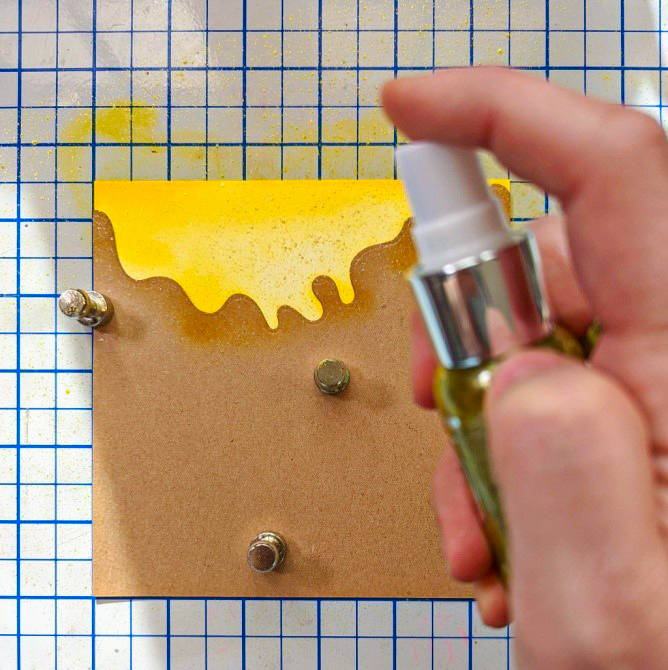
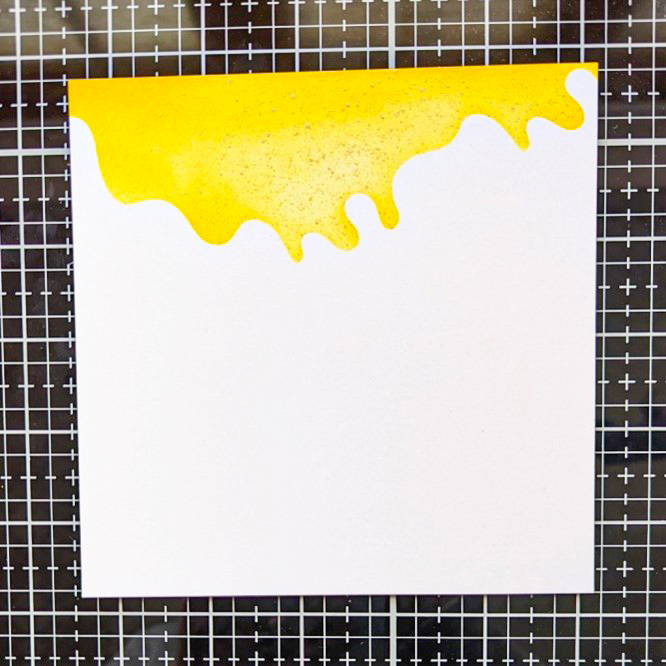
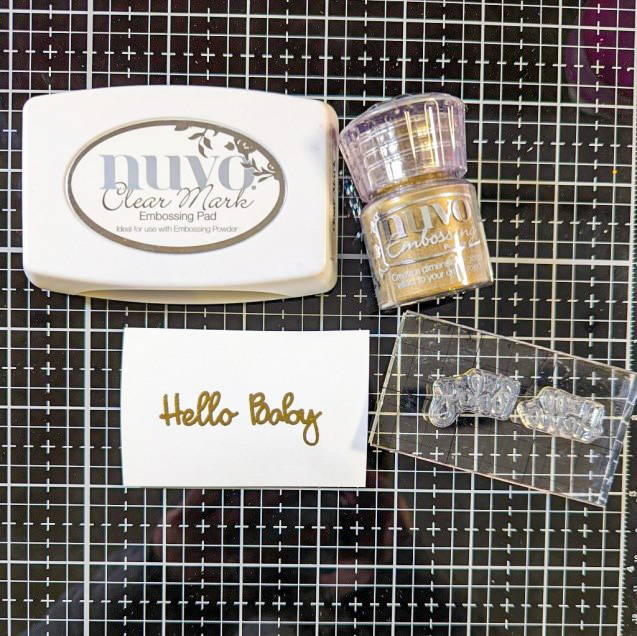
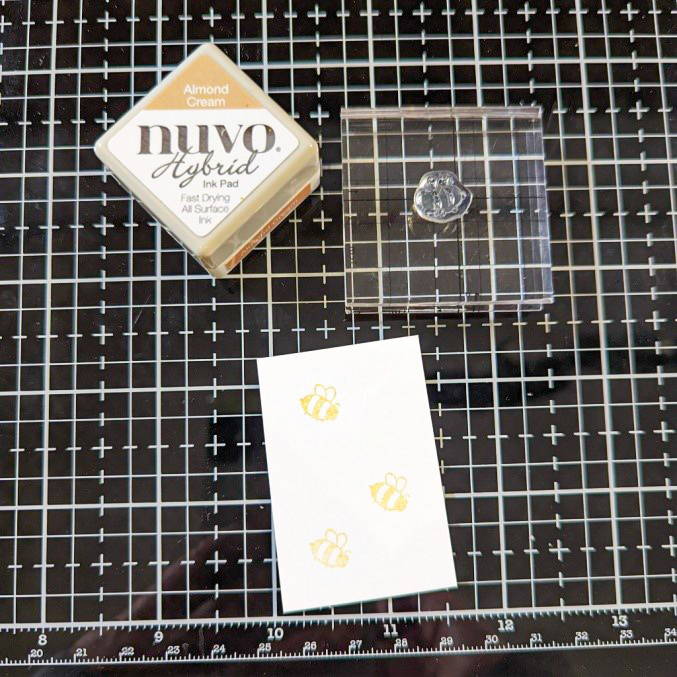
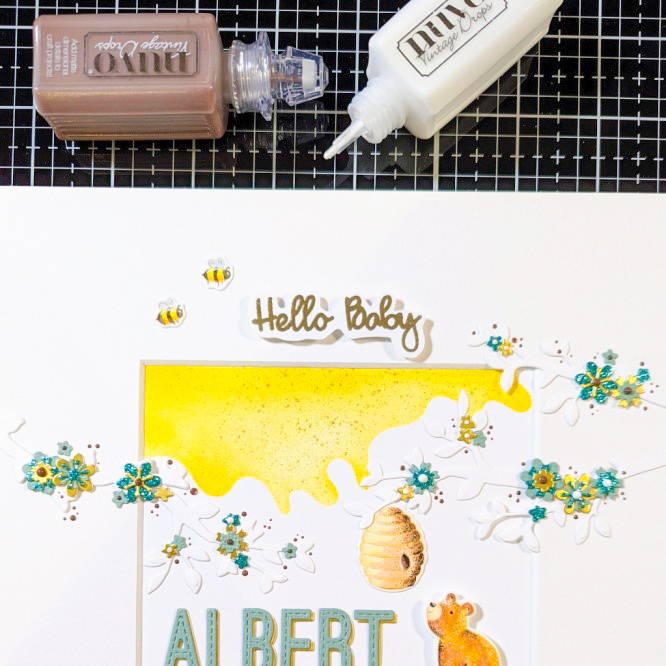
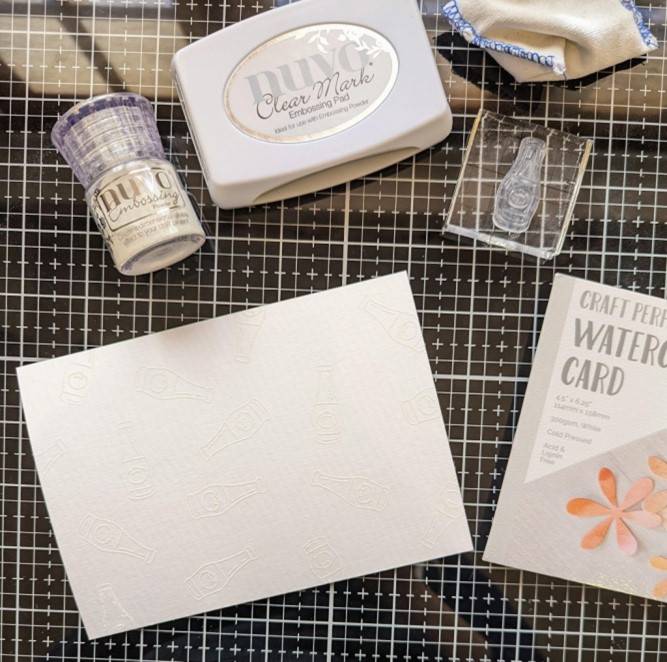
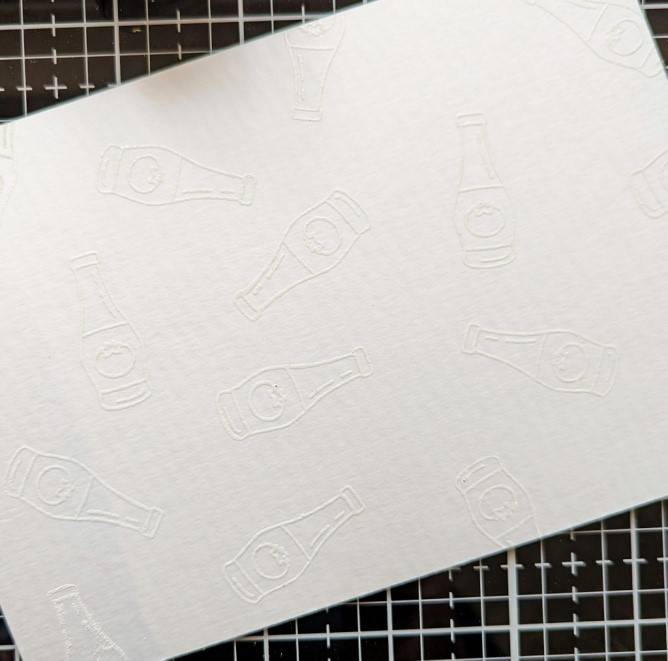
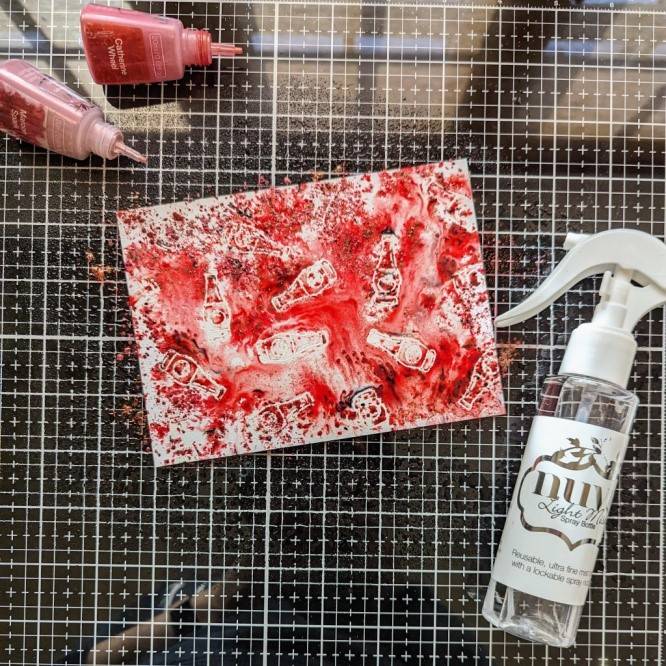
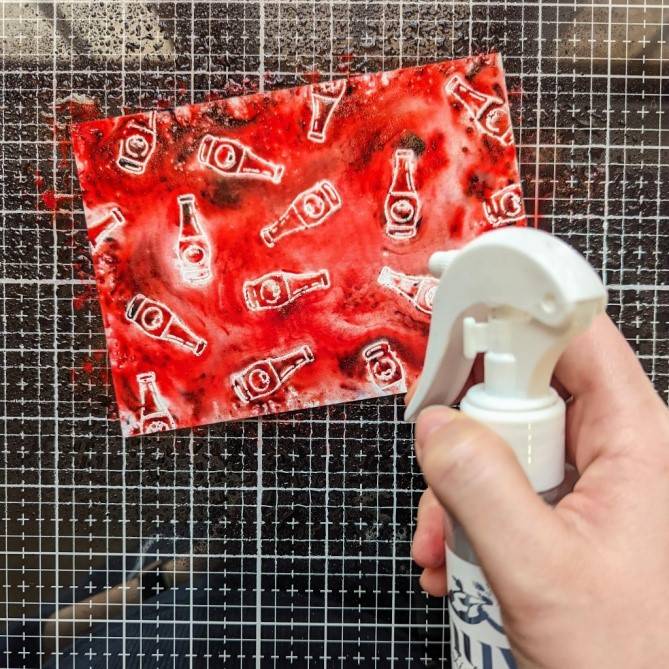
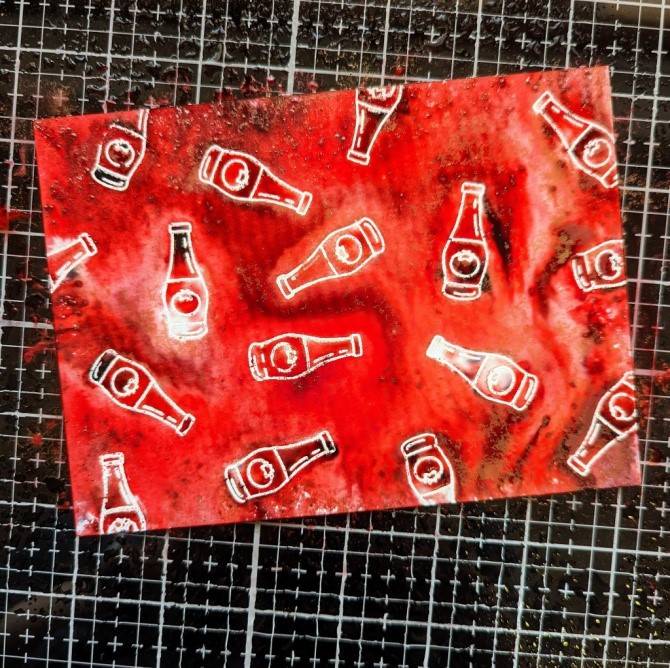
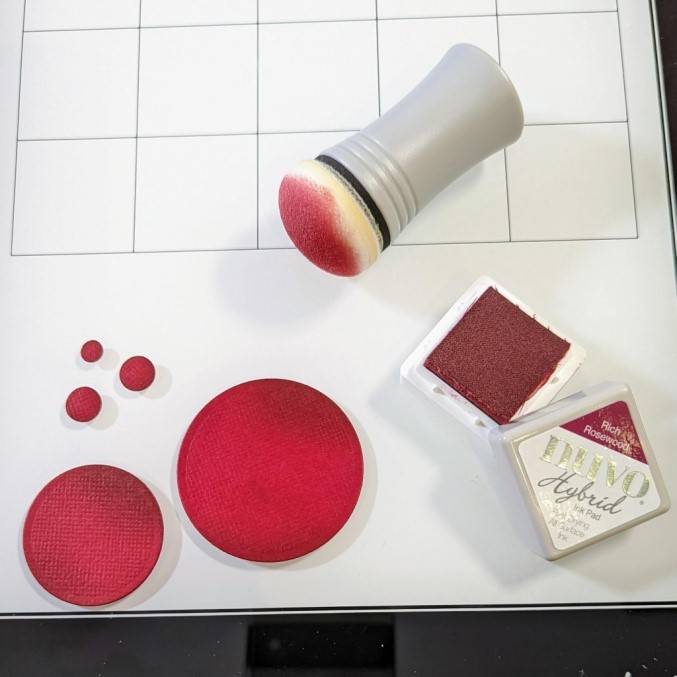
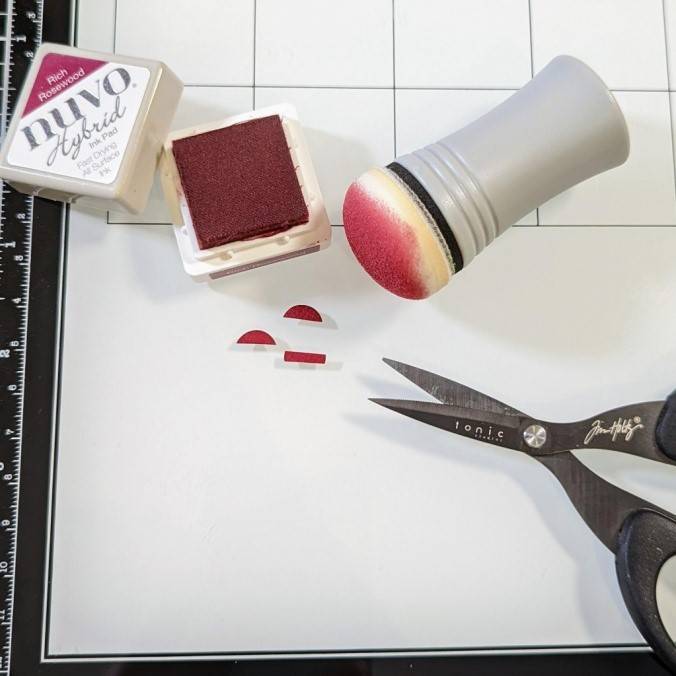
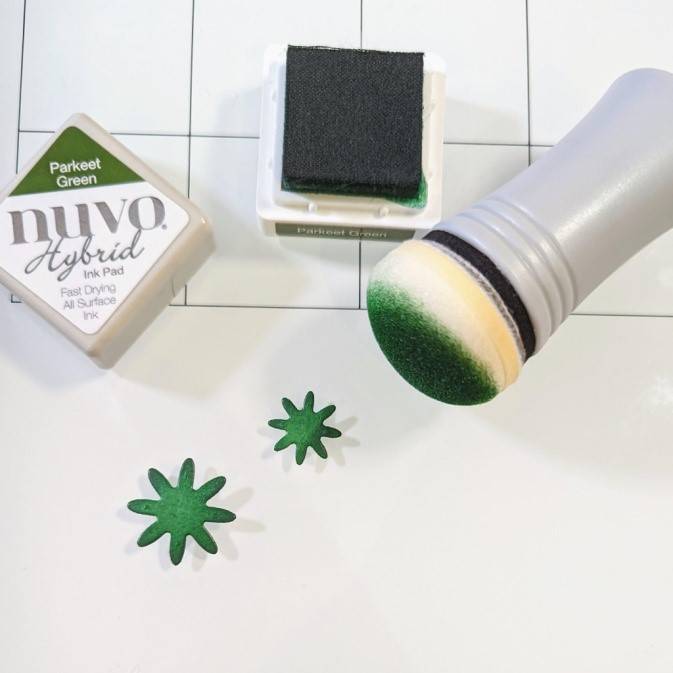
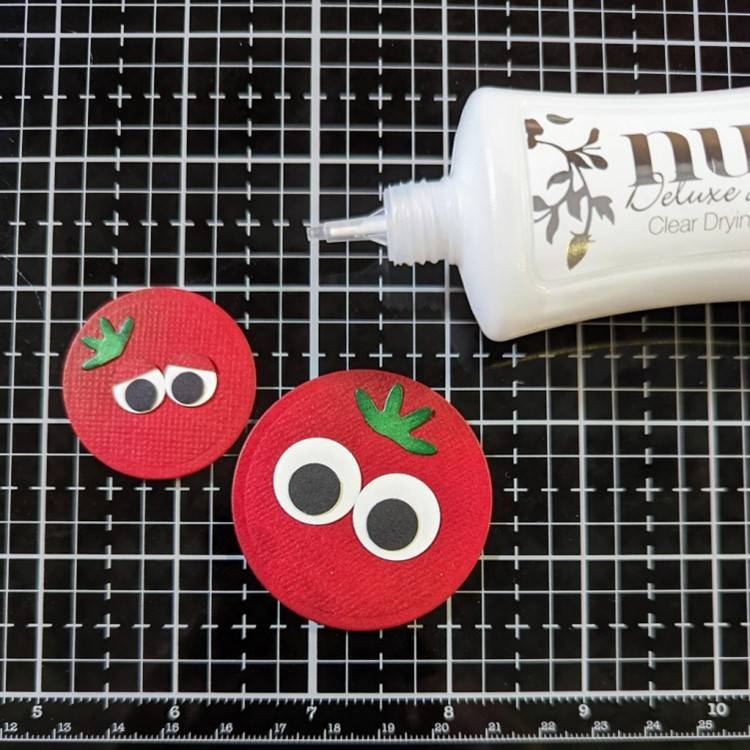
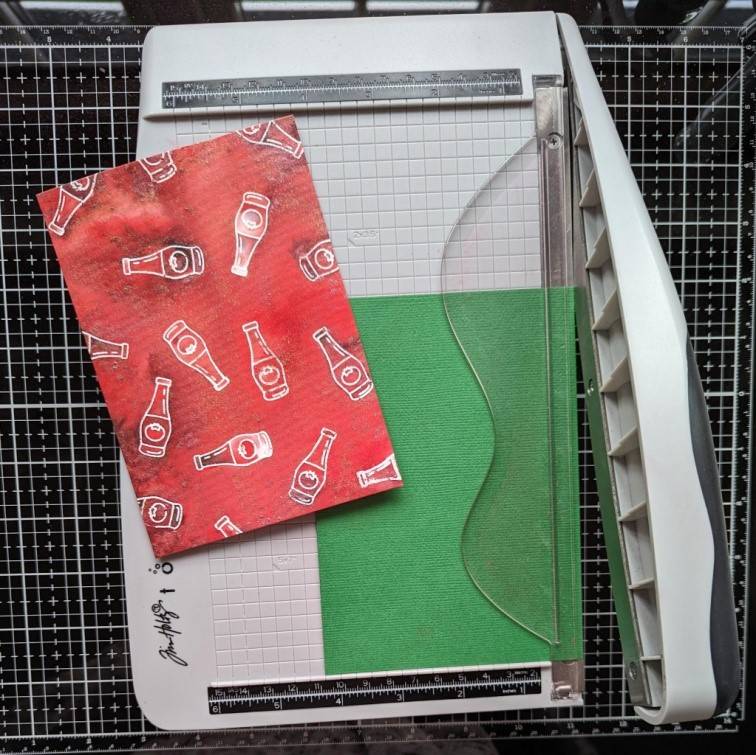
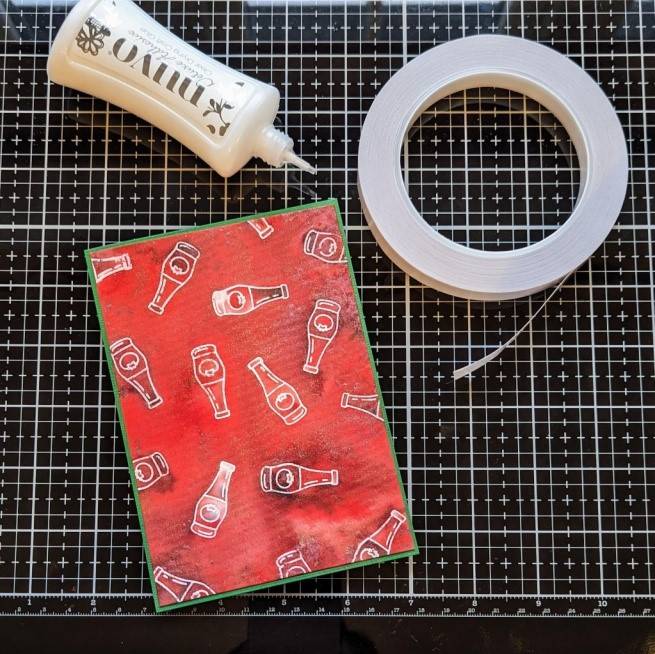
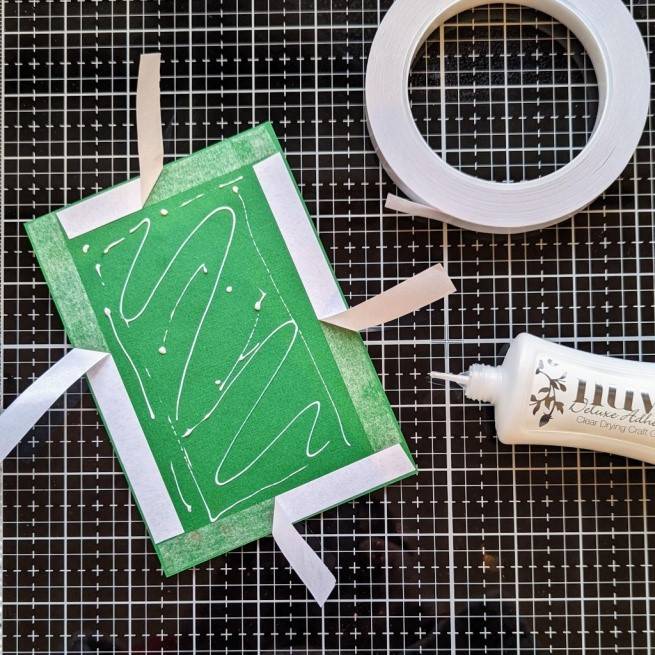
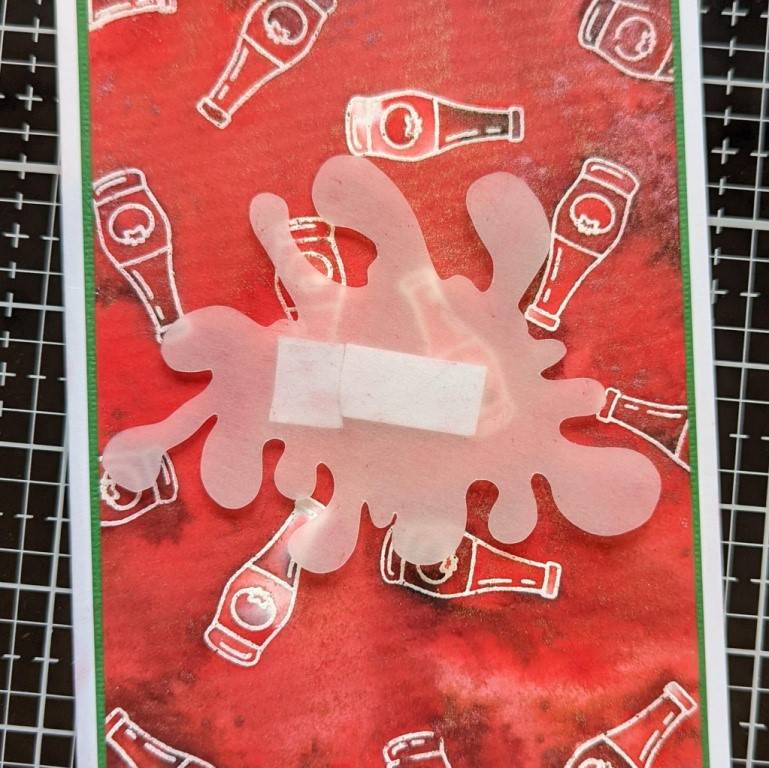
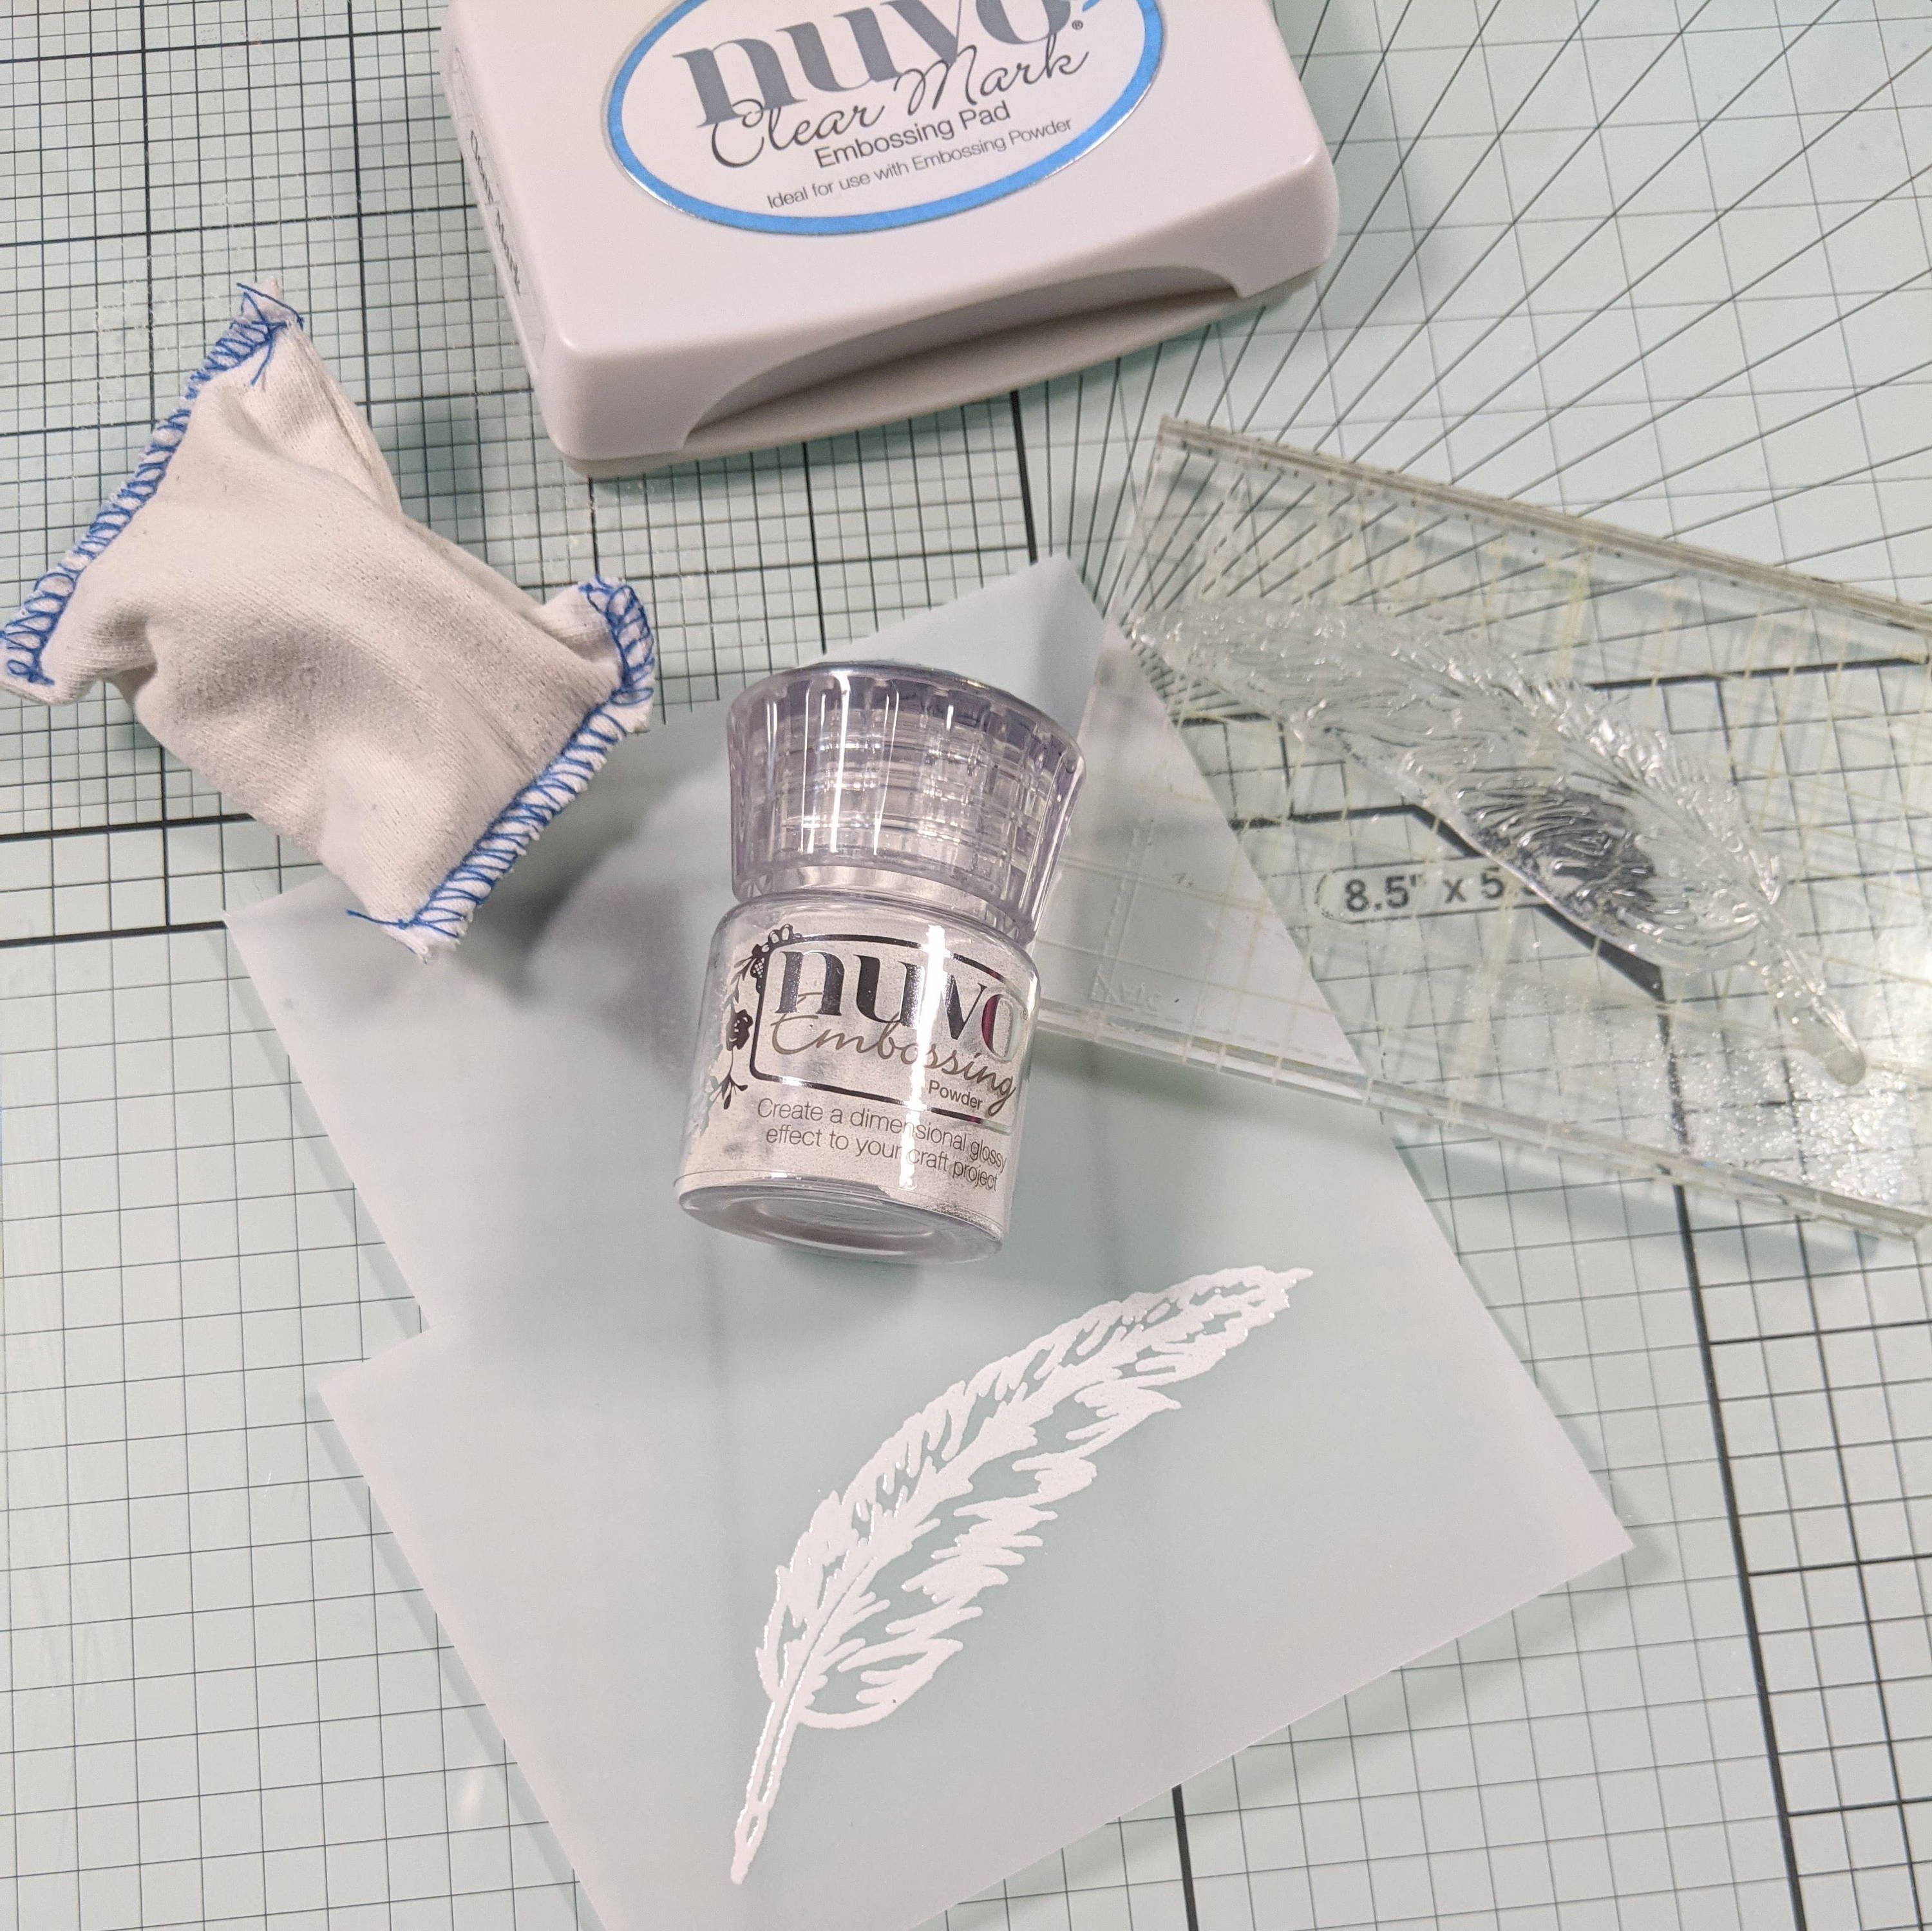
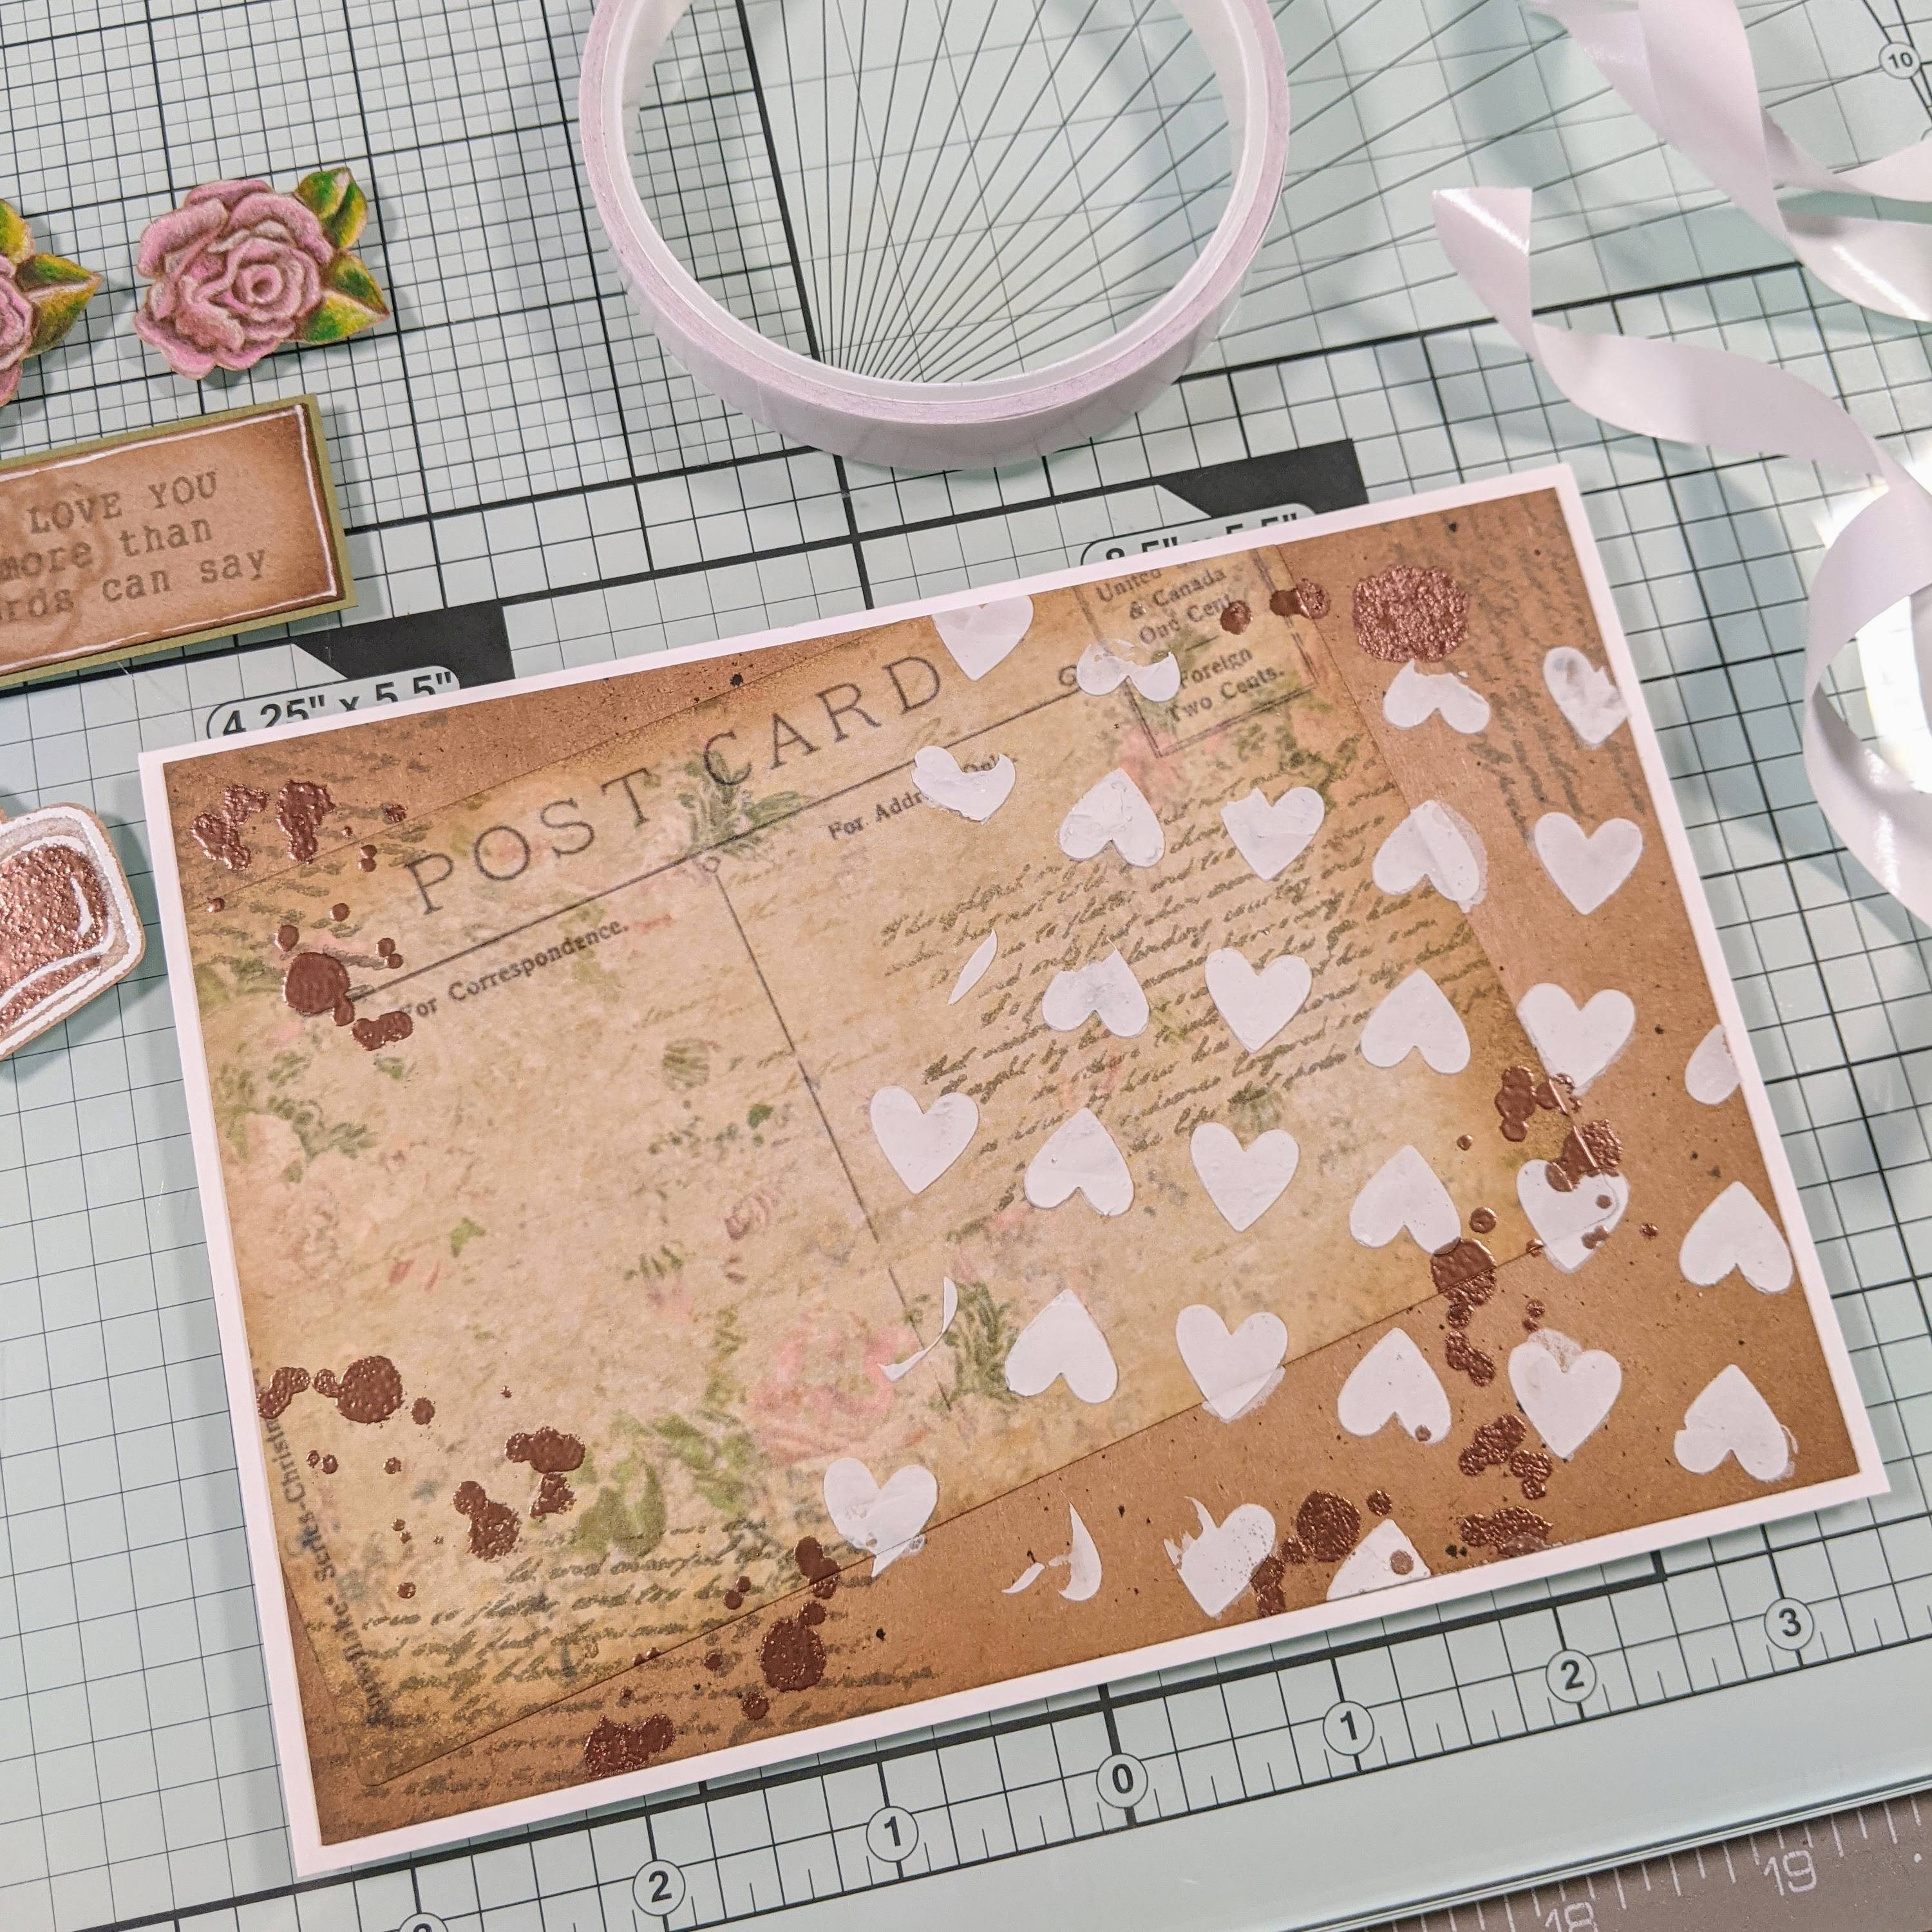
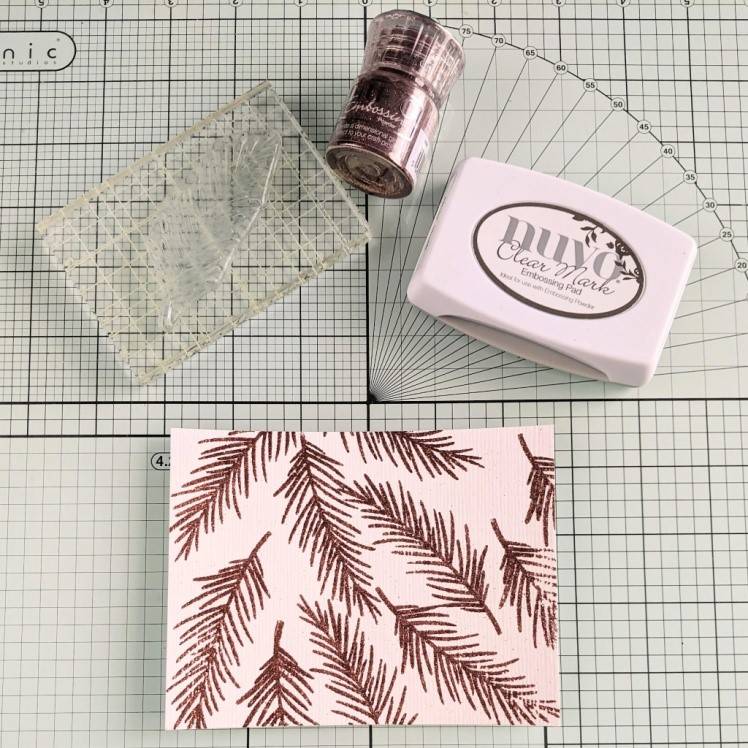
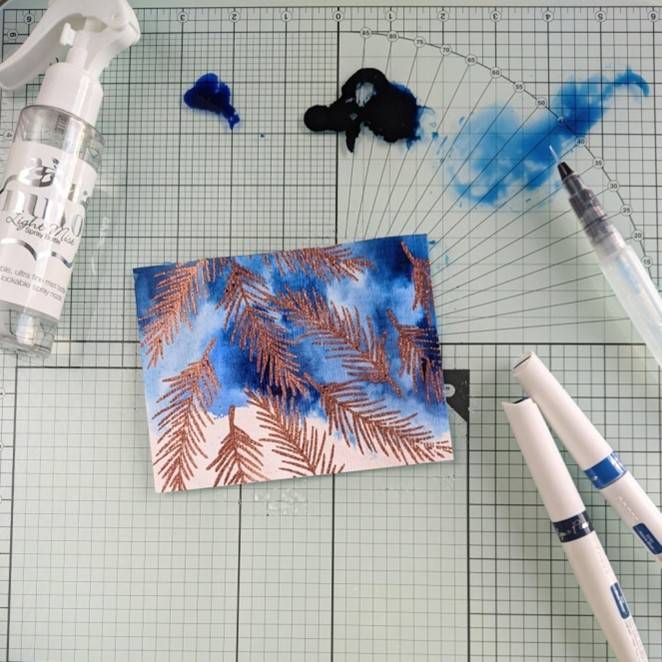
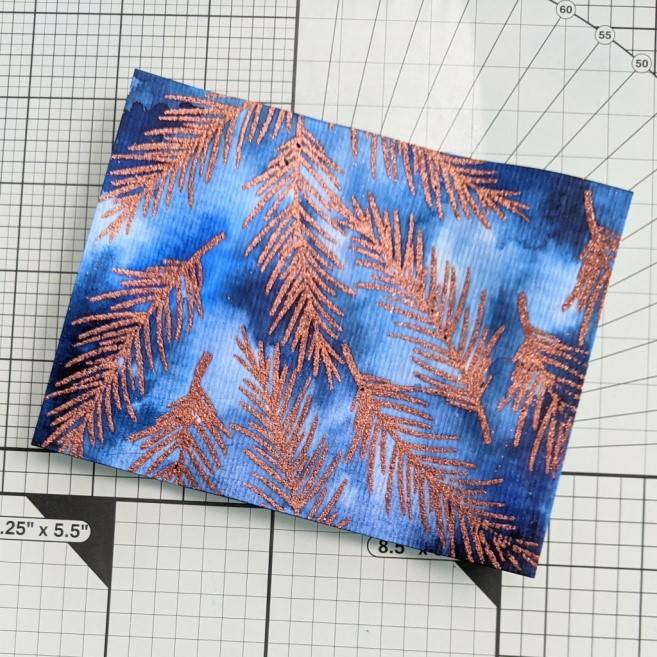
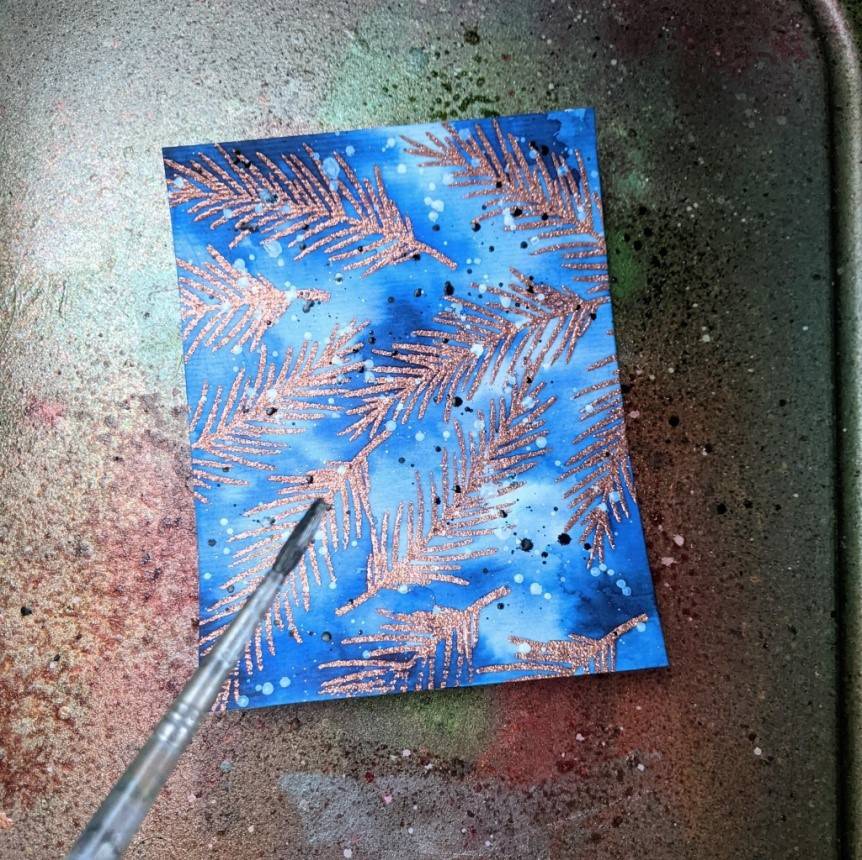
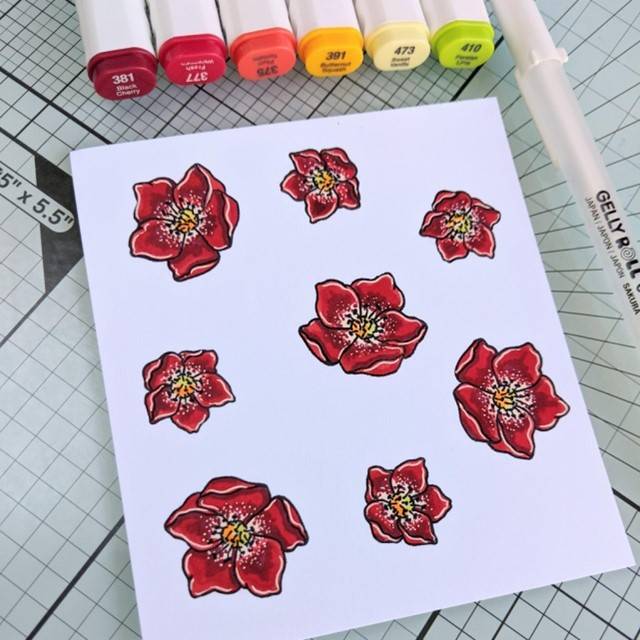
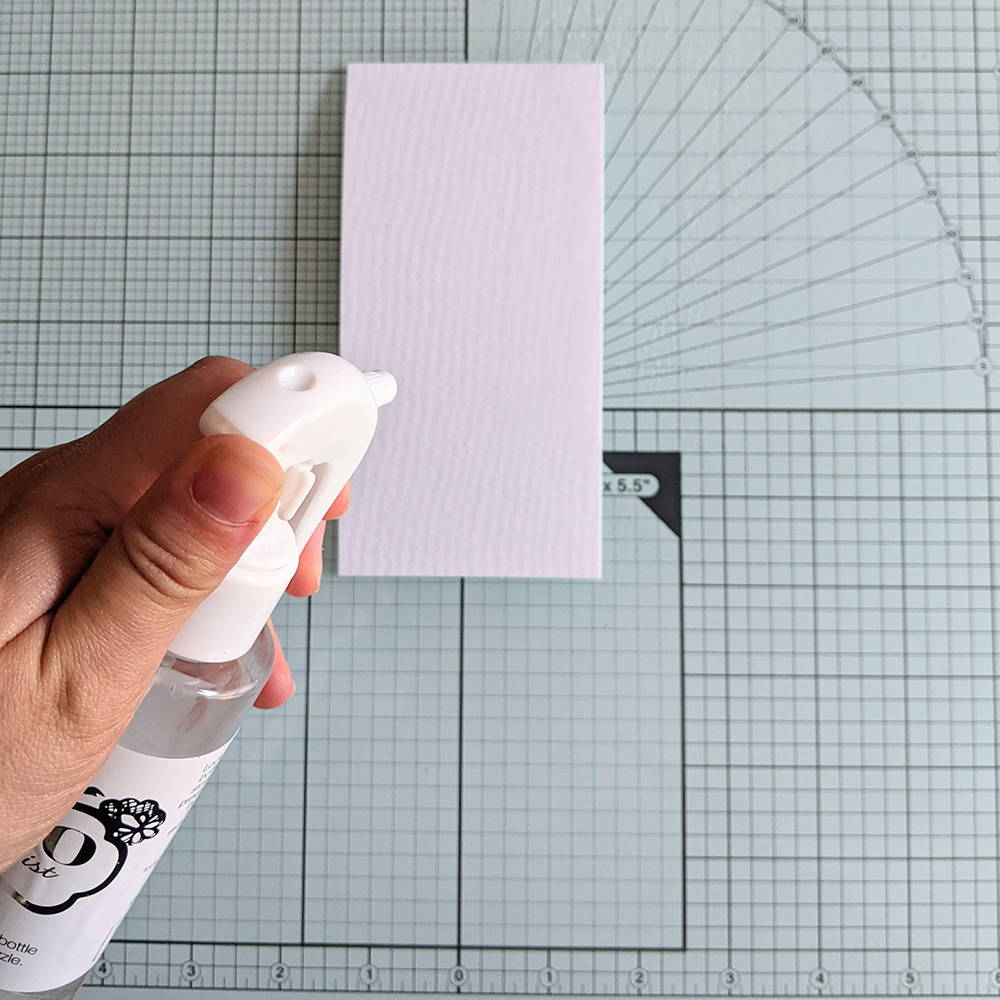
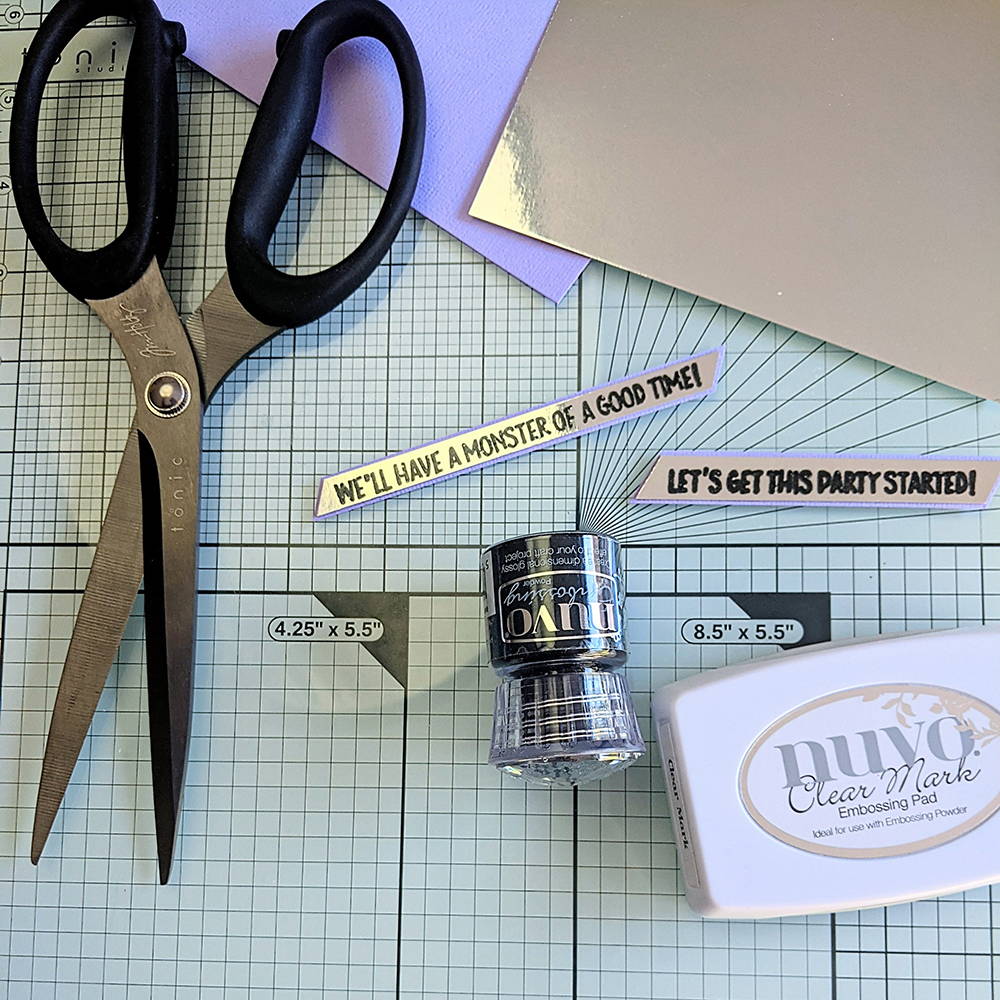
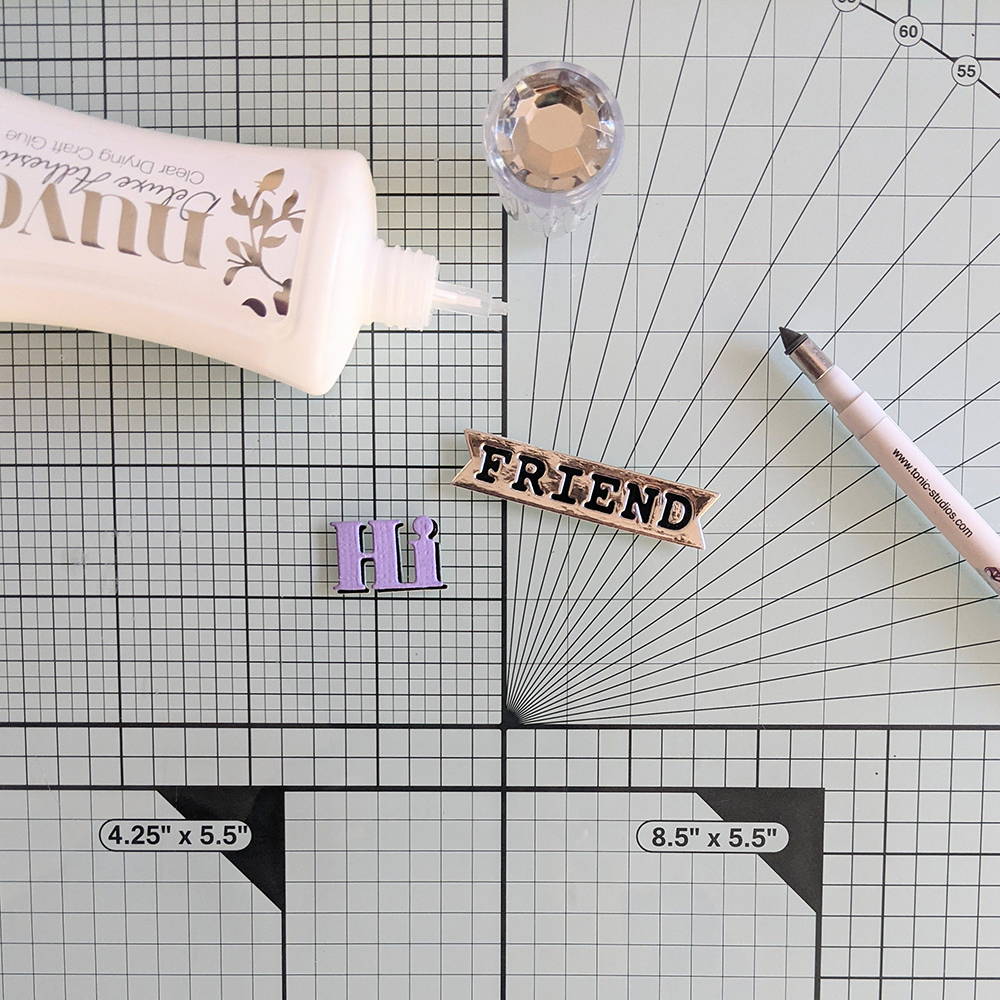
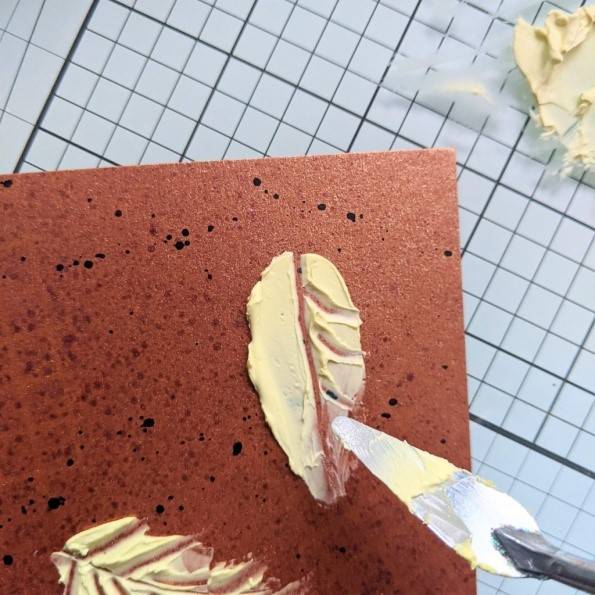
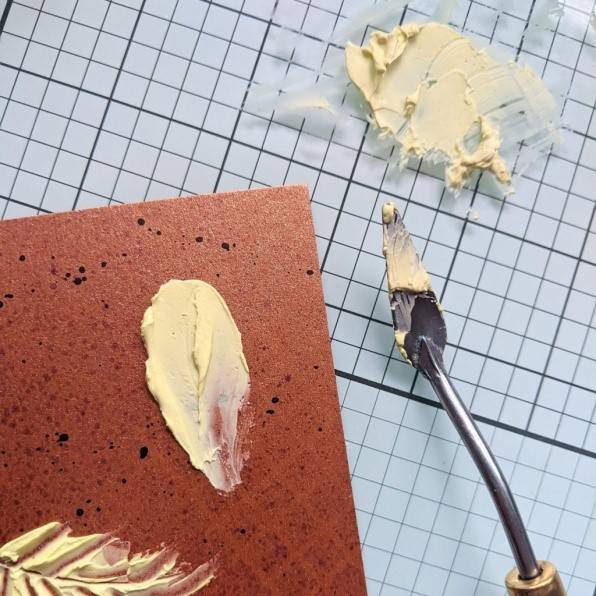
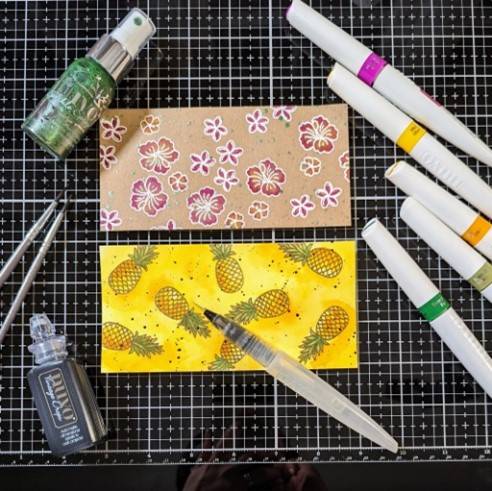
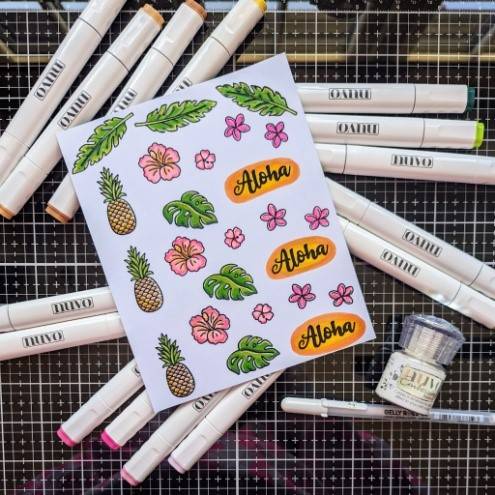
To create the pineapple and hibiscus patterns, I randomly stamped the images using Nuvo Clear Mark and heat embossed them using Nuvo Embossing Powders (white on the kraft card and gold onto white cardstock). I then added colour and detail using Nuvo Aqua Flow Pens and some ‘splatters’ in Nuvo Glitter Spray and watered down Nuvo Vintage Drops.
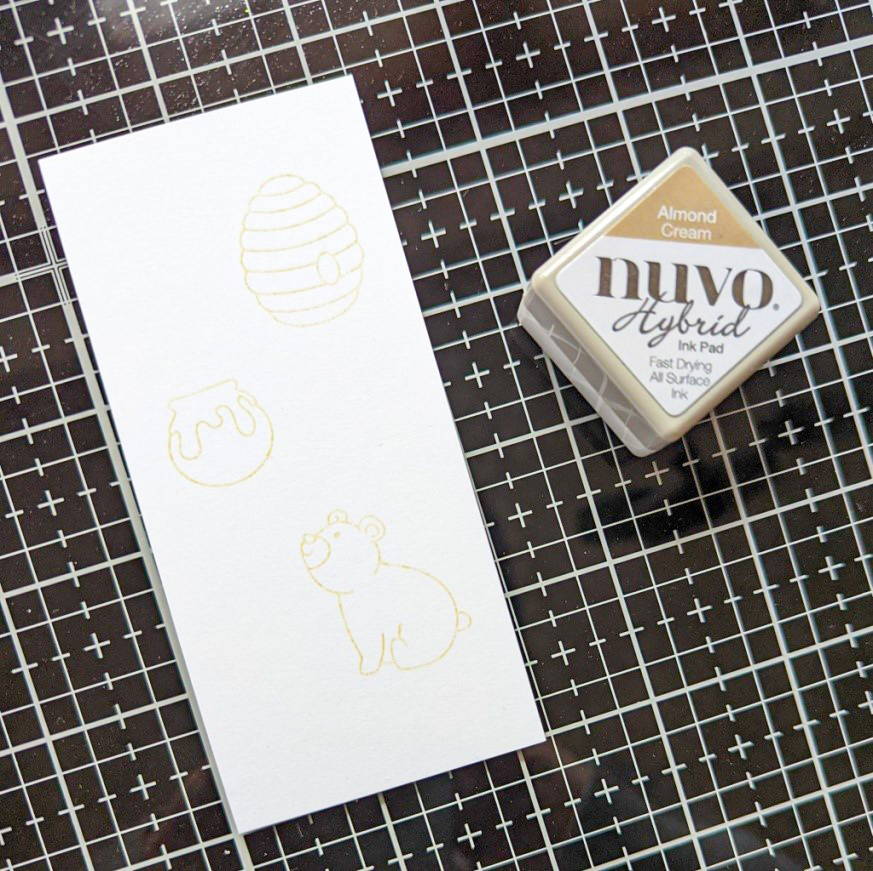
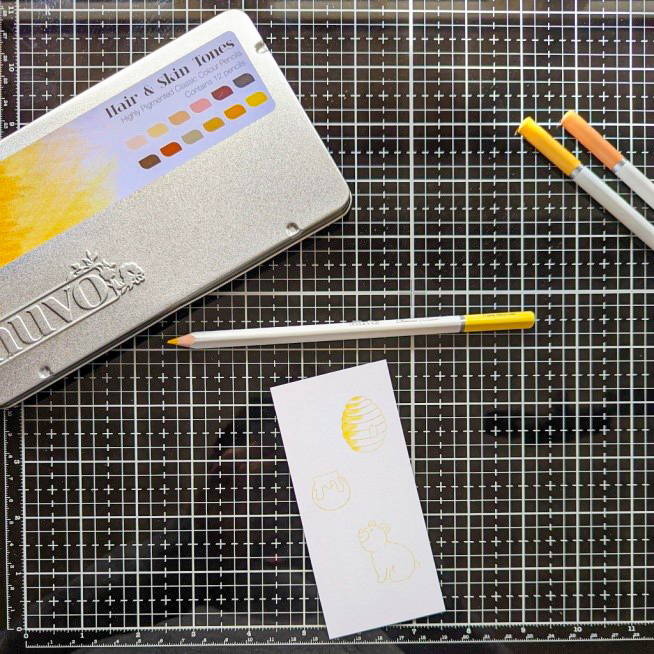
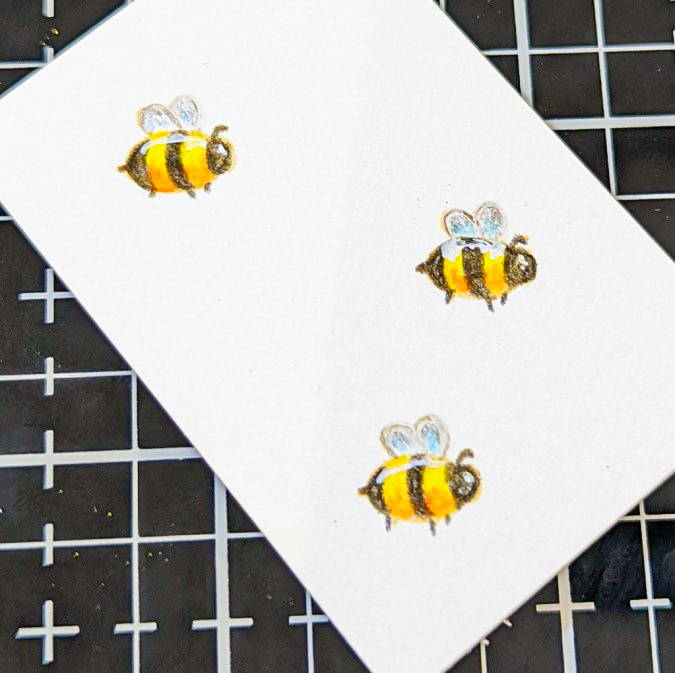
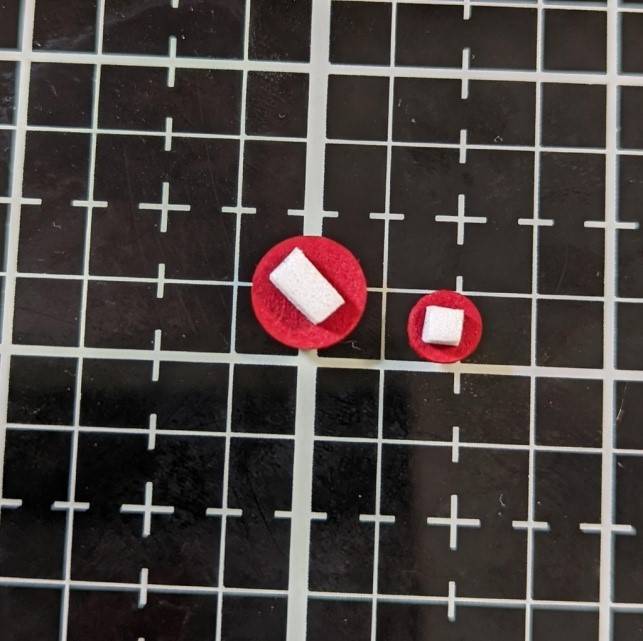
To the patterned cardstock, I added some stamped images that I coloured in using Nuvo Alcohol Markers, popping them onto foam pads to give them a bit of height.
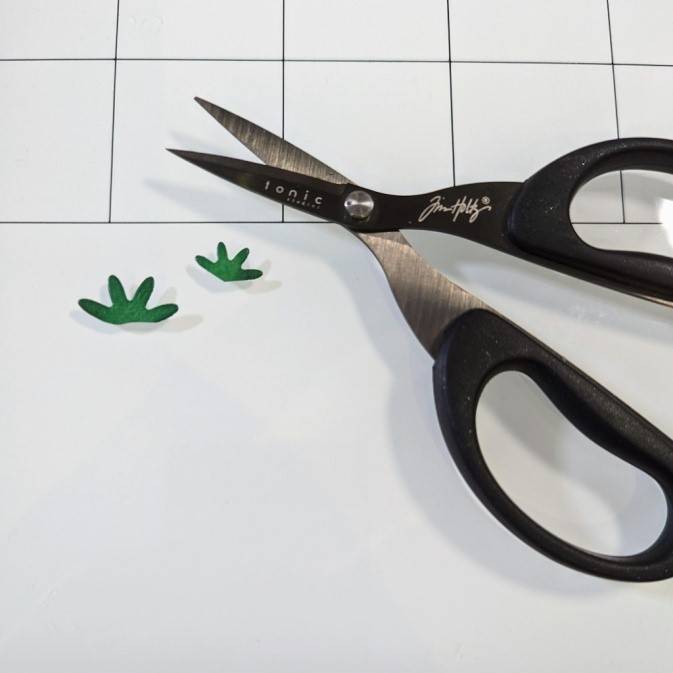
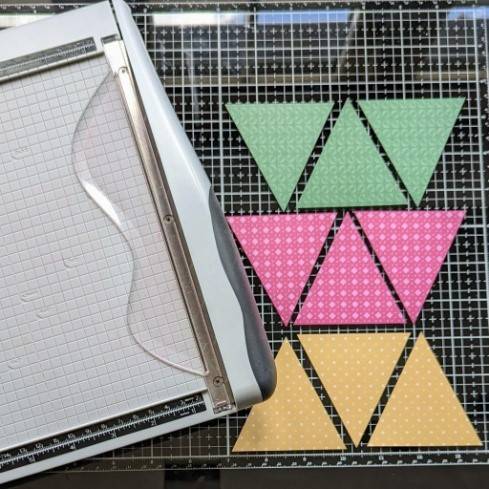
The triangle shapes I trimmed down using a mini guillotine and I hung the flags using Craft Perfect: Bakers Twine.
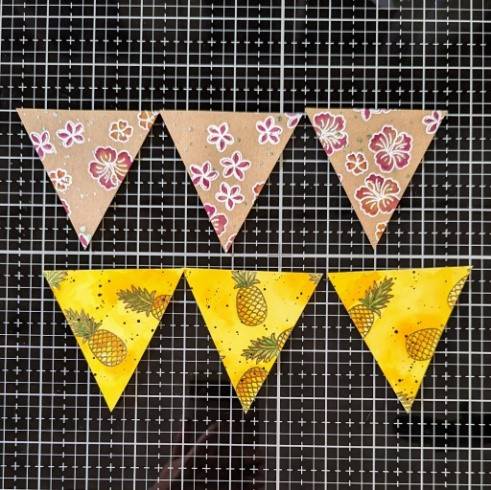
To create the pineapple and hibiscus patterns, I randomly stamped the images using Nuvo Clear Mark and heat embossed them using Nuvo Embossing Powders (white on the kraft card and gold onto white cardstock). I then added colour and detail using Nuvo Aqua Flow Pens and some ‘splatters’ in Nuvo Glitter Spray and watered down Nuvo Vintage Drops.
To the patterned cardstock, I added some stamped images that I coloured in using Nuvo Alcohol Markers, popping them onto foam pads to give them a bit of height.
The triangle shapes I trimmed down using a mini guillotine and I hung the flags using Craft Perfect: Bakers Twine.

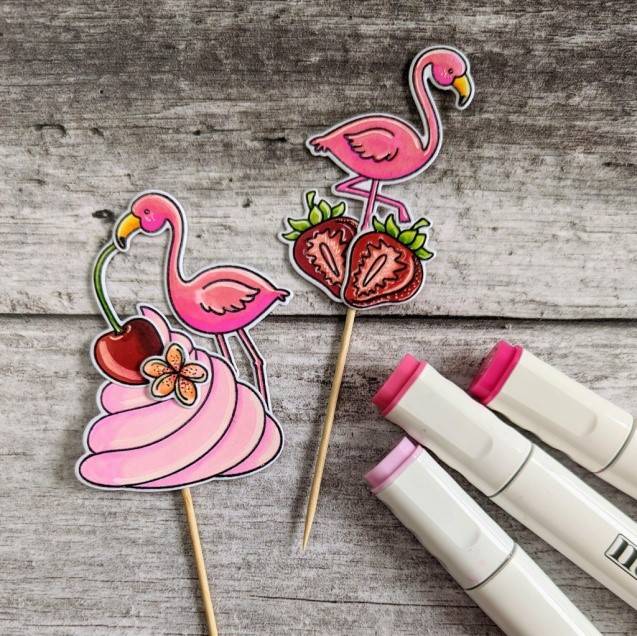
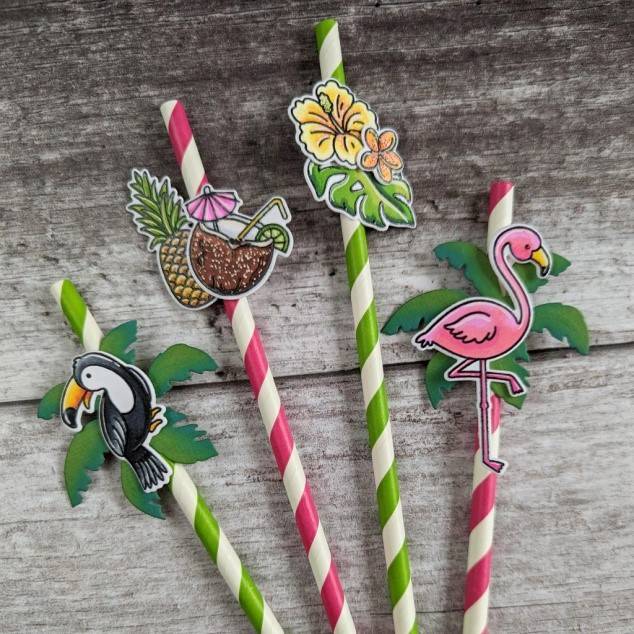
Cupcake Toppers & Straws
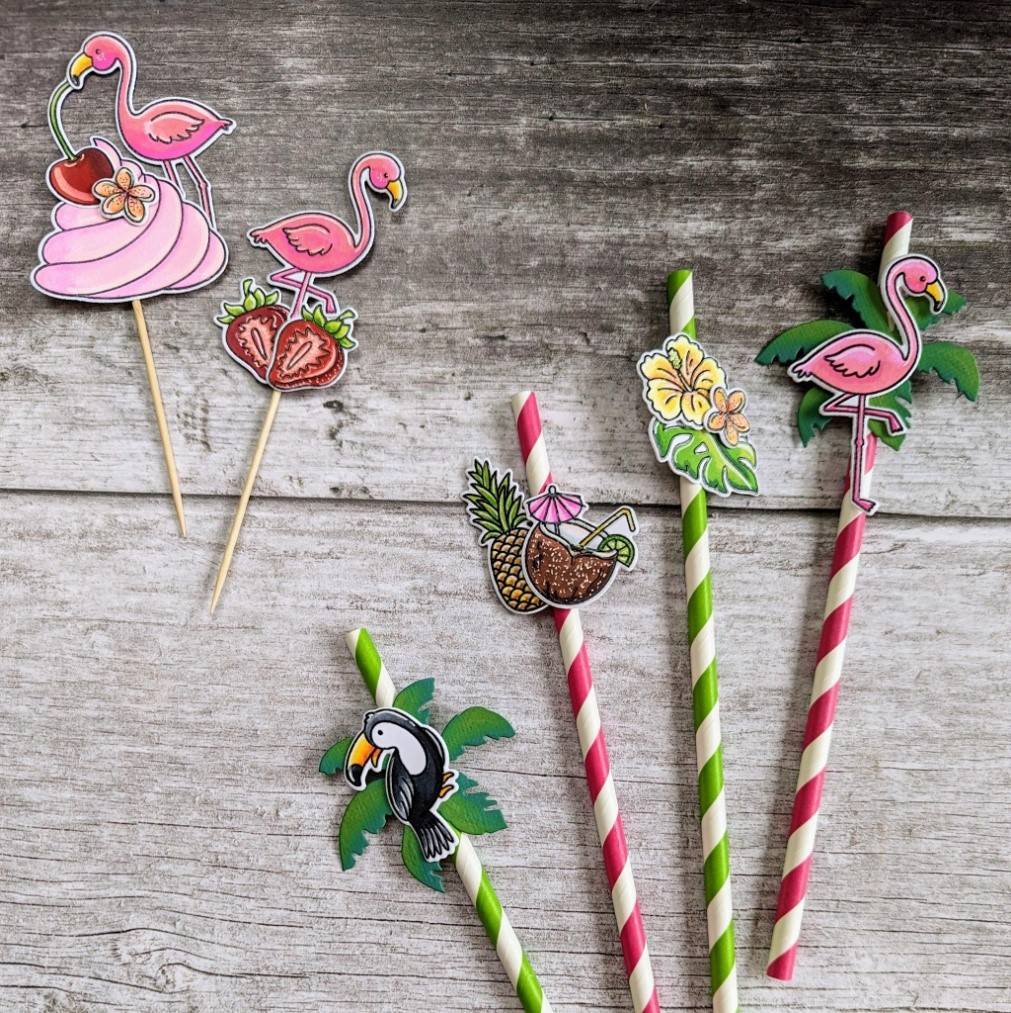
Some fun and quirky cupcake toppers and straws decorated with stamped images from the Aloha set (the cupcake toppers I combined with icing and strawberry images from previous Stamp Club set: Delicious Desserts) All were coloured in using Nuvo alcohol markers and attached using a hot glue gun.
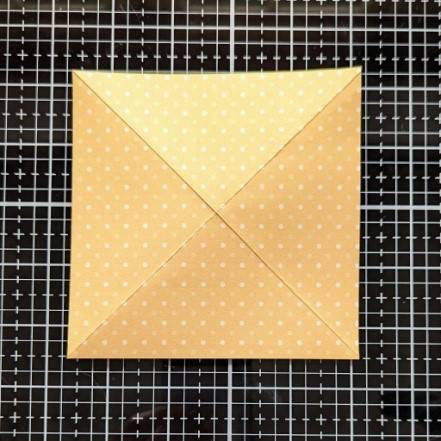
Pinwheels
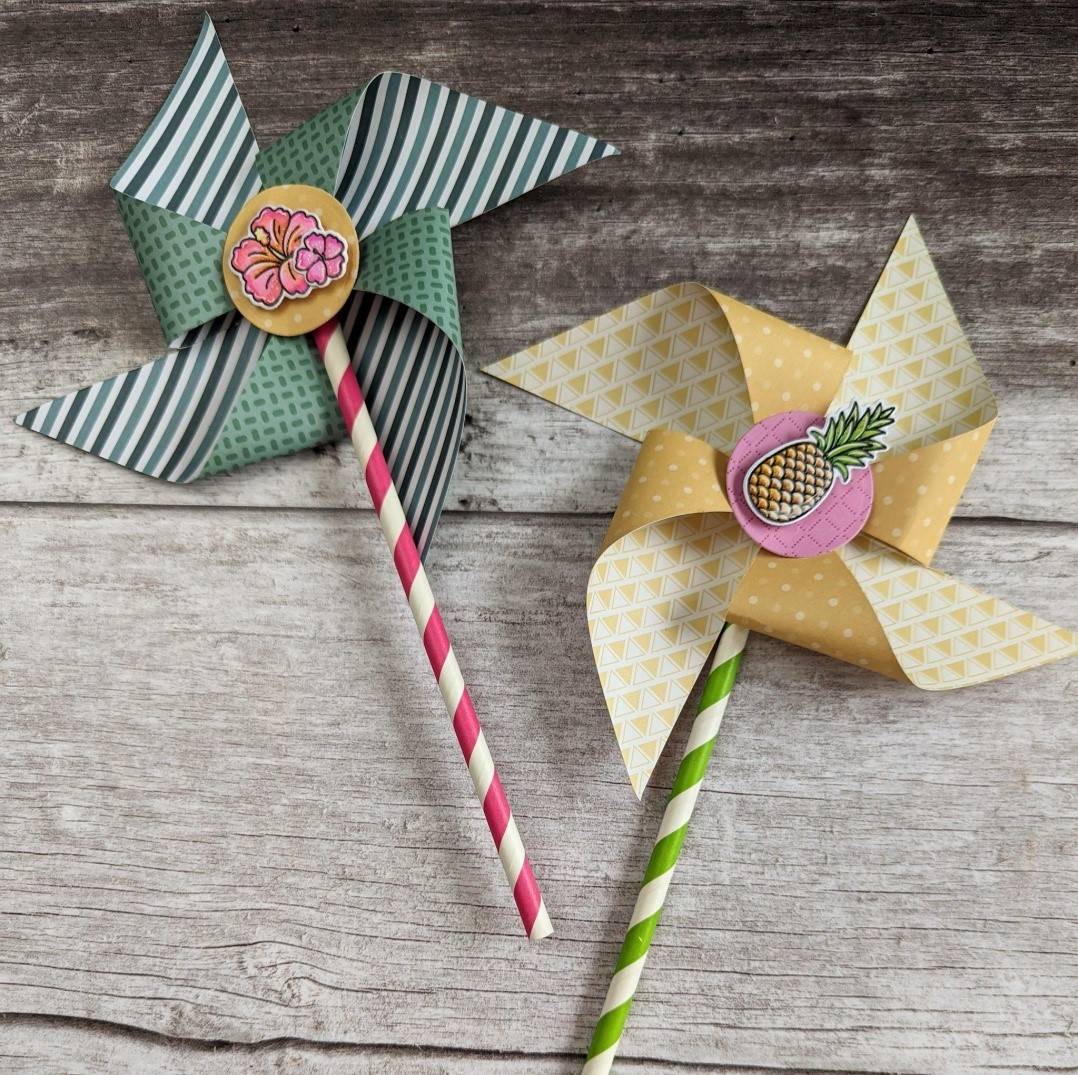
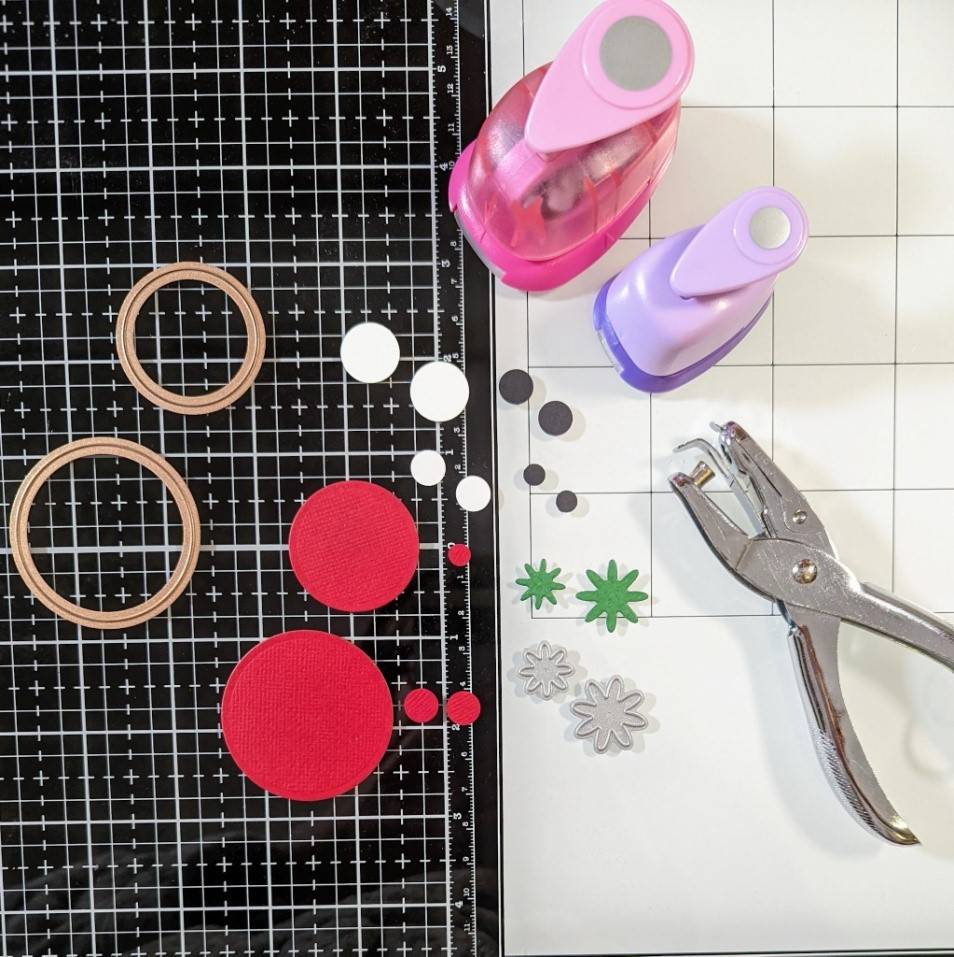
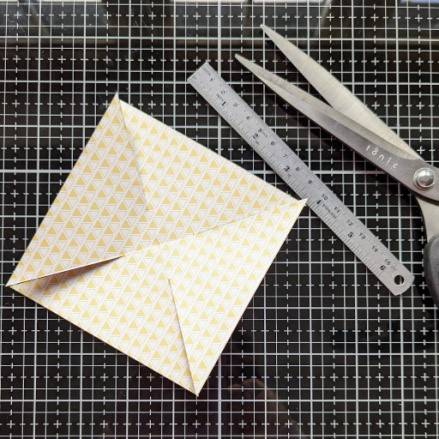
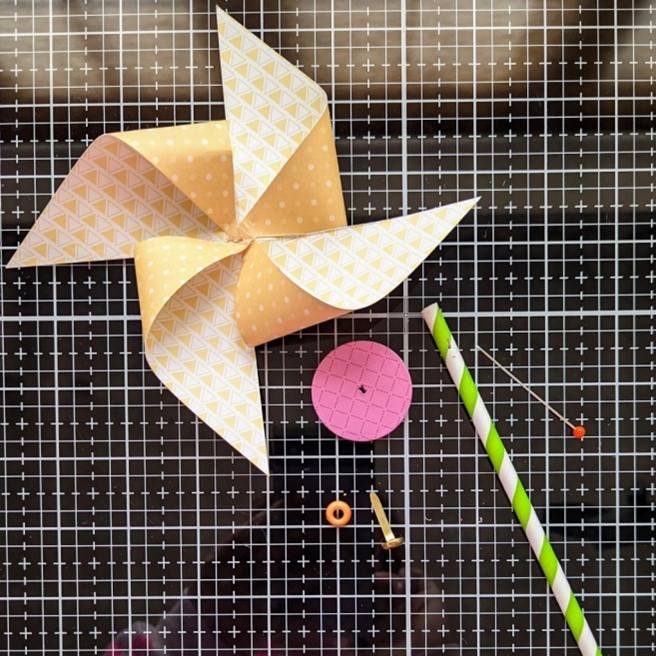
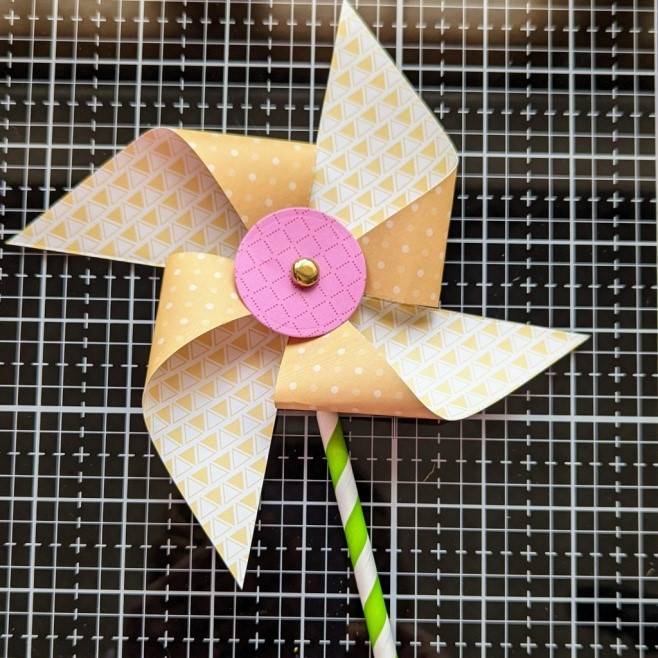
These cute pin-wheels I made by cutting down pieces of Craft Perfect: Tropical Paradise double-sided patterned paper to measure 12 x 12cm and then folding them on the diagonal to create four triangles. Afterwards, I cut along each seam approximately 2/3 of the way to the centre. Bending (but not folding) one of each of the cut corners, I glued the tips to the centre. Using a long pin, I then pushed a hole through the centre of the wheel, as well as through a small die cut circle in contrasting patterned paper and the top of a paper straw. To hold it all together, I used a brass split-pin, which I pushed through the circle first, followed by the wheel. Before passing and securing the split-pin through the straw at the back, I also added a small bead. Finally, I glued on a stamped image that I had coloured in using Nuvo Alcohol Markers, to cover over the head of the brass pin.

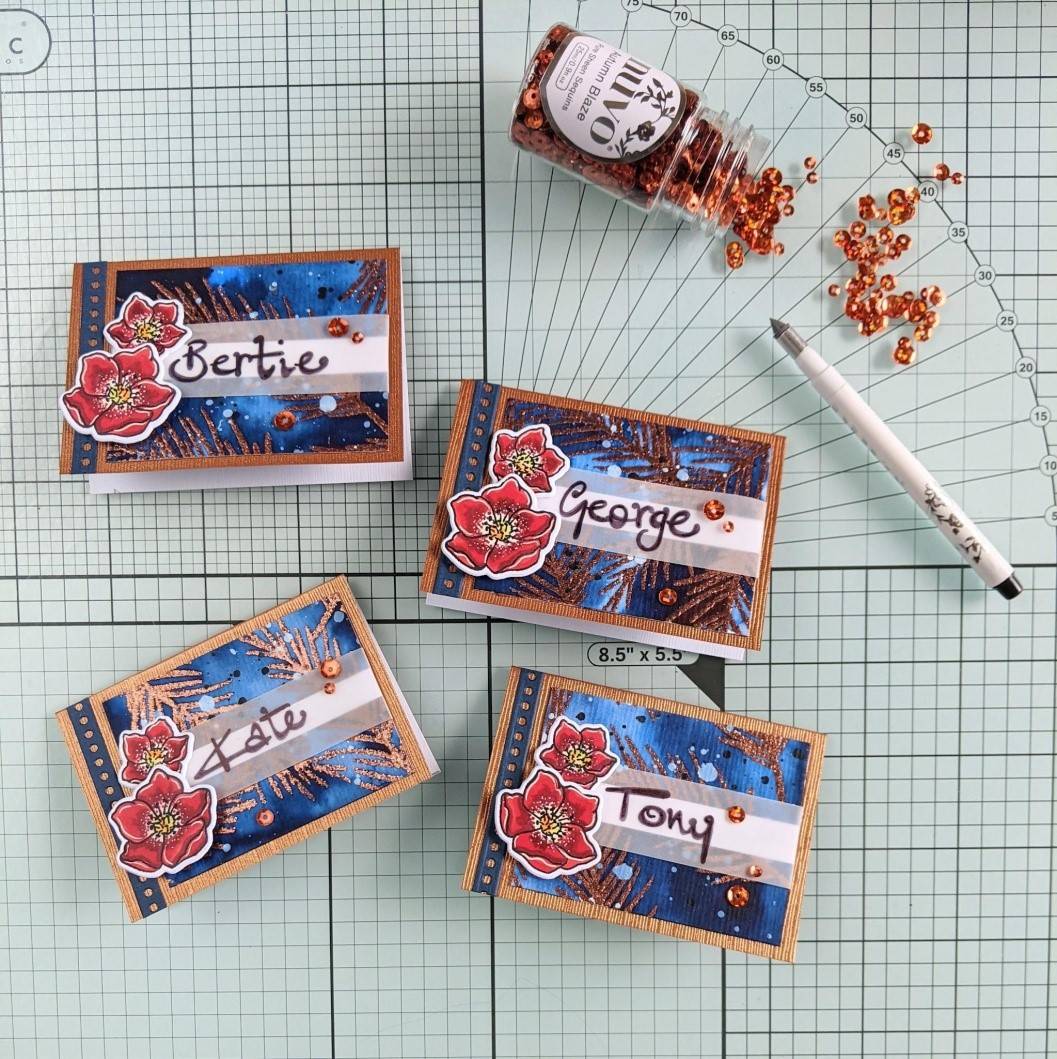
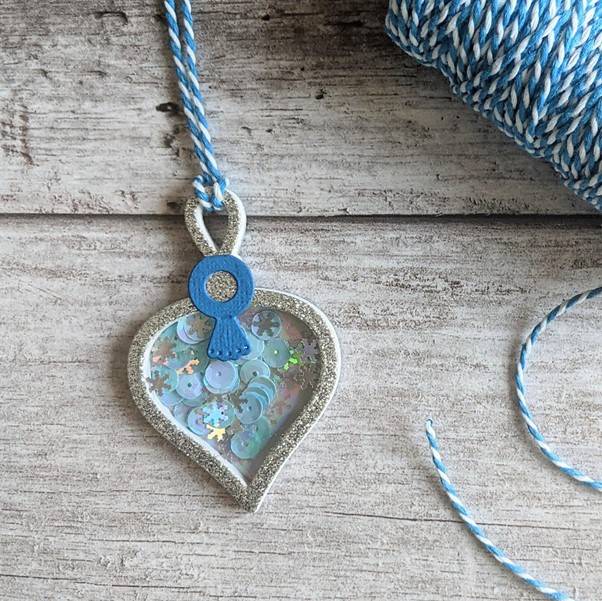
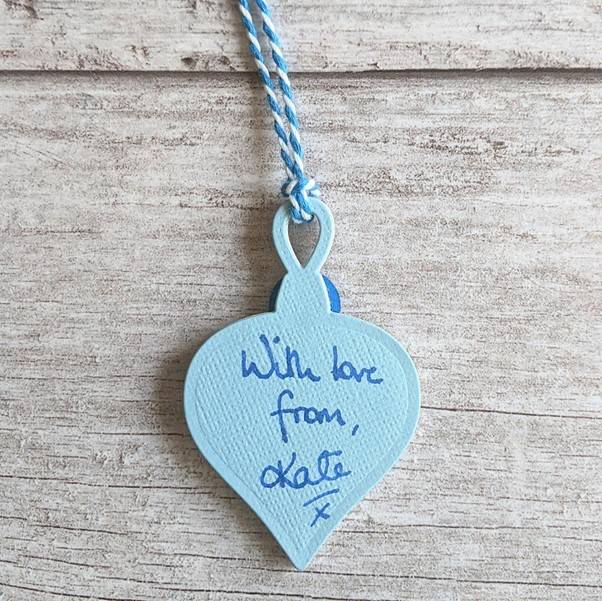
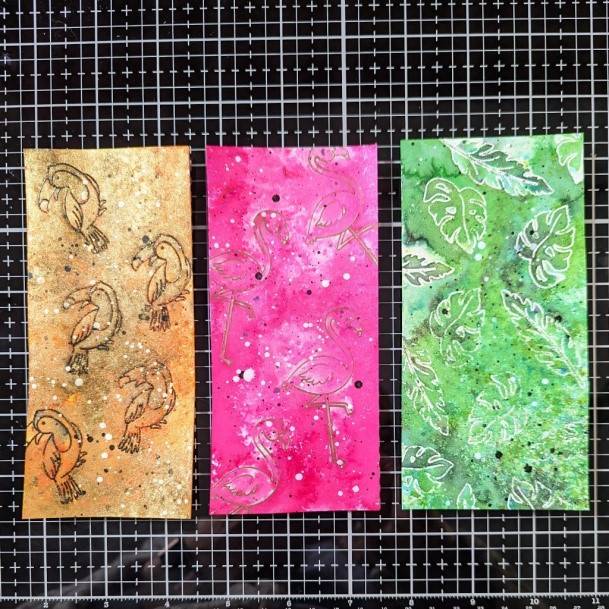
Gift/Party Bag Tags
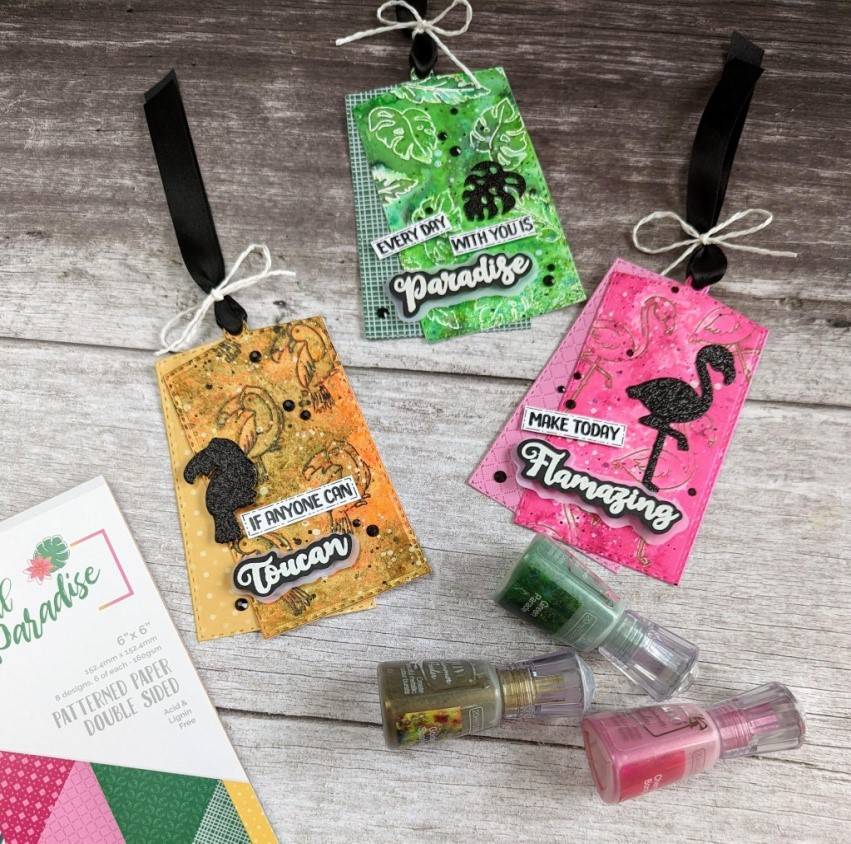
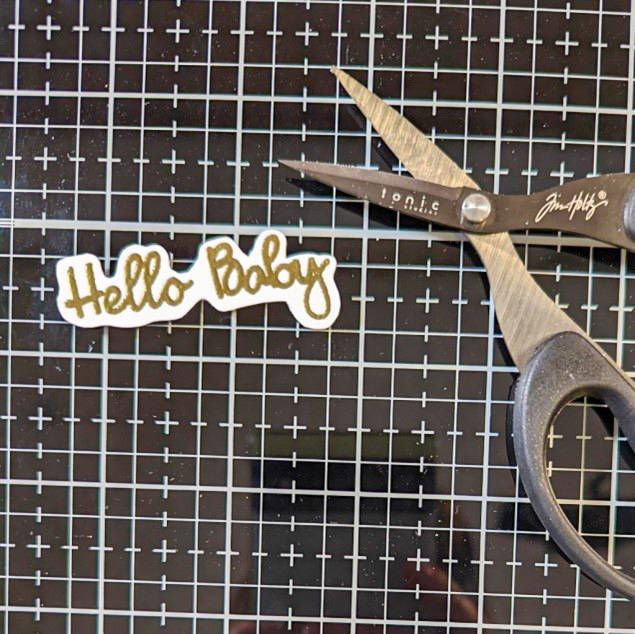
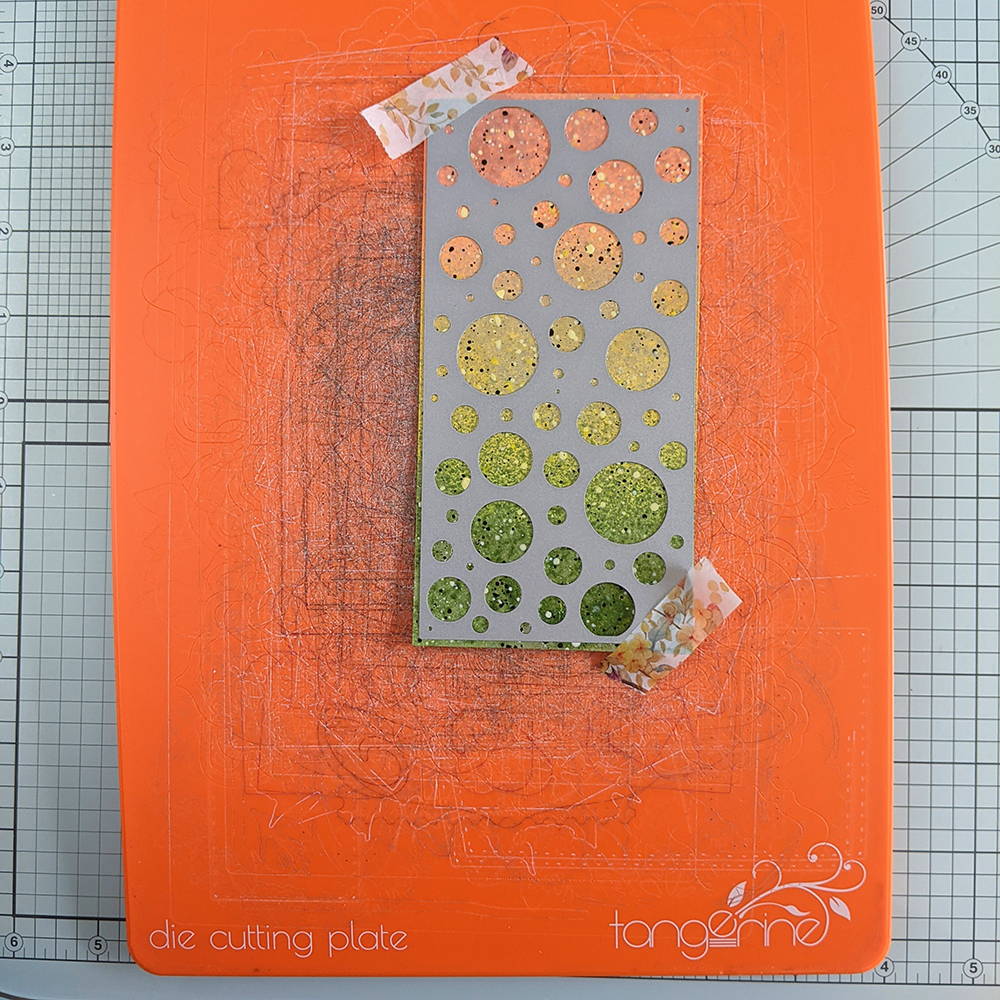
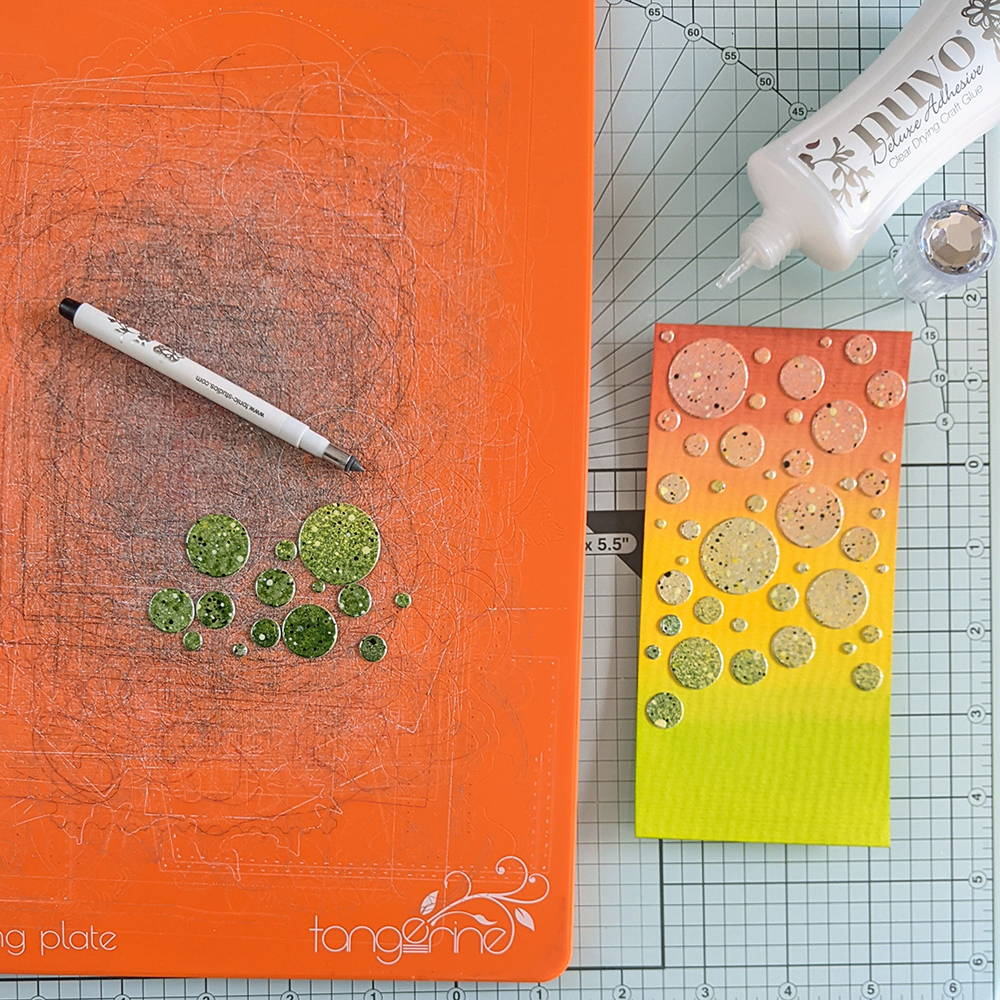
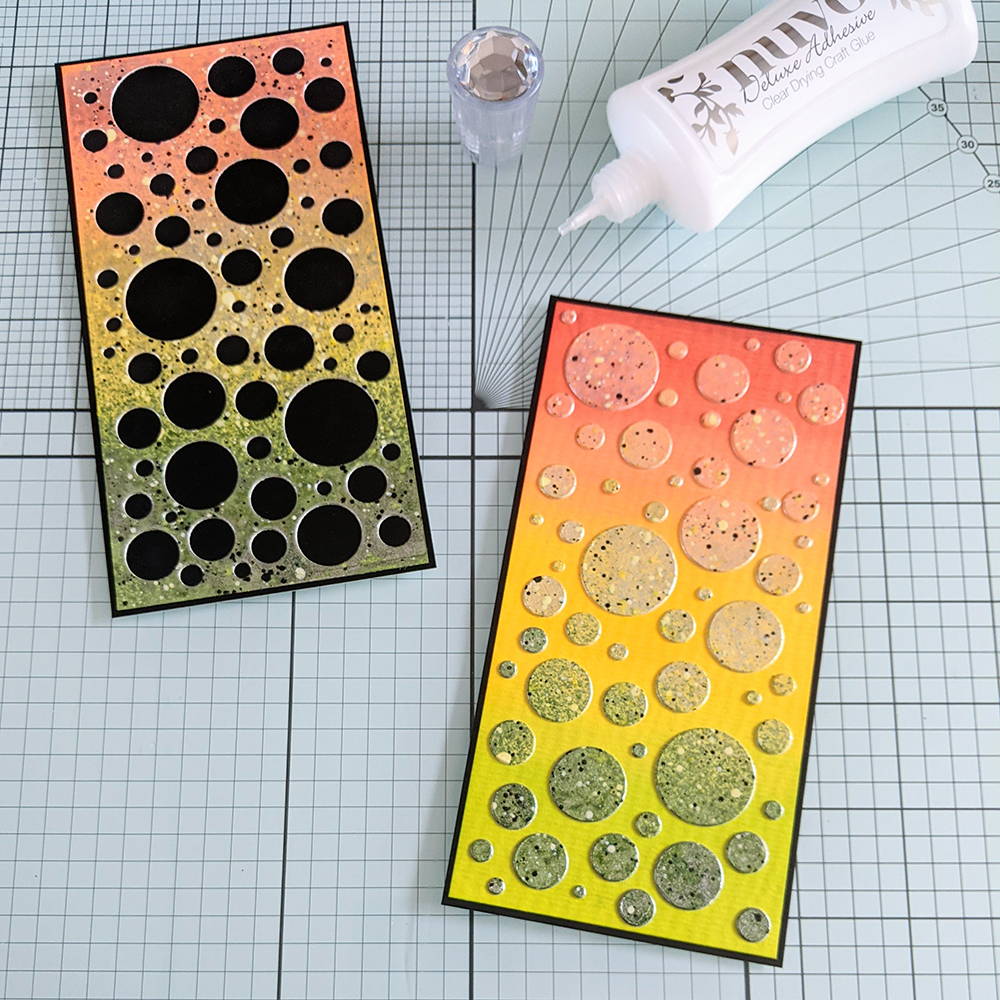
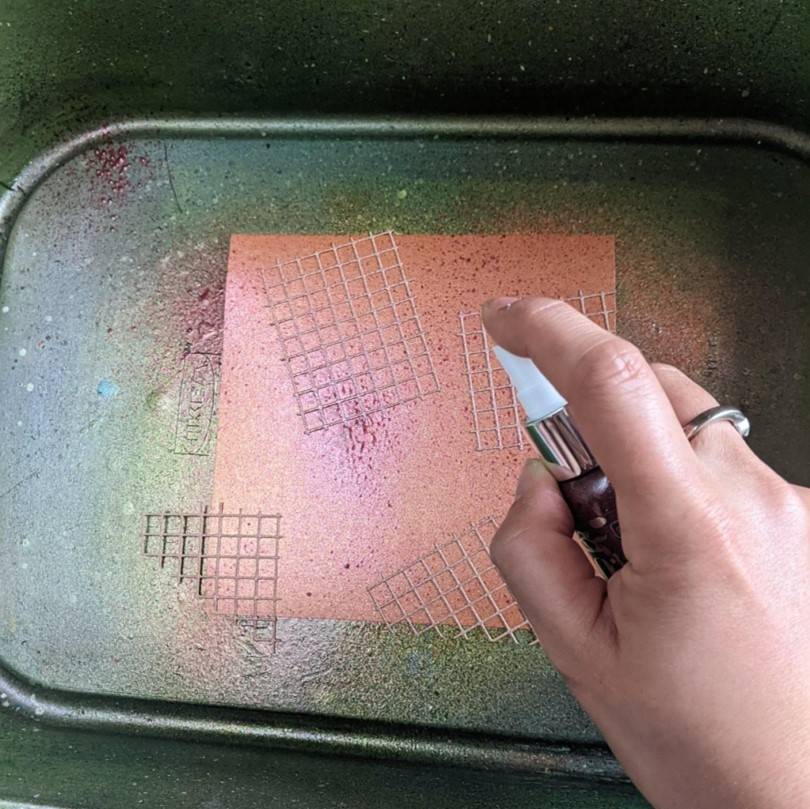
These tags I created by stamping the toucan, leaf and flamingo images randomly onto watercolour cardstock using Nuvo Clear Mark and then heat embossing using Nuvo Embossing Powders (Jet Black, Glacier White & Classic Gold) I then applied colour using Nuvo Shimmer Powders (Golden Sparkler, Green Parade & Cherry Bomb) along with a few white paint splatters for added interest. The die cut tag shape is from last year’s Tonic Craft Kit #44 and I used it to cut both the heat embossed papers, along with a complimentary patterned paper from the Tropical Paradise pad. The silhouette images have been cut from Craft Perfect ‘Black Sapphire Glitter Card and the fussy cut heat embossed sentiments have been mounted onto vellum and attached using foam pads for a little extra height. 9mm Craft Perfect ‘Jet Black’ ribbon and some twine finish off the tags, along with a few black gems dotted around.

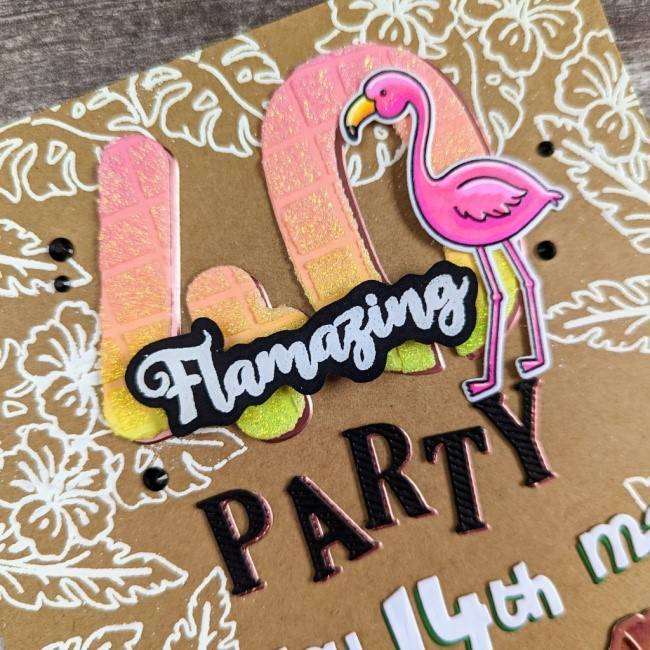
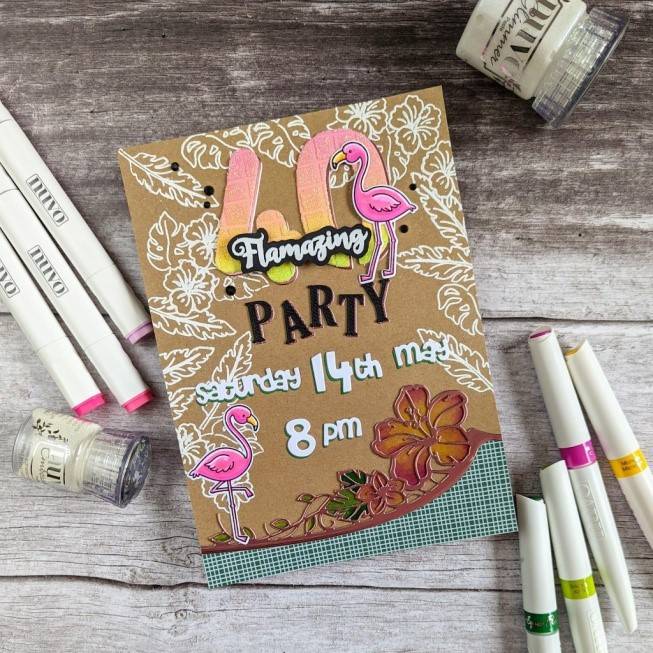
Party Invitations
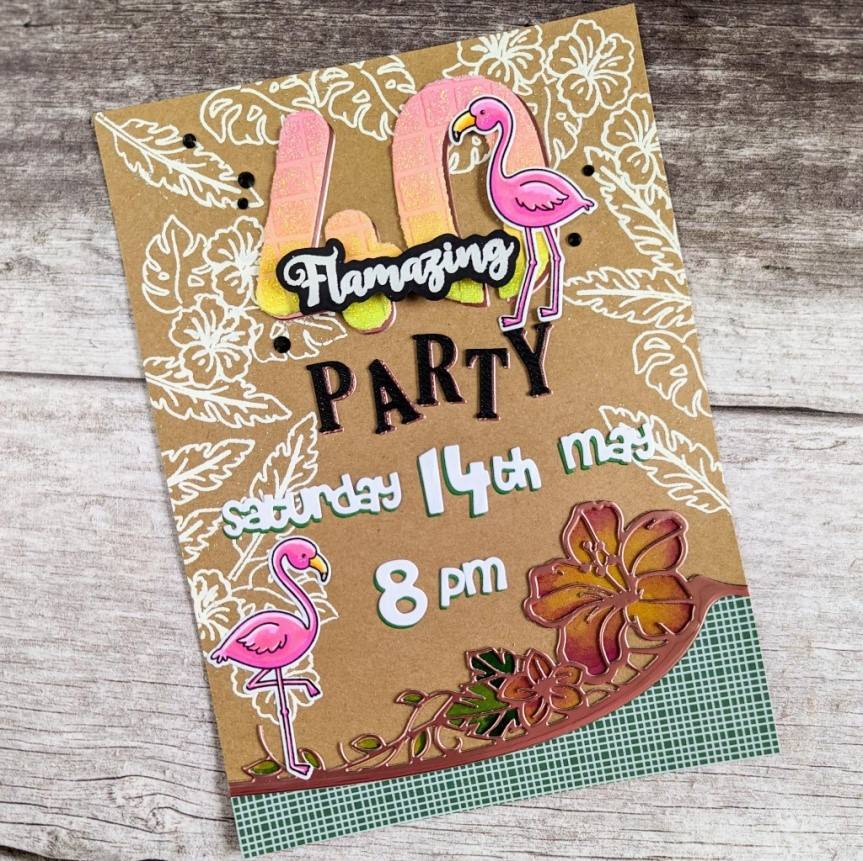
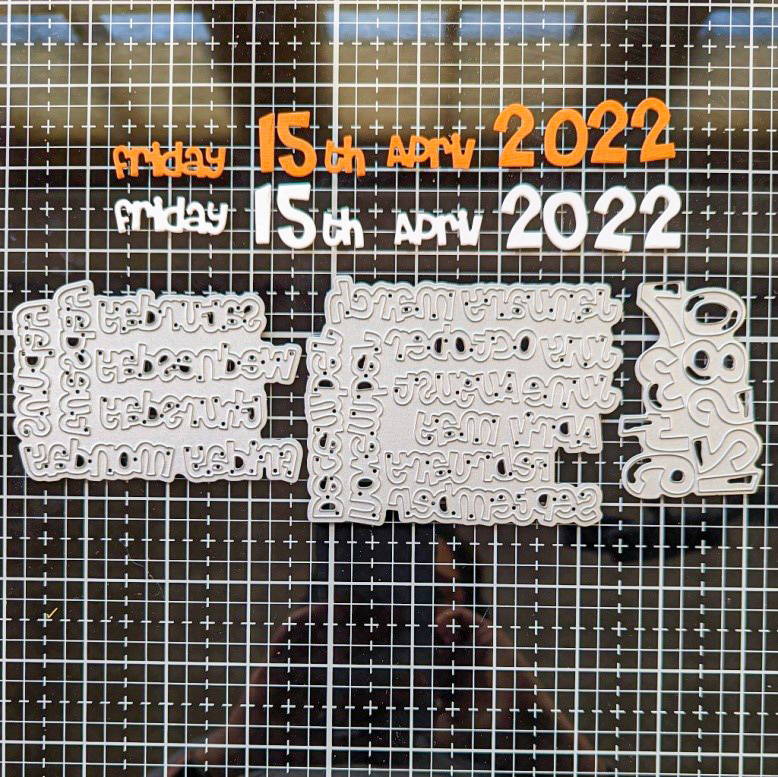
This party invitation is a combination of the Aloha Paradise Stamp Club set and Craft Kit #31 - Tropical Paradise. The leaf images have been stamped using a masking technique and heat embossed in white embossing powder. The die cut hibiscus from the craft kit has been layered up twice; one I glued down the bottom one, I coloured it in using Nuvo Aqua Flow Pens and I then tidied it up with a second die cut layer, cut out of ‘Baroque Rose’ Craft Perfect Mirror Card. The number 40 I cut using Tonic’s Number Dies, which I then ink-blended and stencilled over with Nuvo ‘Moonstone’ Glimmer Paste. For the date and time I used the Tonic Keepsake Creator Die set.
So that’s me all summer party ready! This month’s Stamp Club has been so much fun to play with and I hope it’s giving you some ‘Summer Feels’ too.
As always, thank you so much for stopping by on the blog today and happy crafting!
Kate x
To see more of my makes or crafty inspiration, come and find me on Instagram
Buy The Craft Project