![](https://ucarecdn.com/bac28099-a228-4117-8ece-611c406e7ce8/-/format/auto/-/preview/3000x3000/-/quality/lighter/plantastic%20card%20mobile%20banner.jpg)
![](https://ucarecdn.com/30b1429b-fcc8-4a52-97dc-280f453d898d/-/format/auto/-/preview/3000x3000/-/quality/lighter/top%20banner%20plantastic%20card.jpg)
![](https://ucarecdn.com/66138629-cf21-45e3-96c5-2e2152d8952b/-/format/auto/-/preview/3000x3000/-/quality/lighter/FinishedProject1.jpeg)
![](https://ucarecdn.com/302eb23c-ac95-49bc-99c7-55af6ca521e9/-/format/auto/-/preview/3000x3000/-/quality/lighter/FinishedProject2.jpeg)
What you will need
![](https://ucarecdn.com/e115df54-0ded-46e0-a6df-d85a9d8fa161/-/format/auto/-/preview/3000x3000/-/quality/lighter/Picture4.jpg)
- A2 card blank
- Black card
- White smooth card, alcohol marker friendly
- Alcohol Markers
- Scissors
- White embossing powder
- Die cutting machine
- Stamping platform
- Shaker foam or foam pads, wet adhesive
- White gel pen
- Nuvo Hybrid Ink, Black Shadow
- Nuvo Diamond Ink Pad, Blue Mineral (part of Sweet Sorbet trio)
- Tonic Super Trimmer
- Removable tape to hold die cuts down.
Step 1
![](https://ucarecdn.com/417c63aa-36a8-4f36-ab0d-c38dbd190661/-/format/auto/-/preview/3000x3000/-/quality/lighter/1.jpeg)
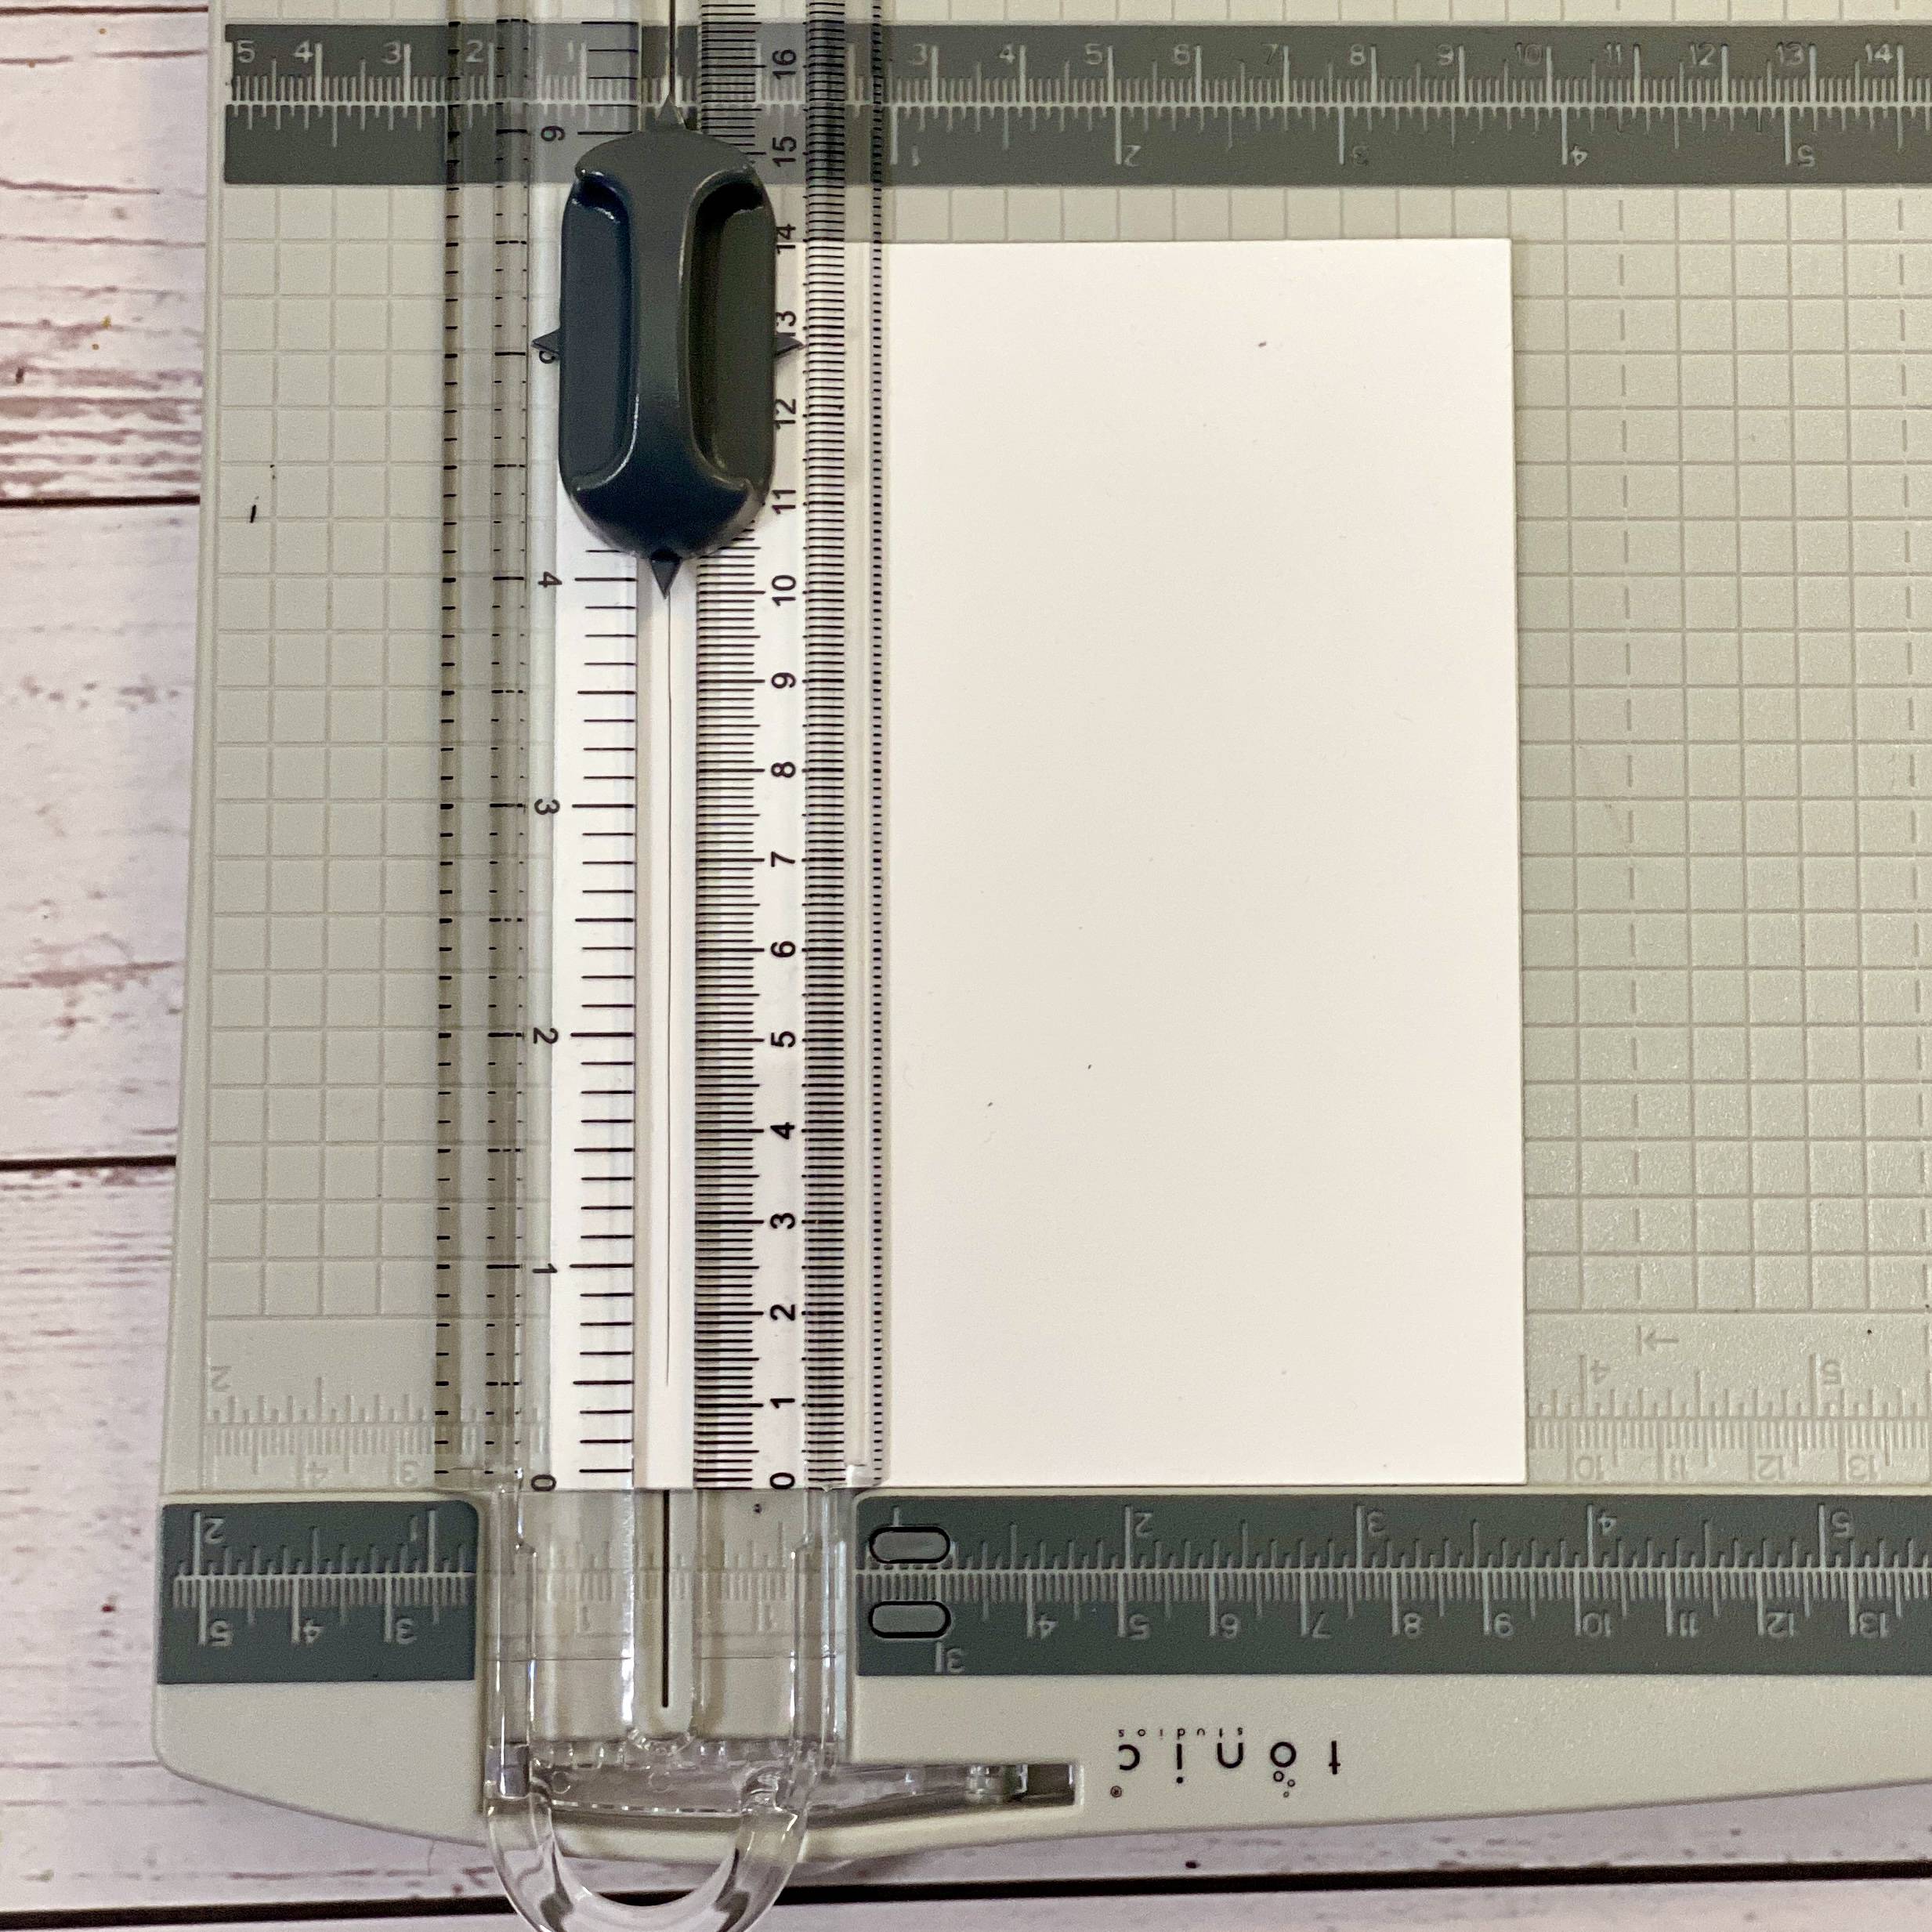
Trim two pieces of white smooth card to 5.5” x 4.25” or A2 size. To make the card frame, line up your card panel to create half of an inch border.
Step 2
![](https://ucarecdn.com/5f92b6ef-bf15-4cb0-b547-80d459387b77/-/format/auto/-/preview/3000x3000/-/quality/lighter/2.jpeg)
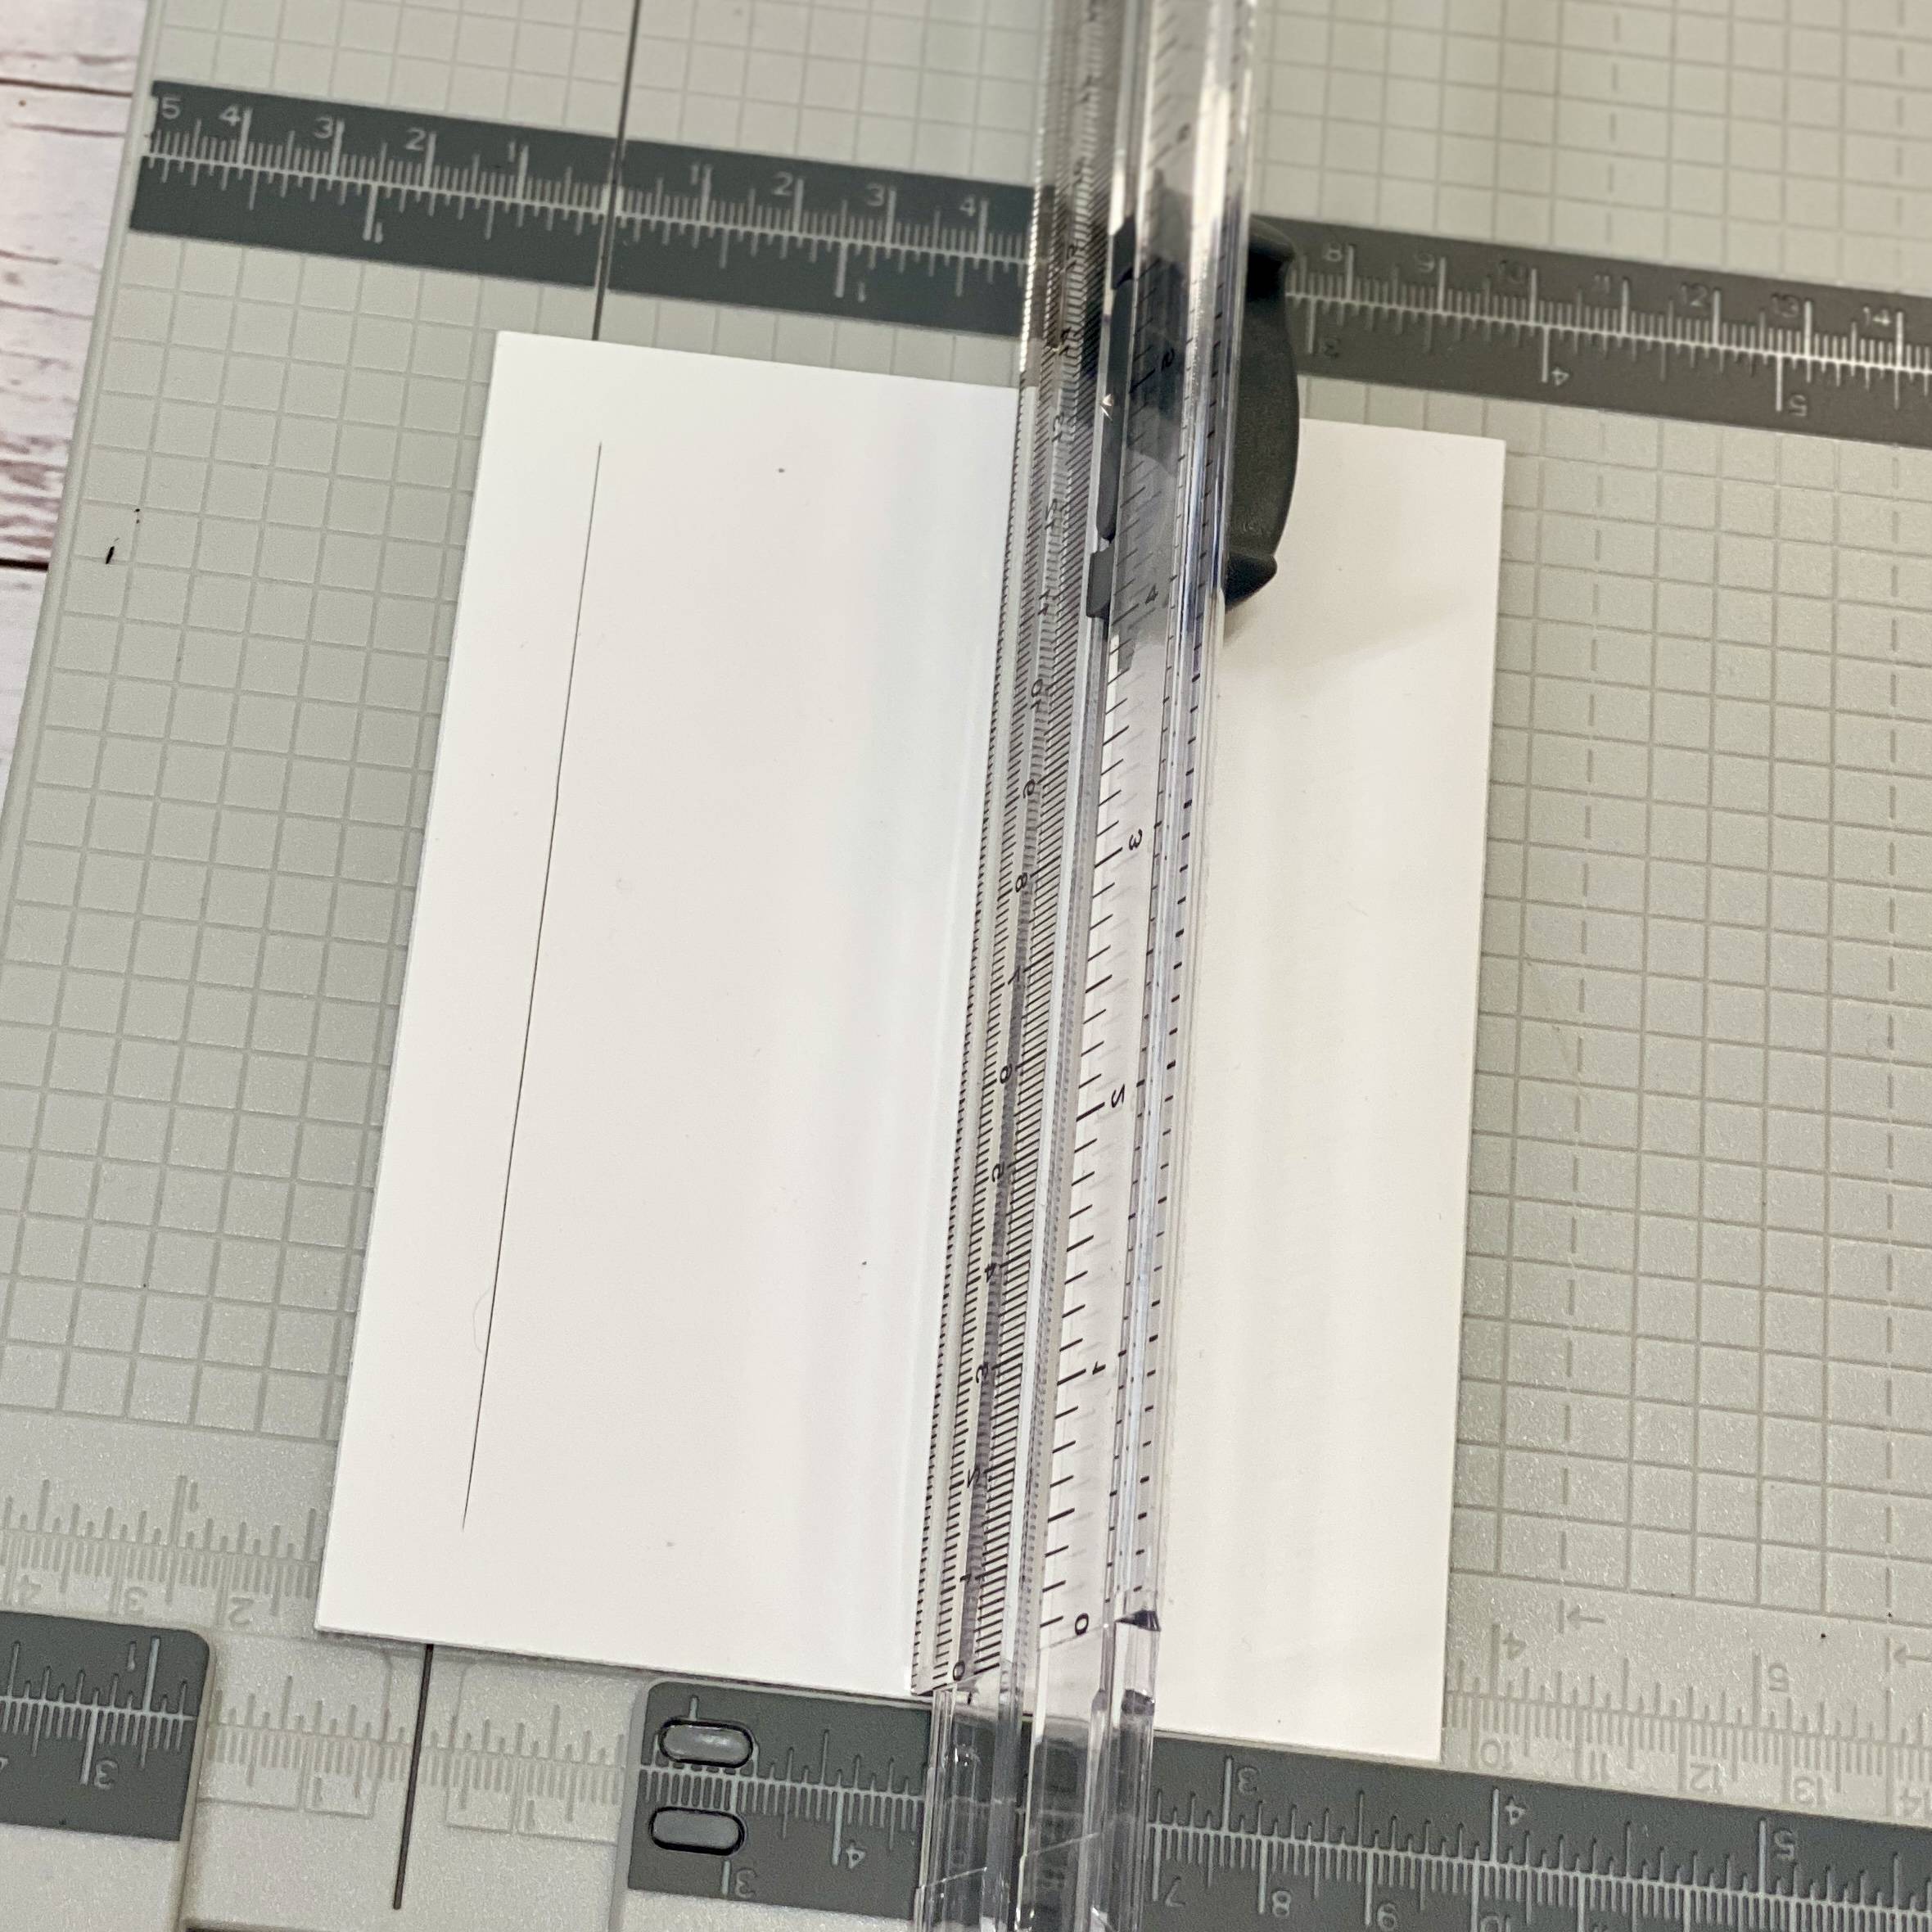
Use the double side arrows on the super trimmer to ensure your cuts are precise. Once each side is cut, leaving a half inch border, rotate and repeat.
Step 3
![](https://ucarecdn.com/eb9b3ac9-d8c0-4032-ae9a-6186fe26034b/-/format/auto/-/preview/3000x3000/-/quality/lighter/3.jpeg)
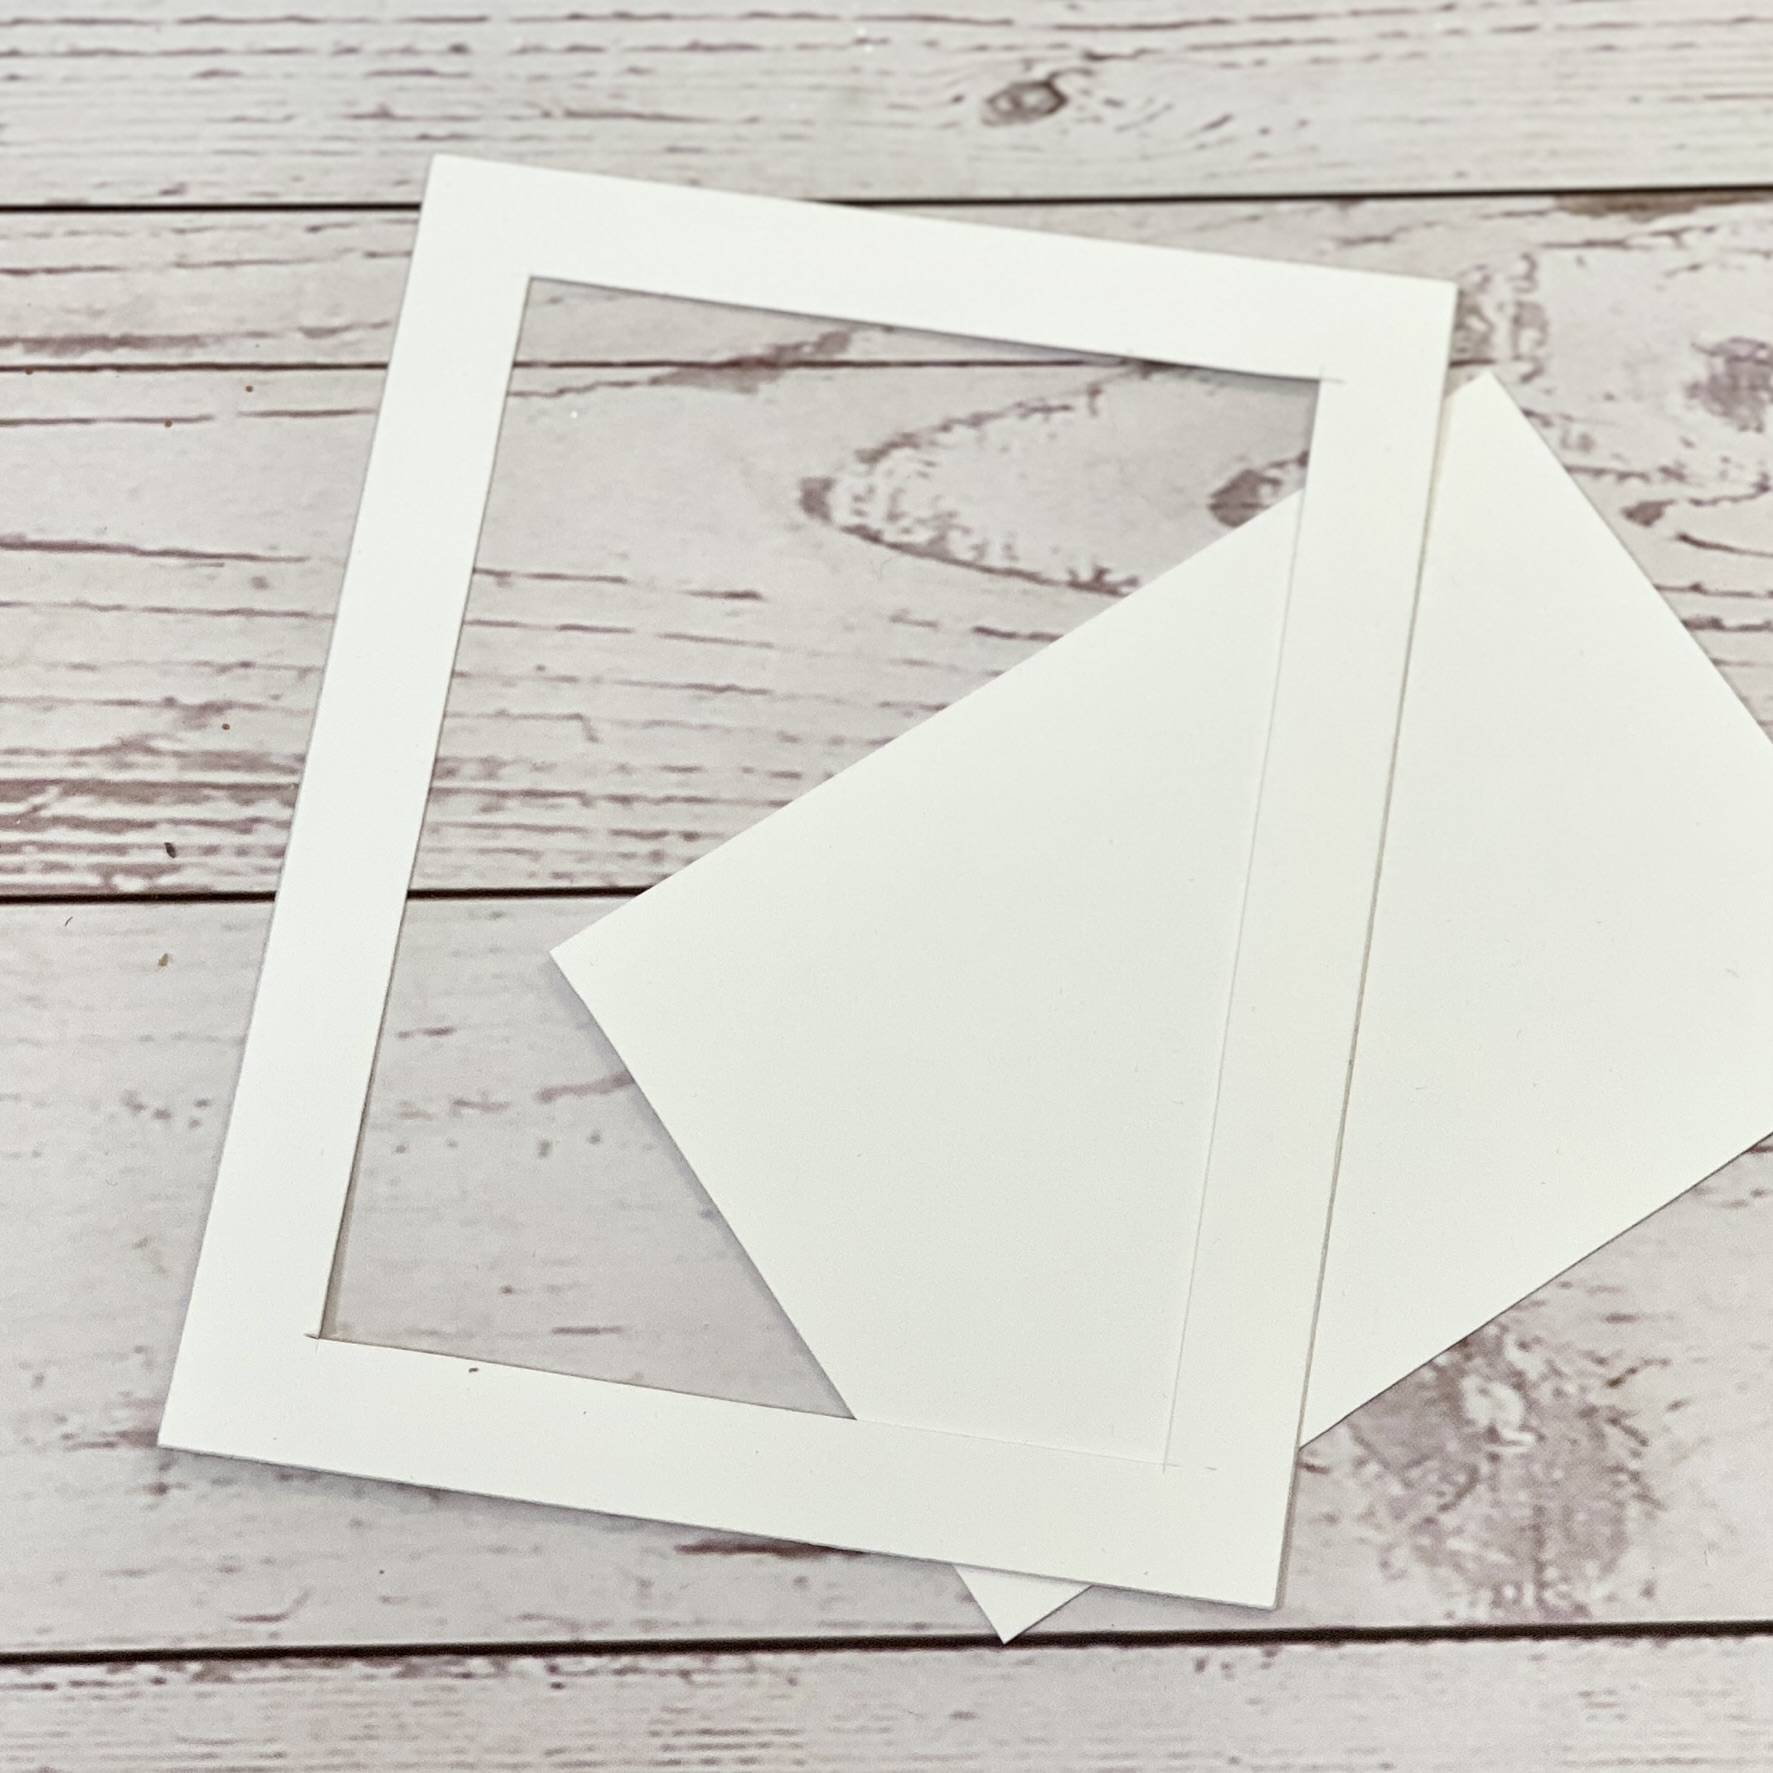
Once all 4 sides have been cut, you will be left with a perfect frame. Repeat this to ensure you have two frames. Alternatively, you could use a set of A2 dies to create the frame.
Step 4
![](https://ucarecdn.com/7f109b19-0a2b-456e-9fac-661cd1e0a603/-/format/auto/-/preview/3000x3000/-/quality/lighter/4.jpeg)
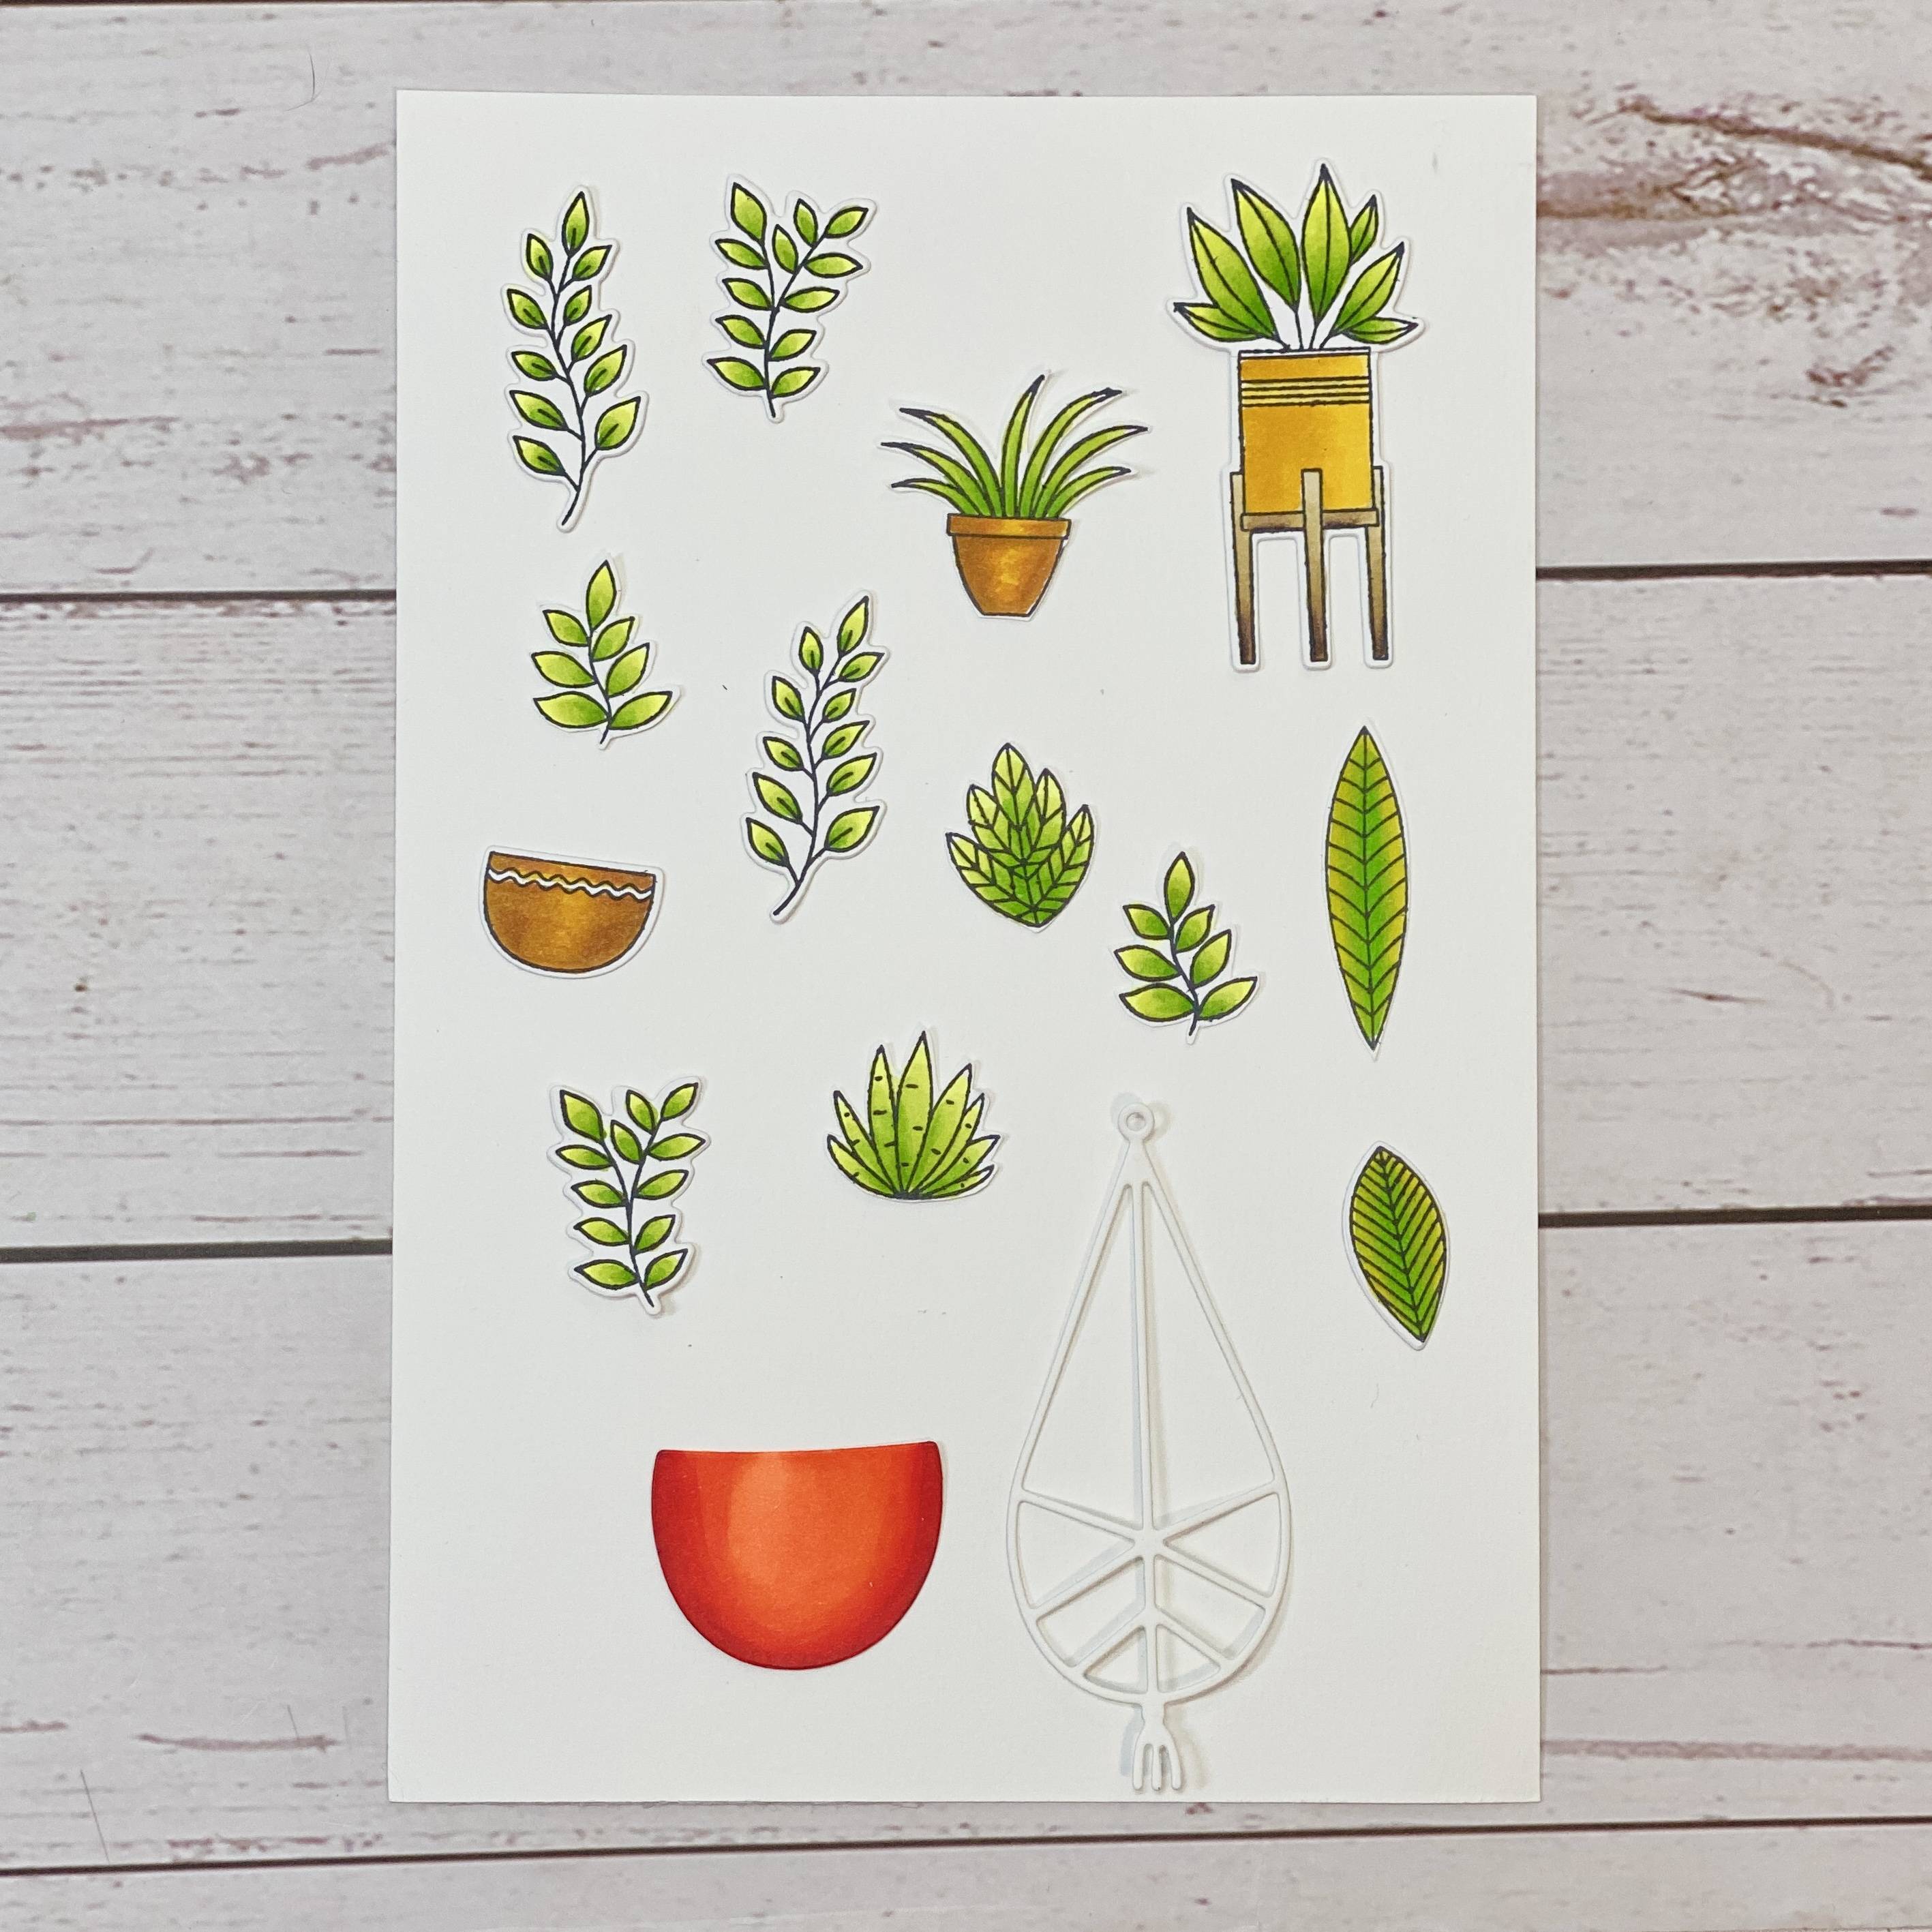
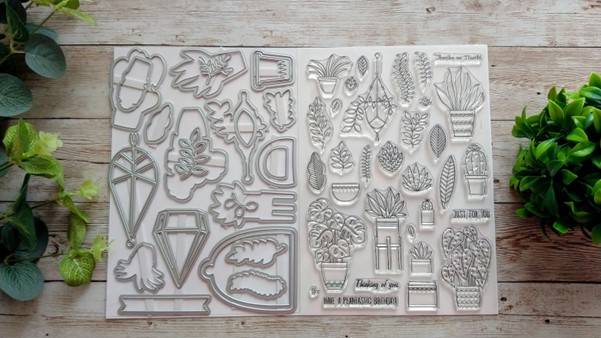
Stamp out the leaves, and flower pots onto Alcohol friendly cardstock, and color with alcohol markers. Once dry, add a few white gel pen details to those images. Die cut the images and the plant hanger twice and large planter in smooth white card. Color the large planter.
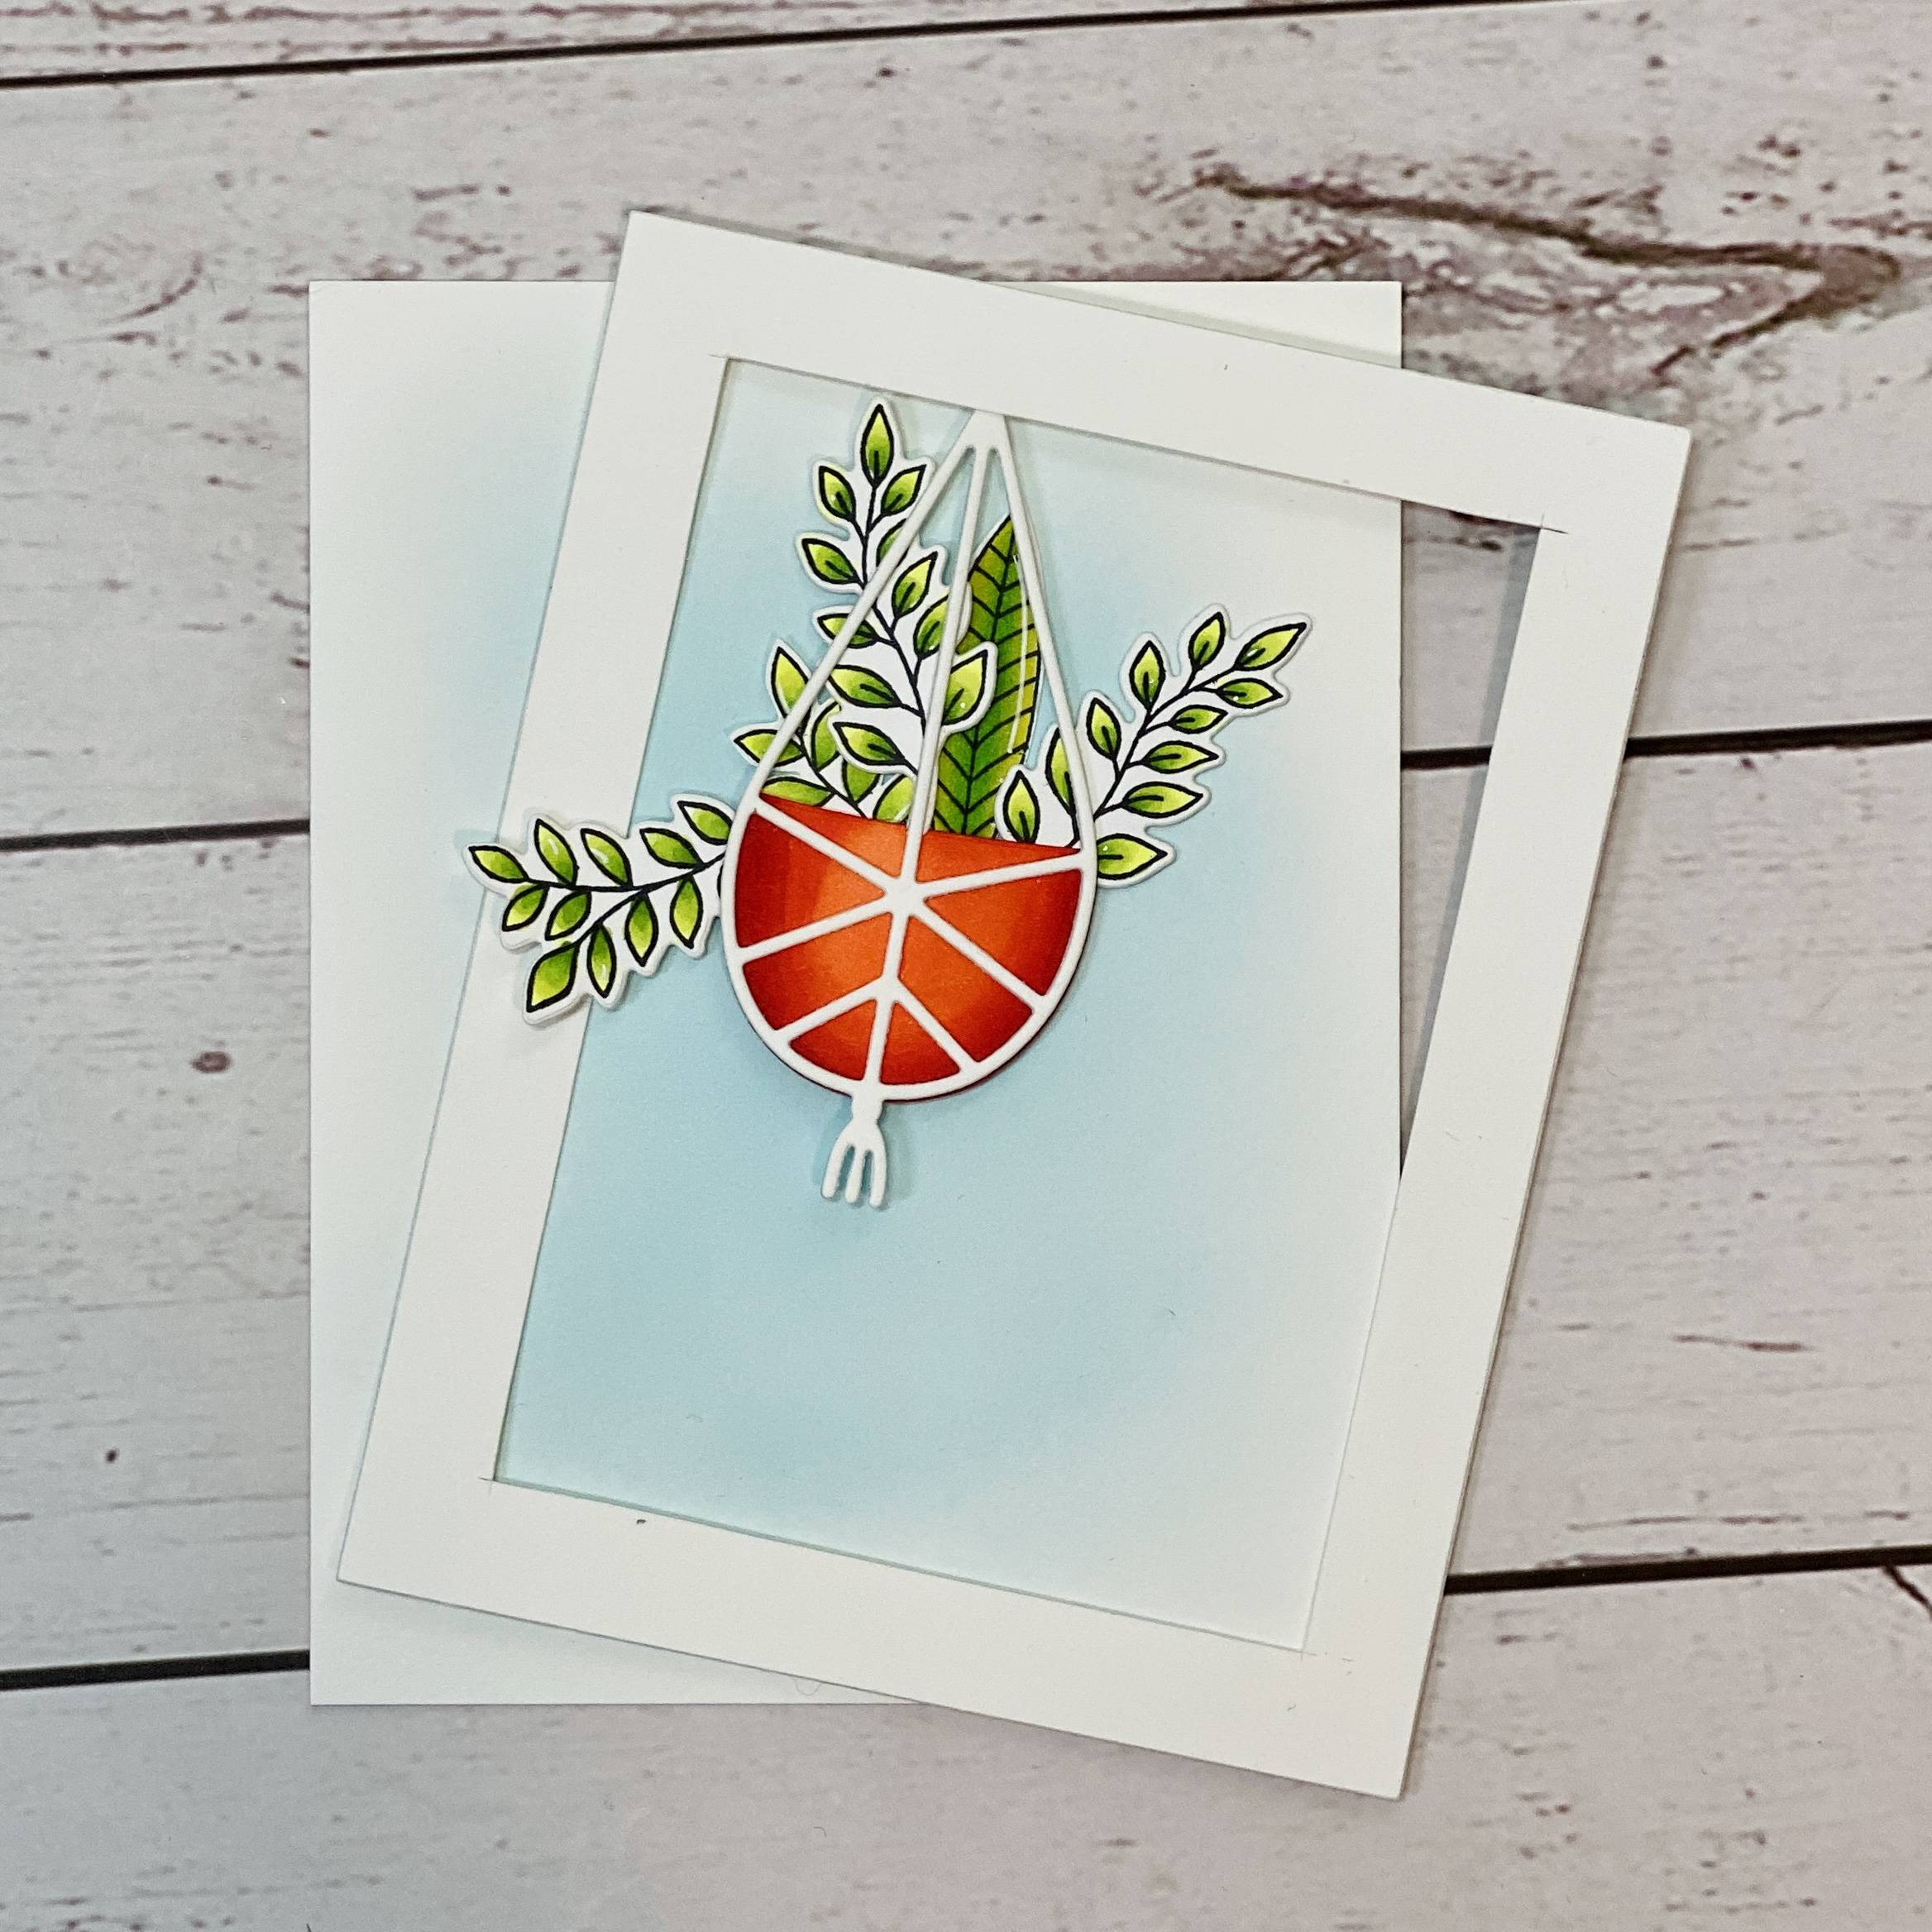
Step 5
![](https://ucarecdn.com/0f85a267-d42b-4a90-acac-201e5f16a6a2/-/format/auto/-/preview/3000x3000/-/quality/lighter/5.jpeg)
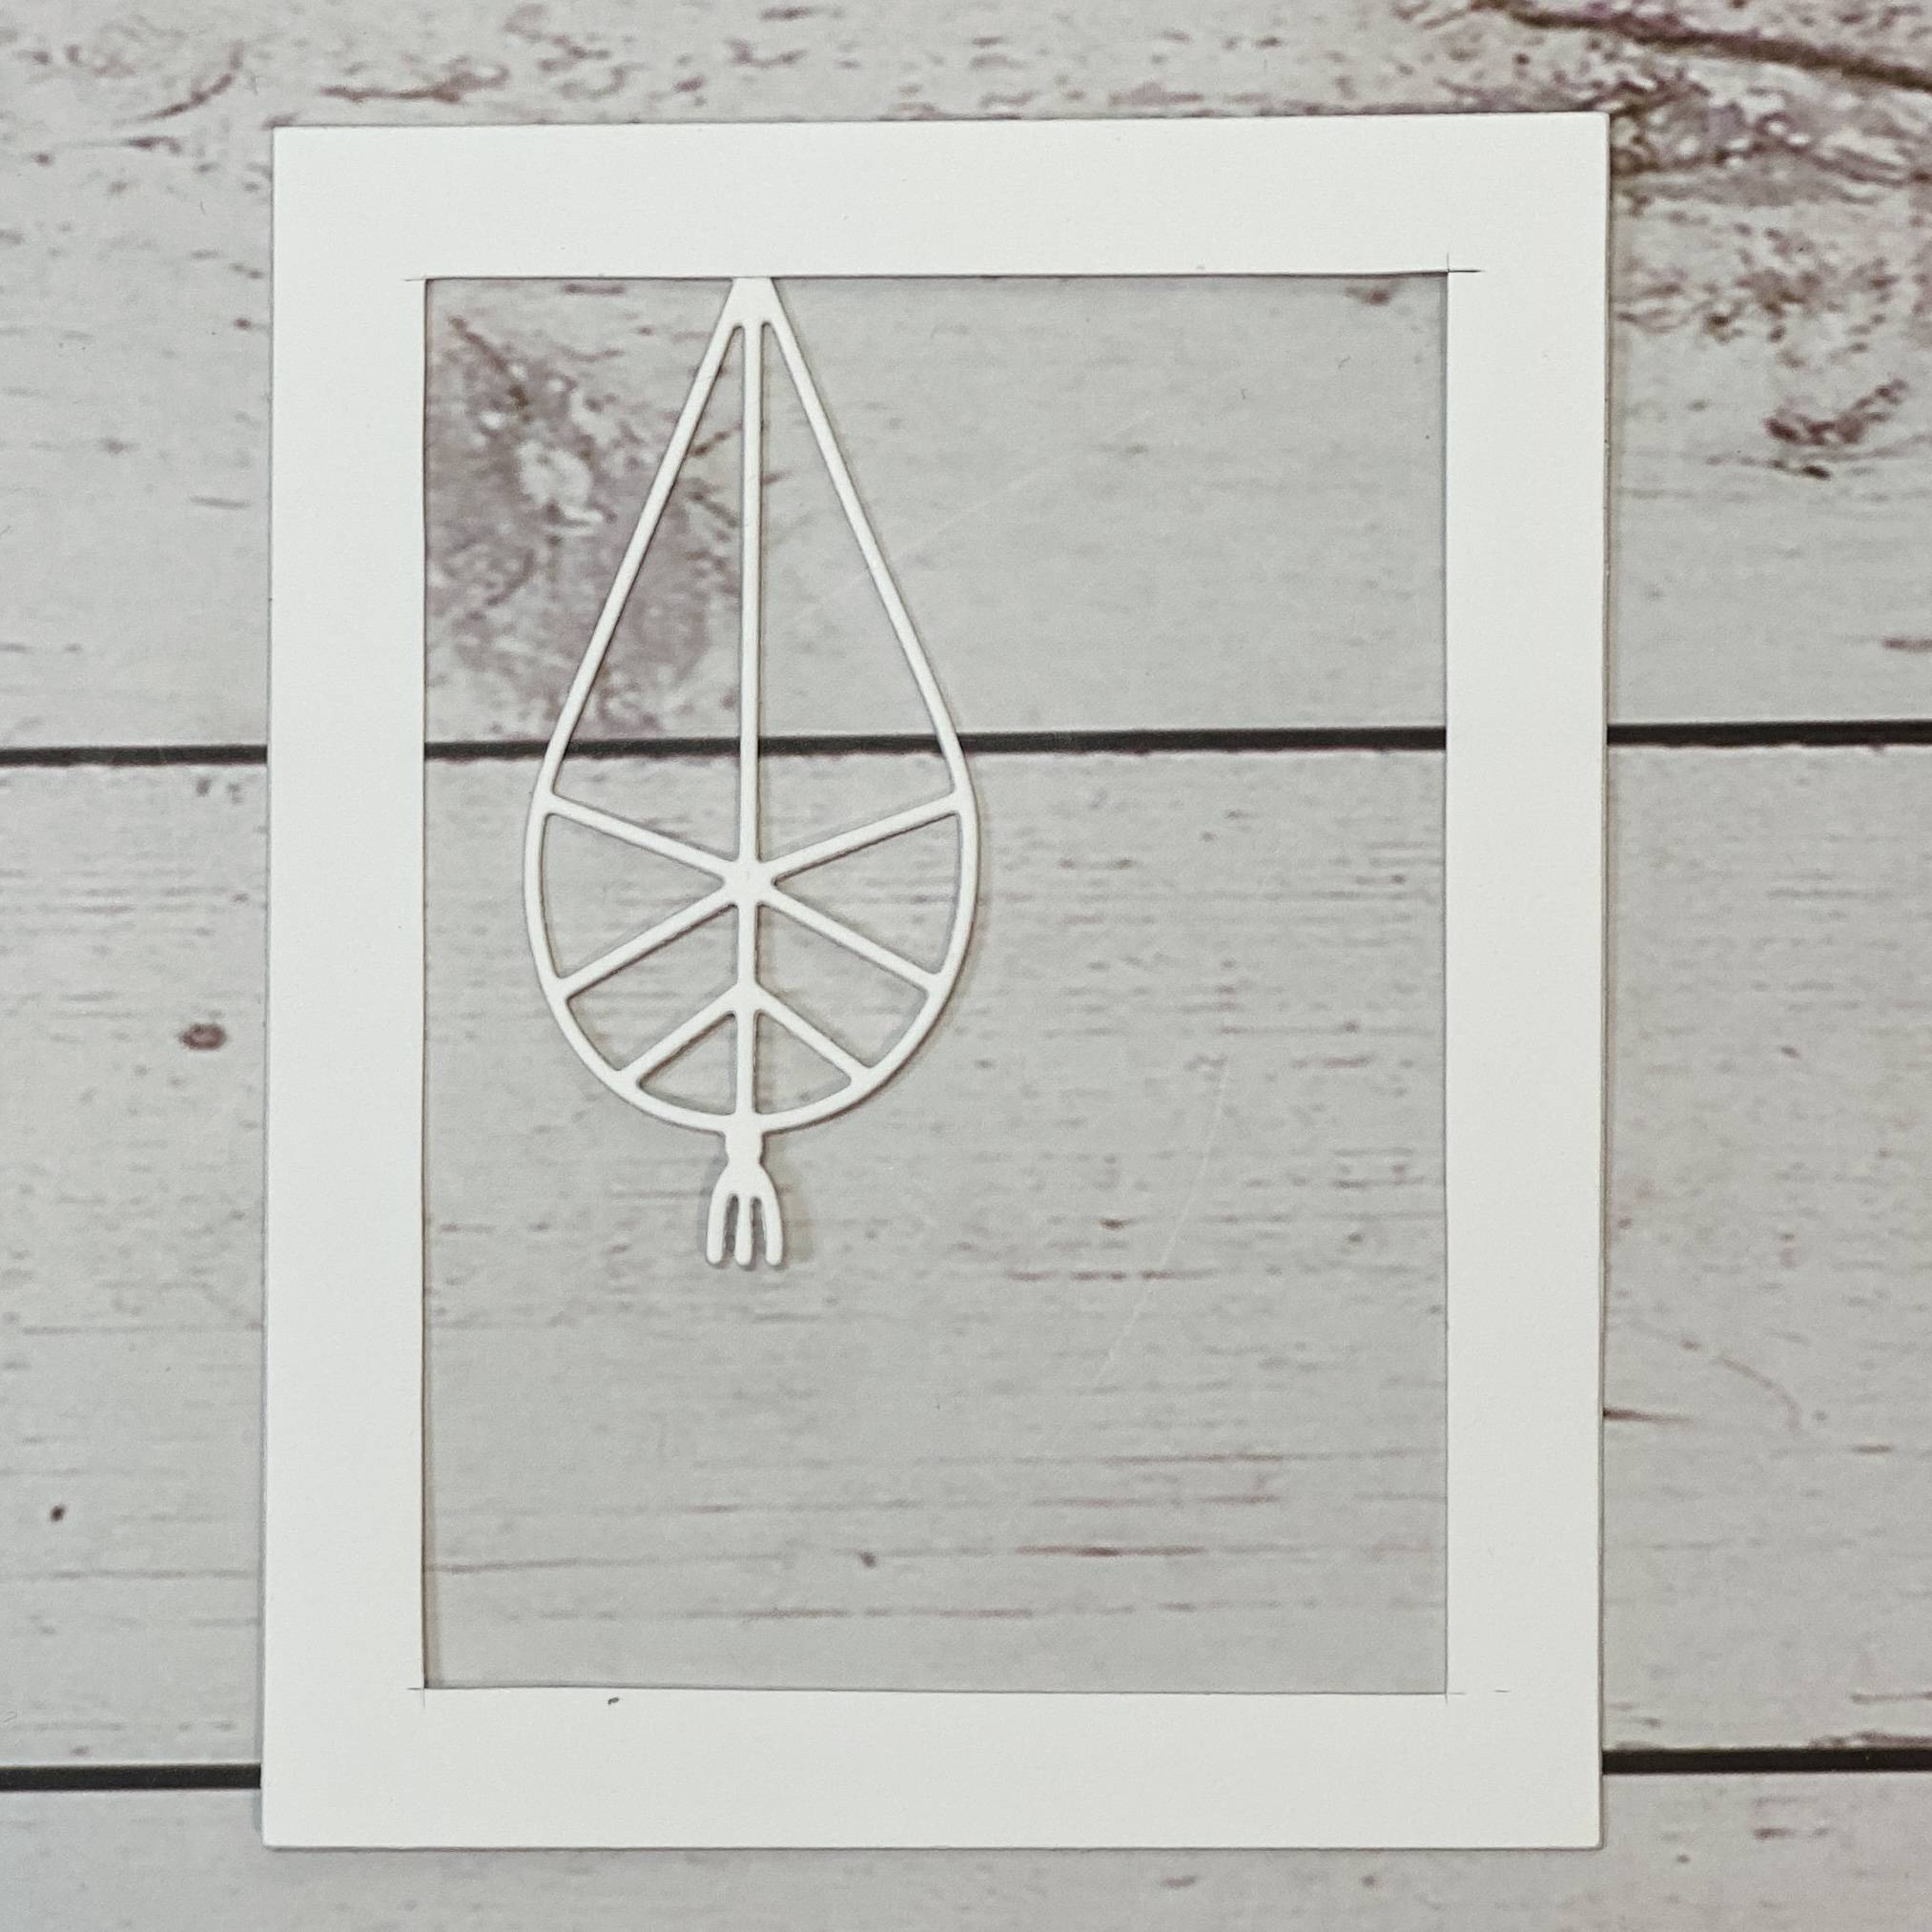
Adhere one of the plant holders to the back of the frame.
Step 6
![](https://ucarecdn.com/bb0f9a2d-0e4c-4314-a09a-42289869b7b7/-/format/auto/-/preview/3000x3000/-/quality/lighter/6.jpeg)
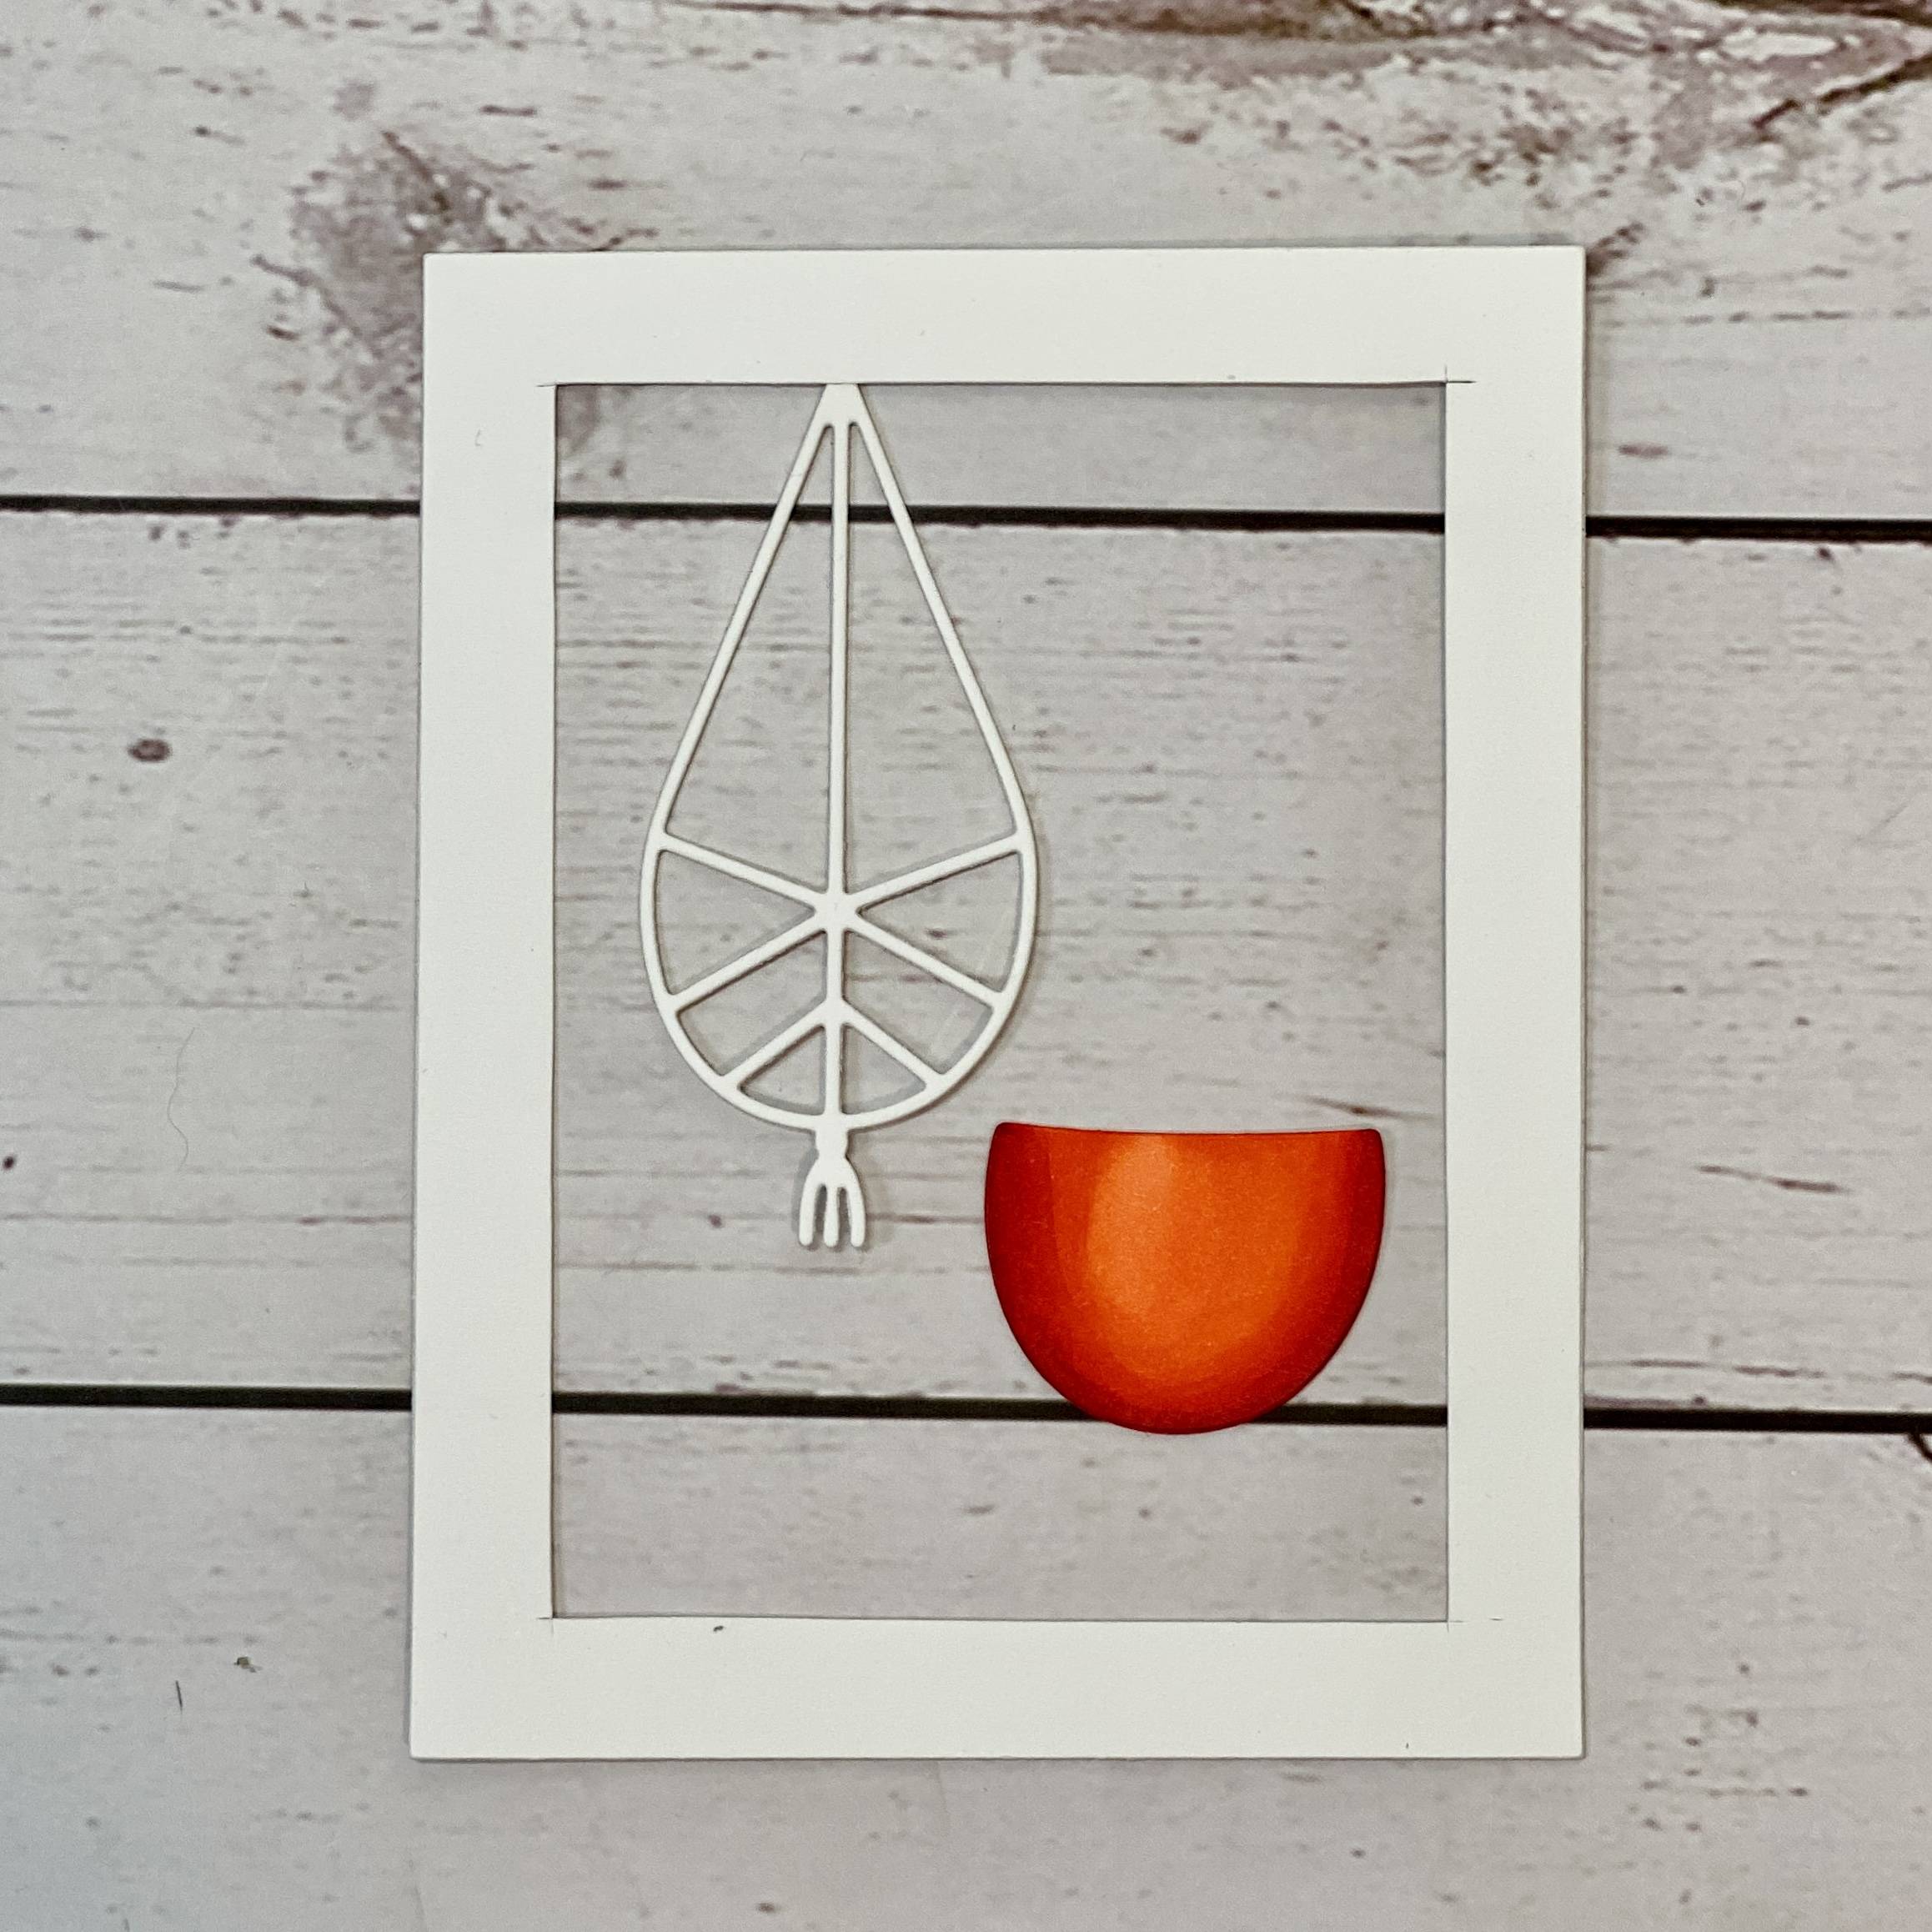
Carefully glue the colored plant holder into the hanger, and then stick the second plant hanger behind. This gives the hanger a little extra durability.
Step 7
![](https://ucarecdn.com/5717b0c5-f538-40f5-b265-98fe15d32317/-/format/auto/-/preview/3000x3000/-/quality/lighter/7.jpeg)
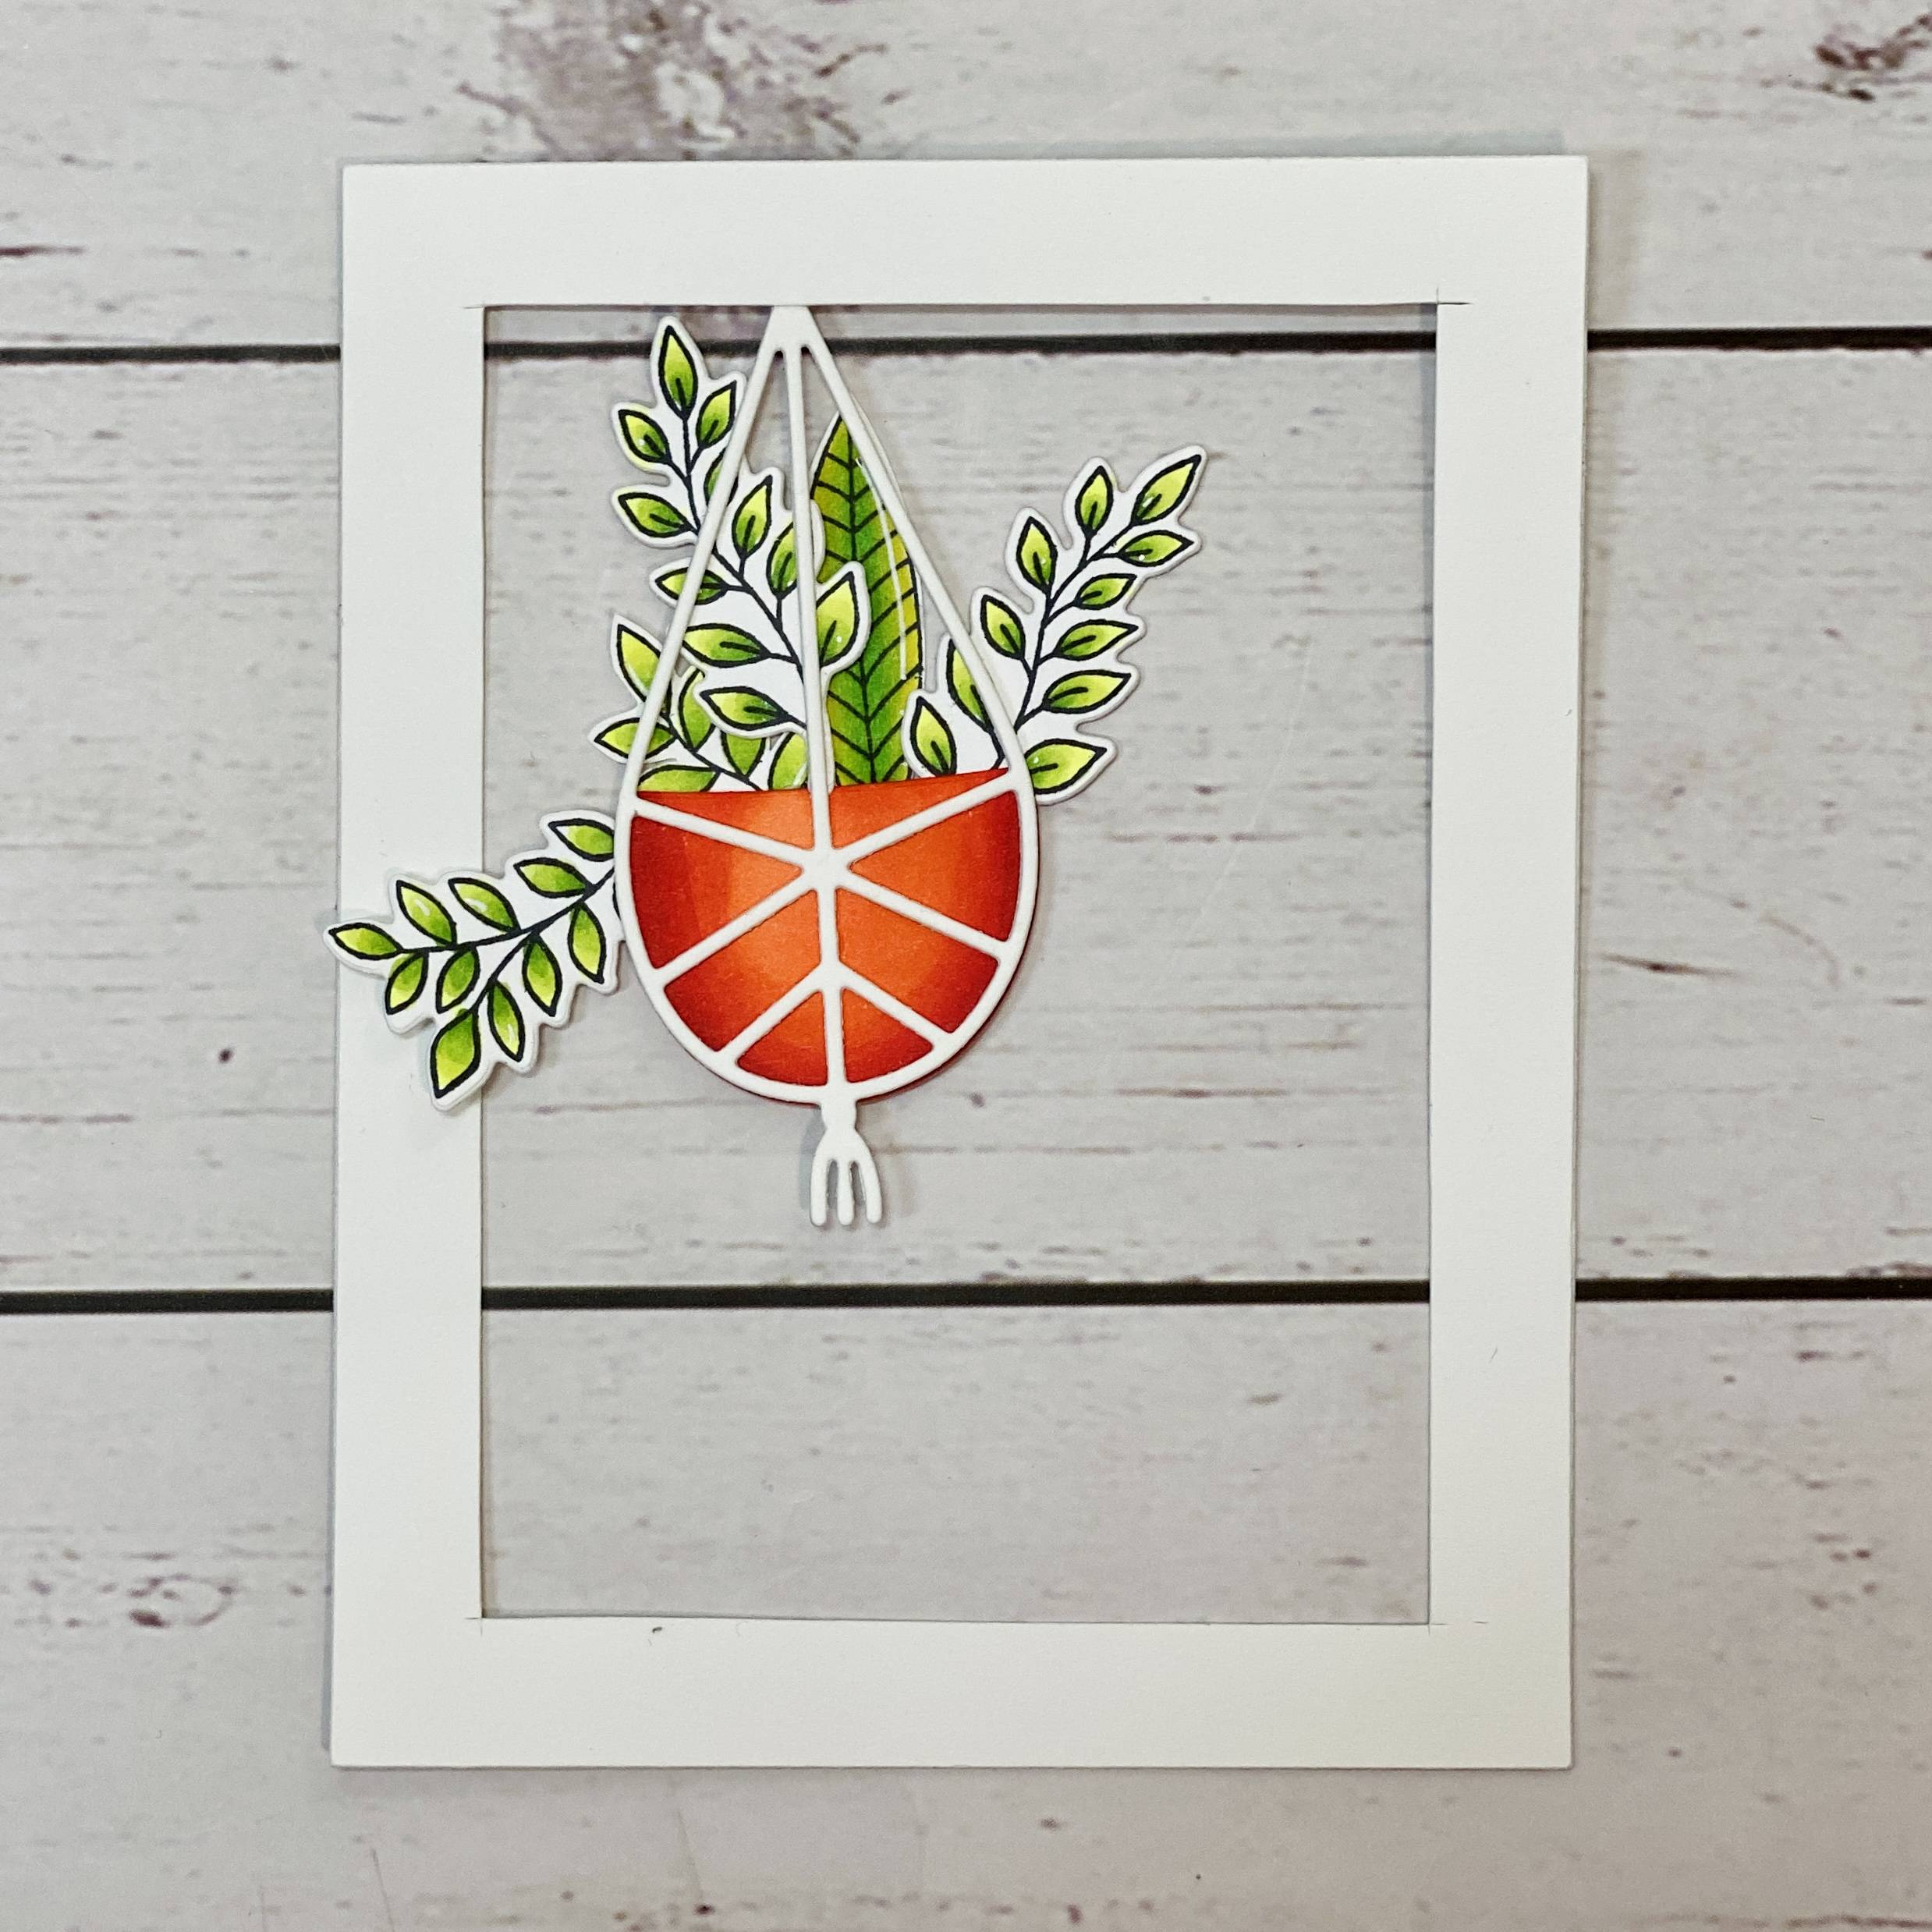
Add some of the leaves to the hanger.
Step 8
![](https://ucarecdn.com/6b65a2e2-2de1-4bcd-9baa-b58a031de6ad/-/format/auto/-/preview/3000x3000/-/quality/lighter/8.jpeg)
Trim a piece of white smooth card, 5.5” x 4.25” or A2 size. Use Blue Mineral (or any light blue) Hybrid ink to create a soft blue background.
Step 9
![](https://ucarecdn.com/8481d689-eee5-49c5-a3af-6a0af6263731/-/format/auto/-/preview/3000x3000/-/quality/lighter/9.jpeg)
Use 4mm foam pads (2mm double stacked) or shaker tape to add your frame to the background panel.
Step 10
![](https://ucarecdn.com/a5436fe8-29e3-408f-a930-cb4097509a2e/-/format/auto/-/preview/3000x3000/-/quality/lighter/10%20_1_.jpeg)
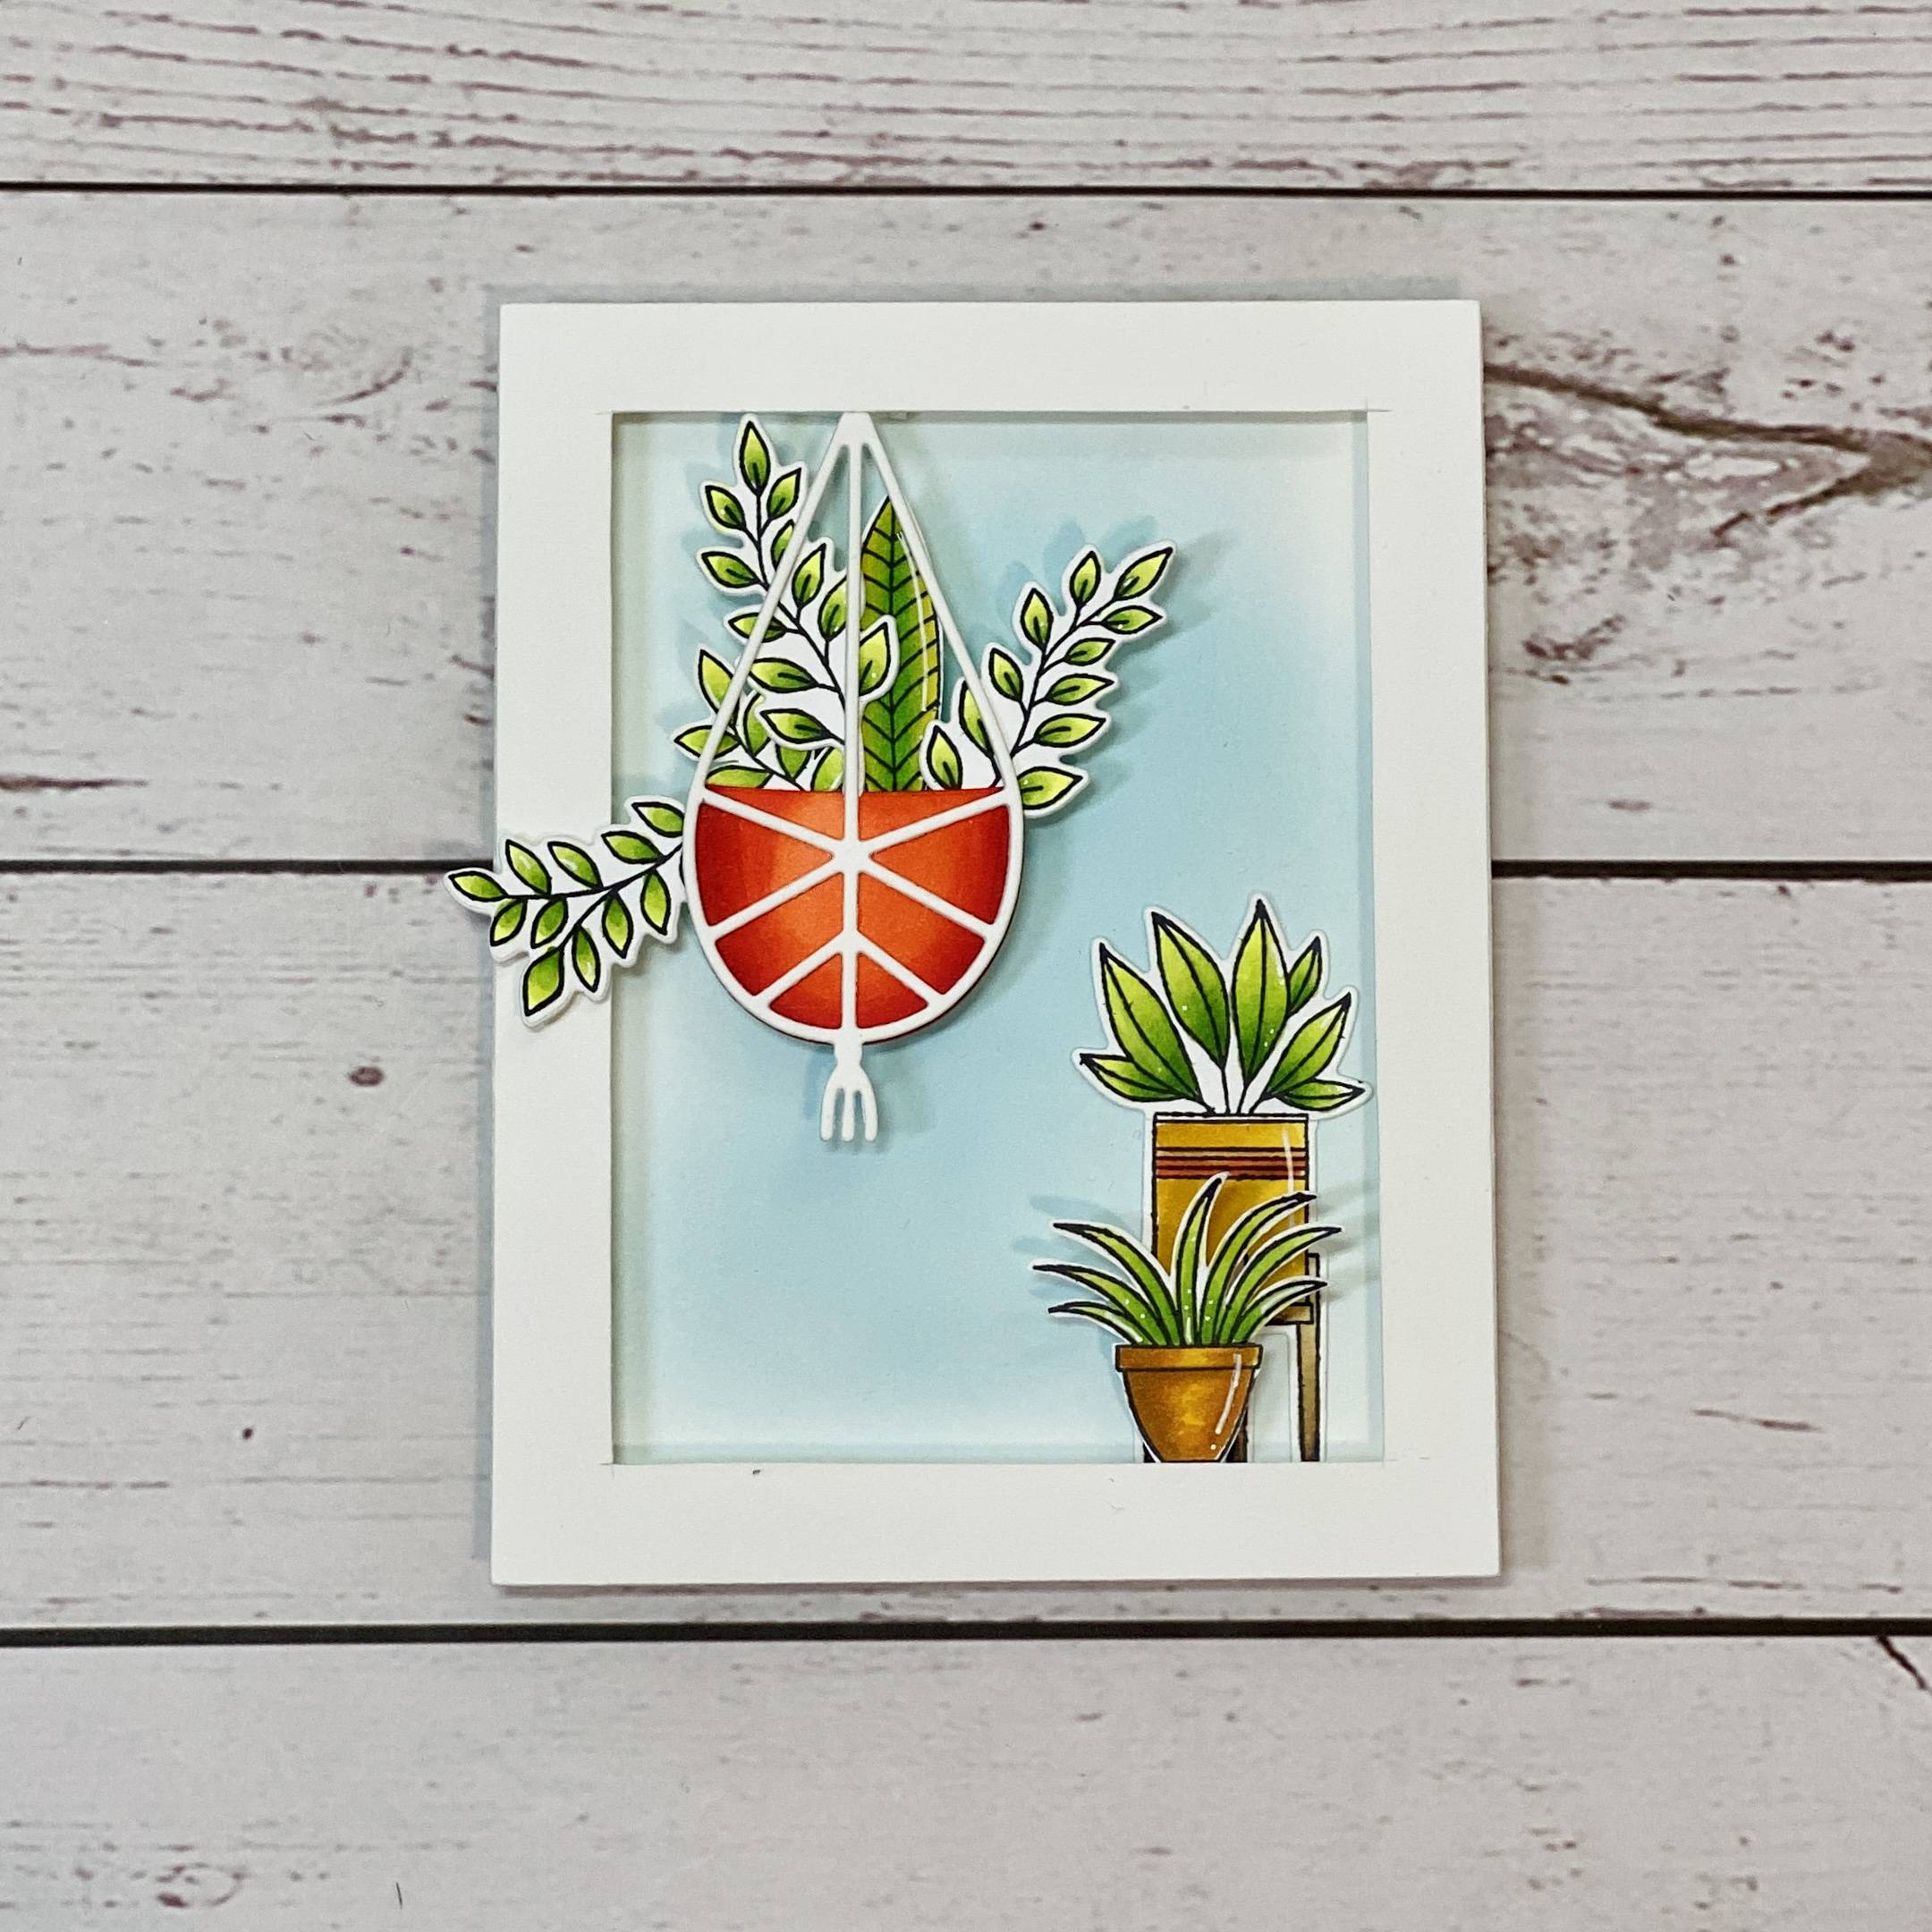
Add two planters to the bottom right of the card.
Step 11
![](https://ucarecdn.com/fb8177dd-1bcb-4850-a0f1-c8ff7e81f952/-/format/auto/-/preview/3000x3000/-/quality/lighter/11.jpeg)
Place foam pads on the other frame previously cut out (steps 1-3)
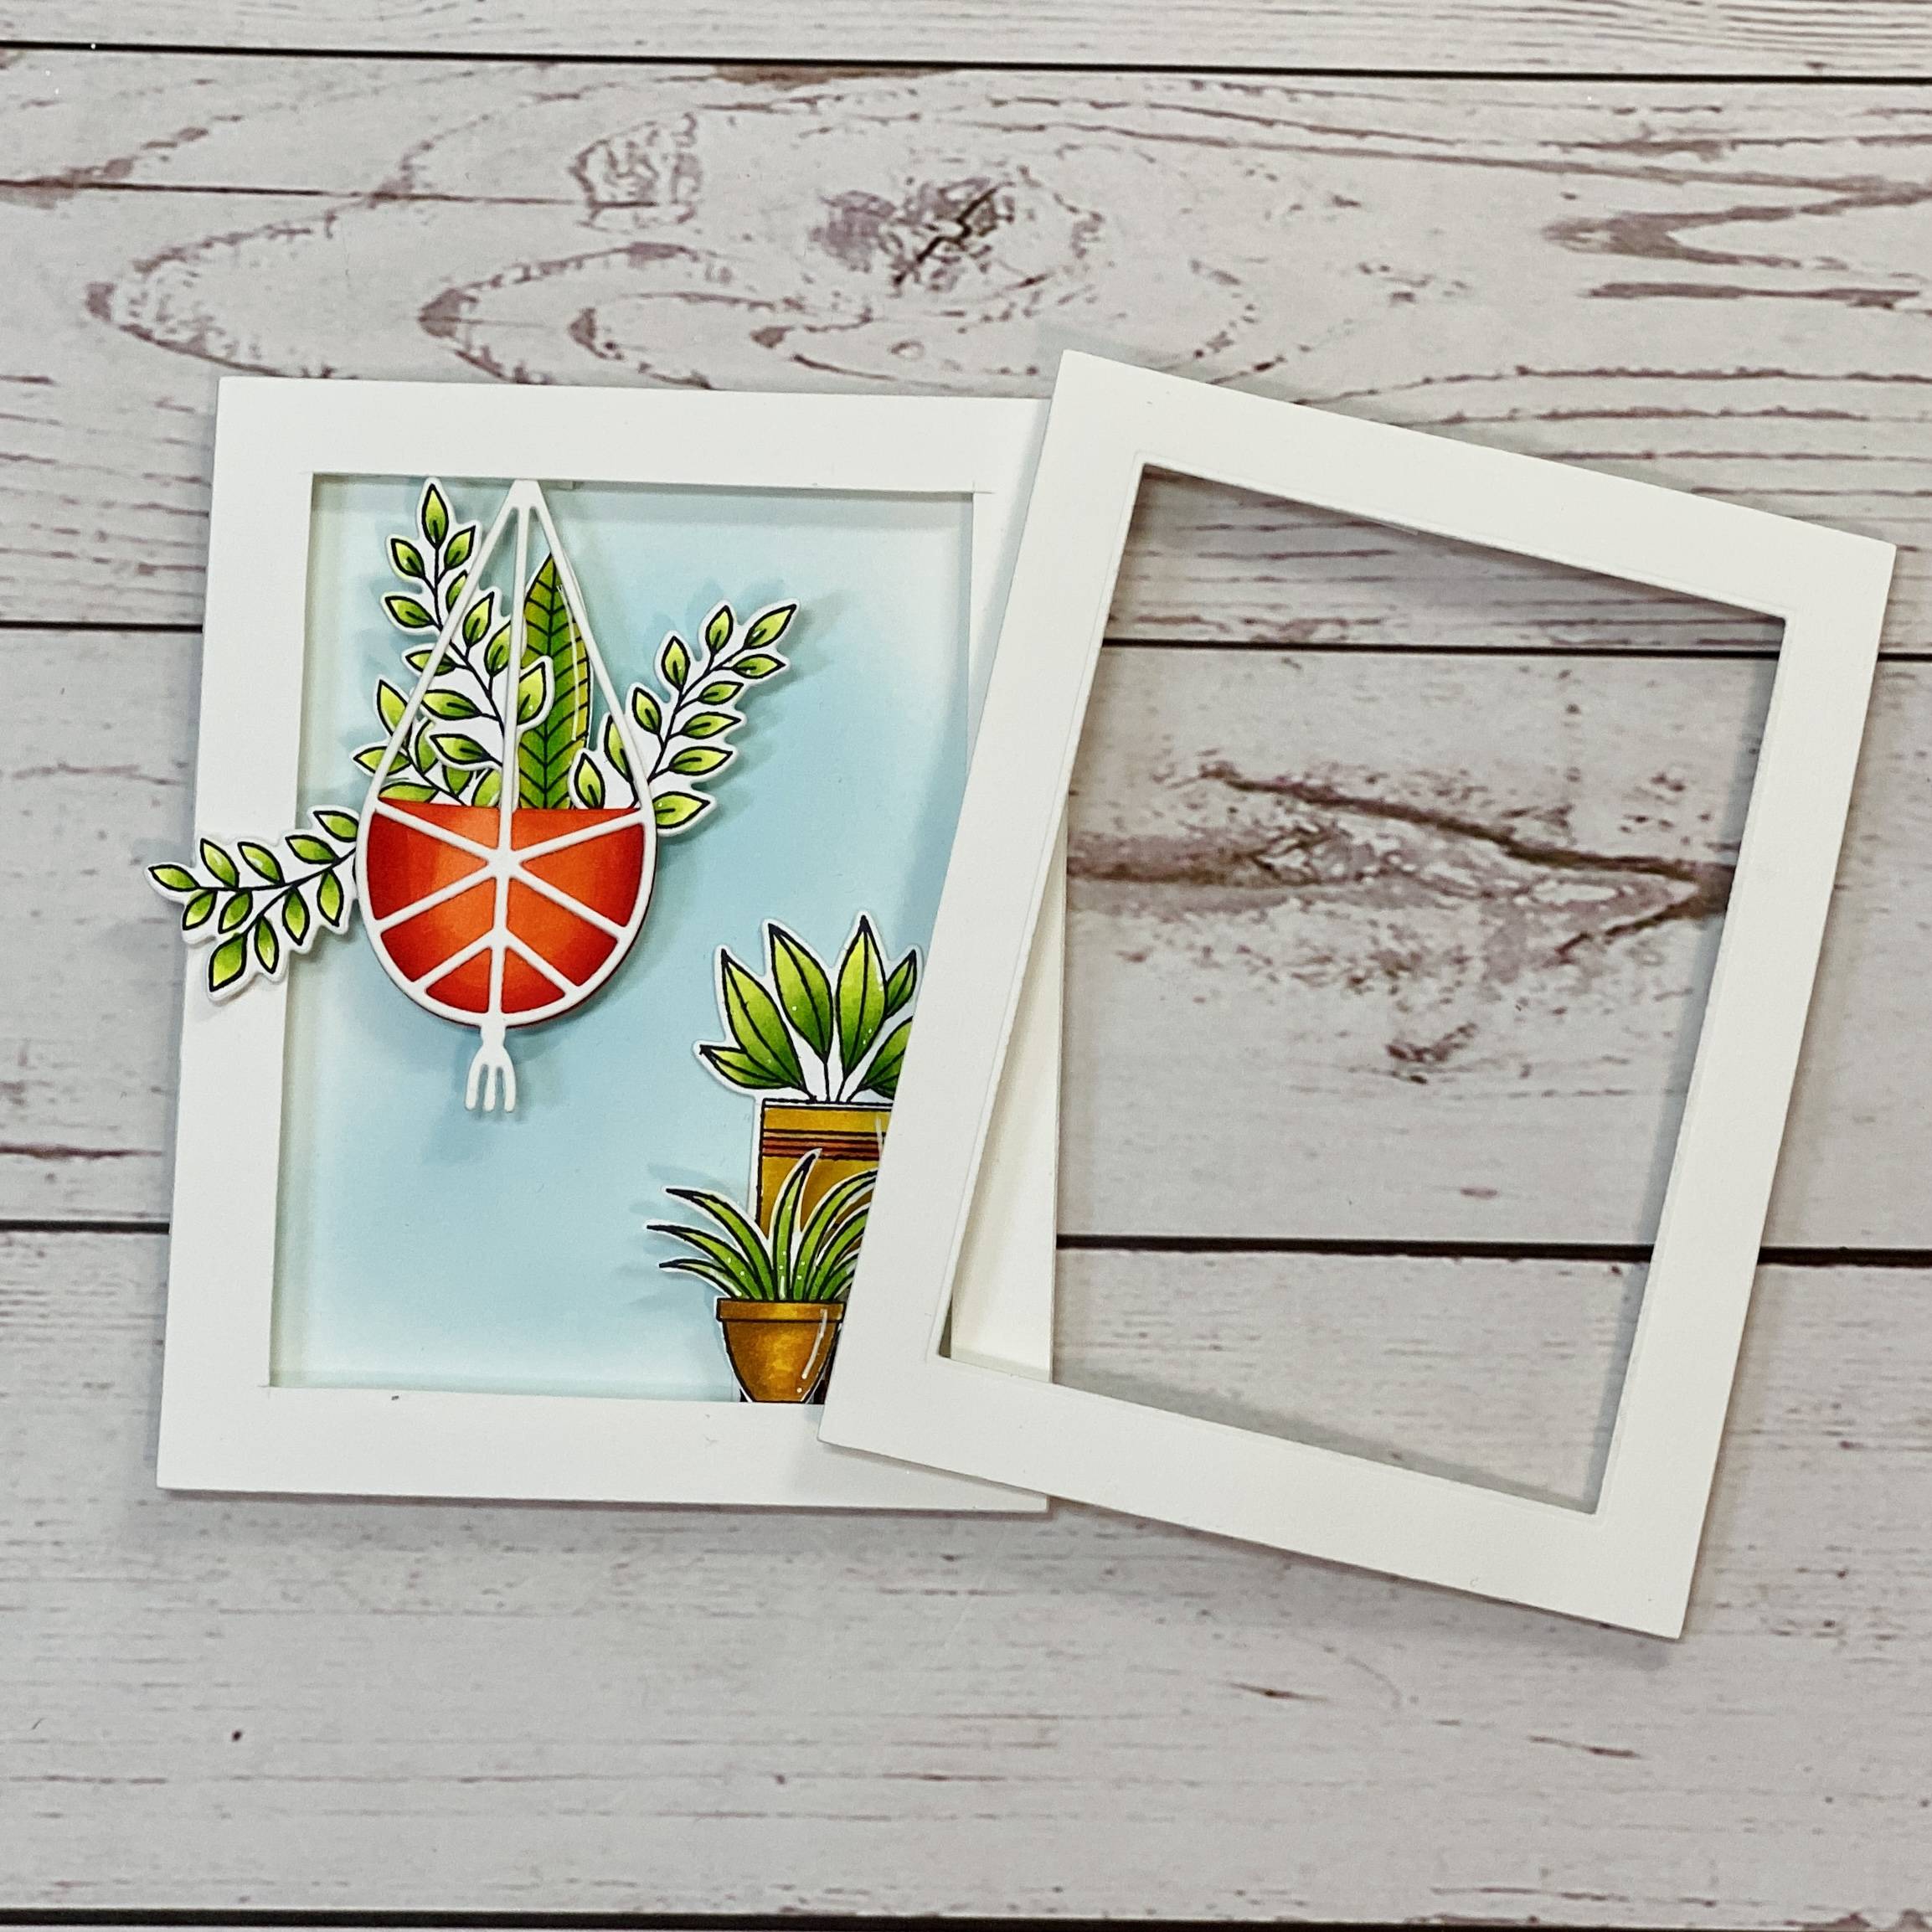
Step 12
![](https://ucarecdn.com/bc602bfc-b1d2-4d17-b8a8-3bd3fa9c3199/-/format/auto/-/preview/3000x3000/-/quality/lighter/12.jpeg)
Add the second frame directly over the top.
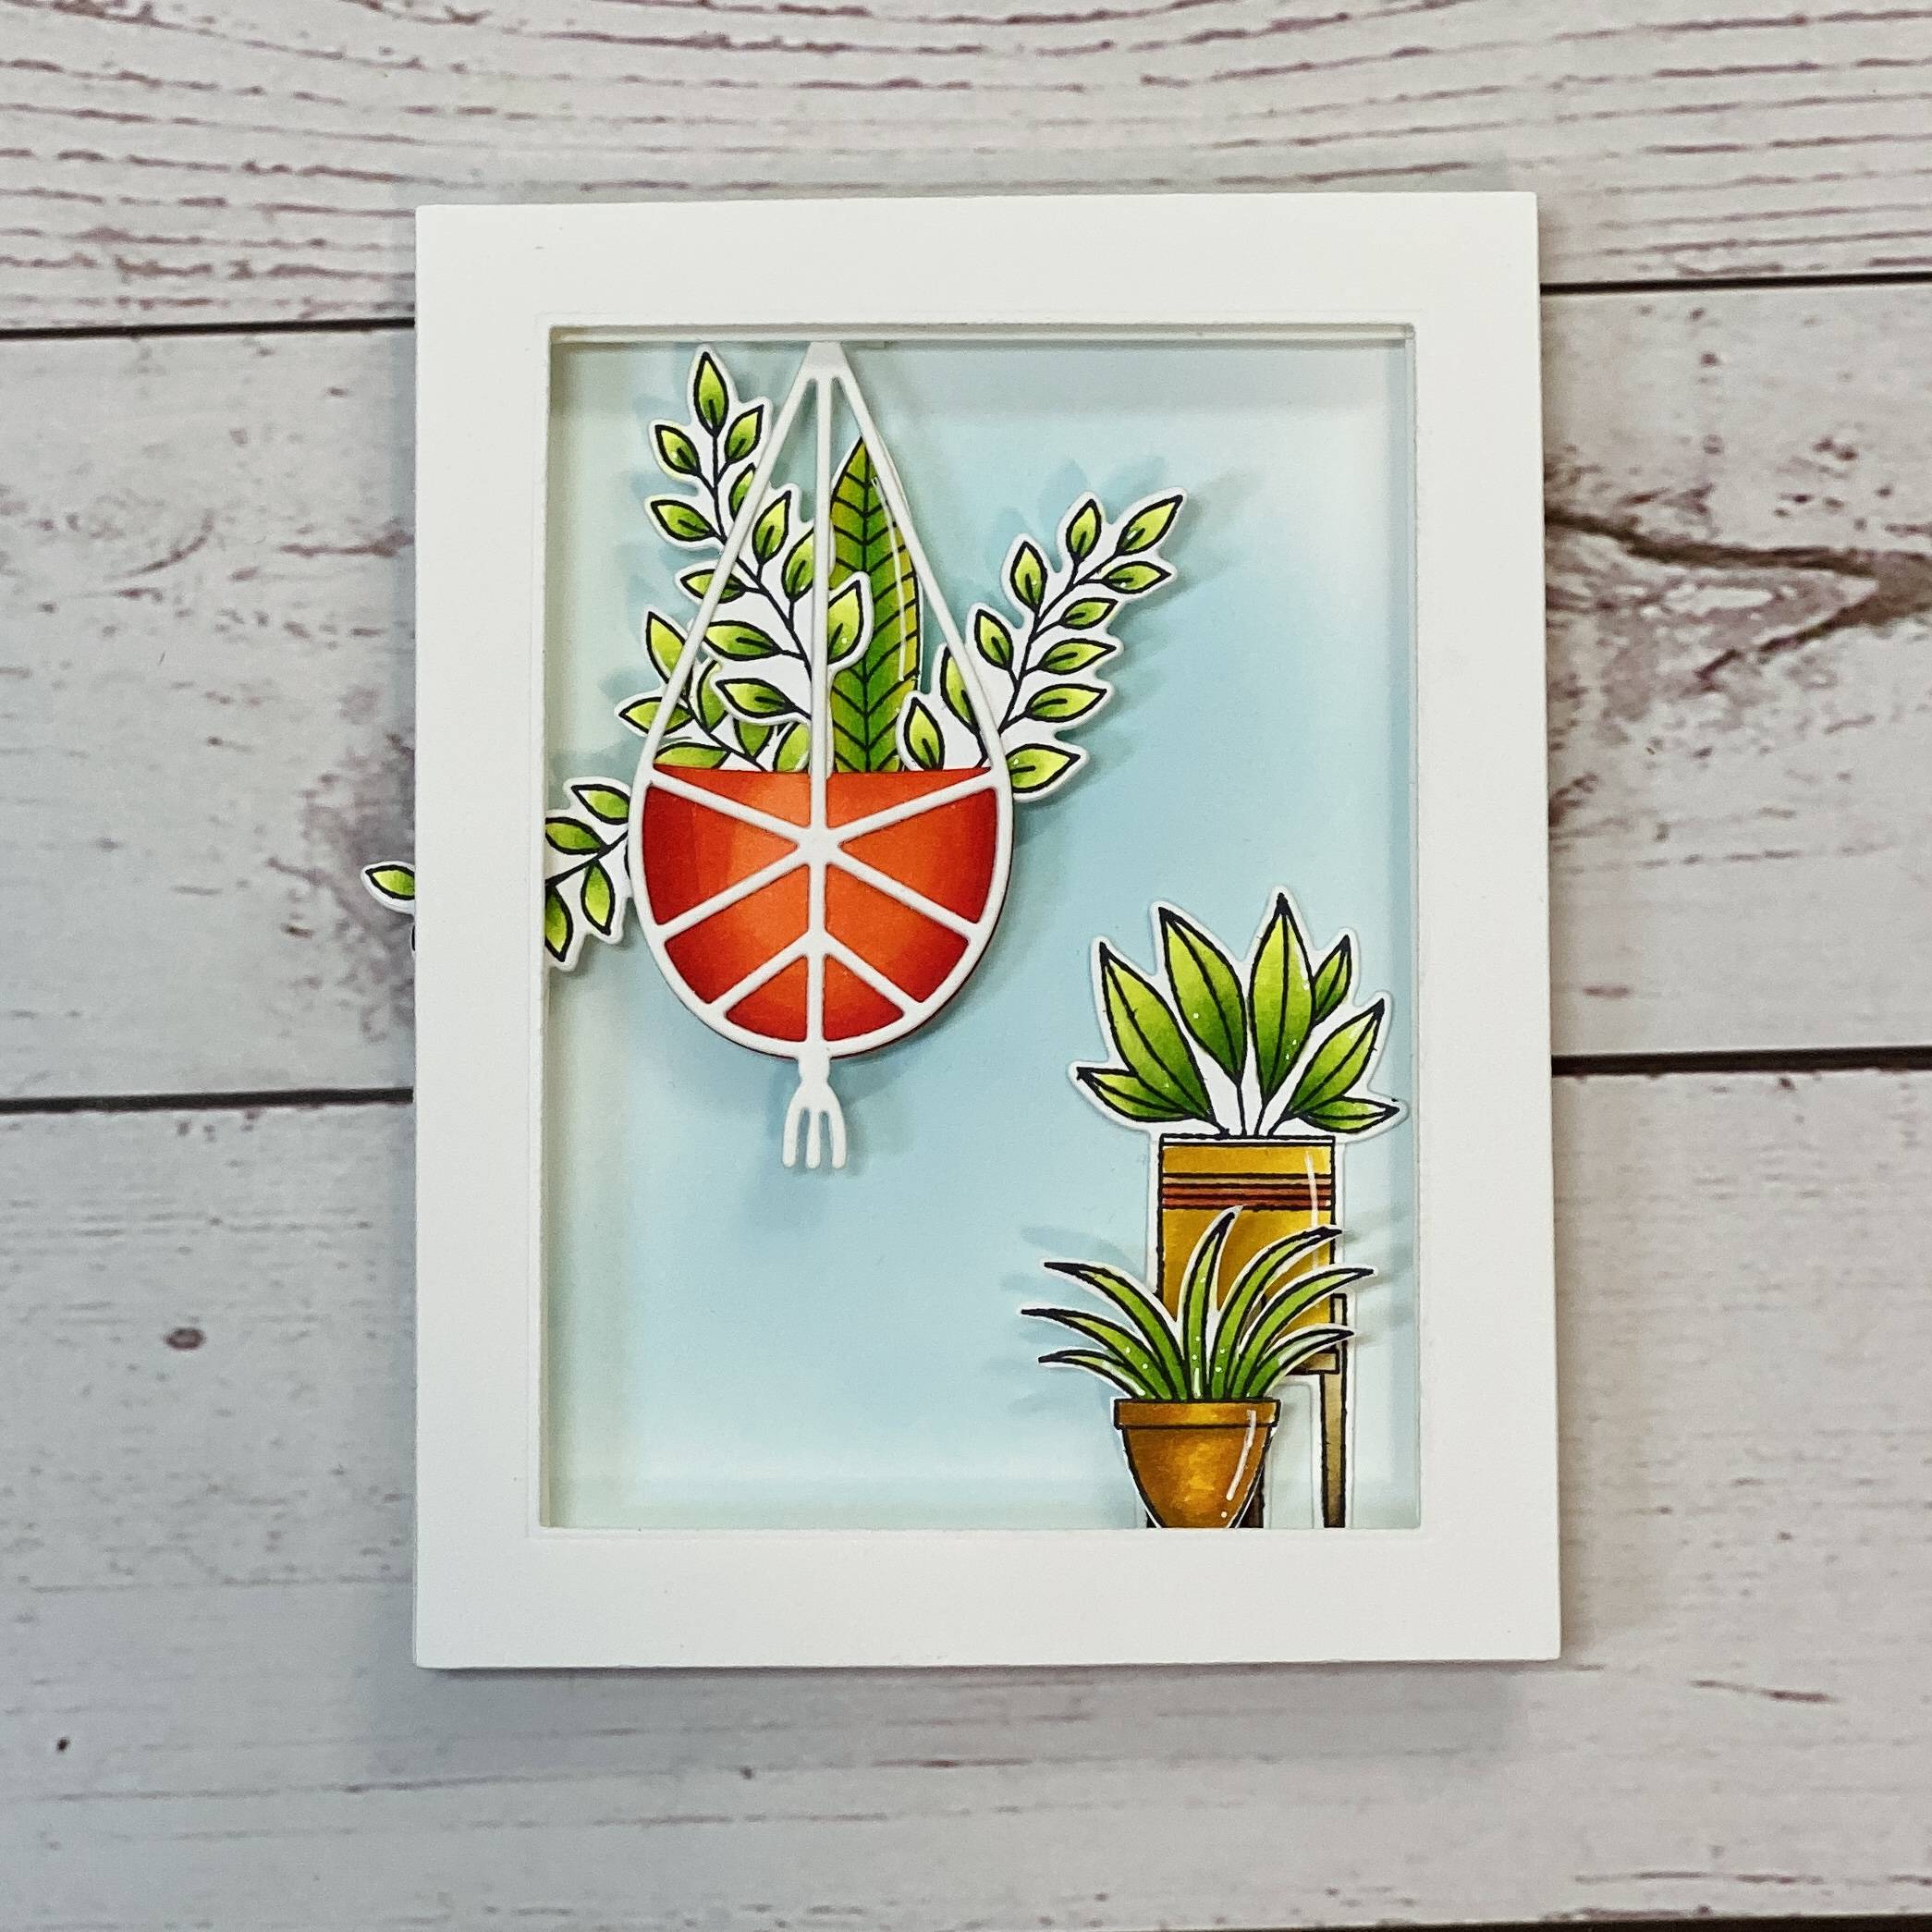
Step 13
![](https://ucarecdn.com/7b6a39f1-23d4-4515-b3d1-bded9c59fd54/-/format/auto/-/preview/3000x3000/-/quality/lighter/13.jpeg)
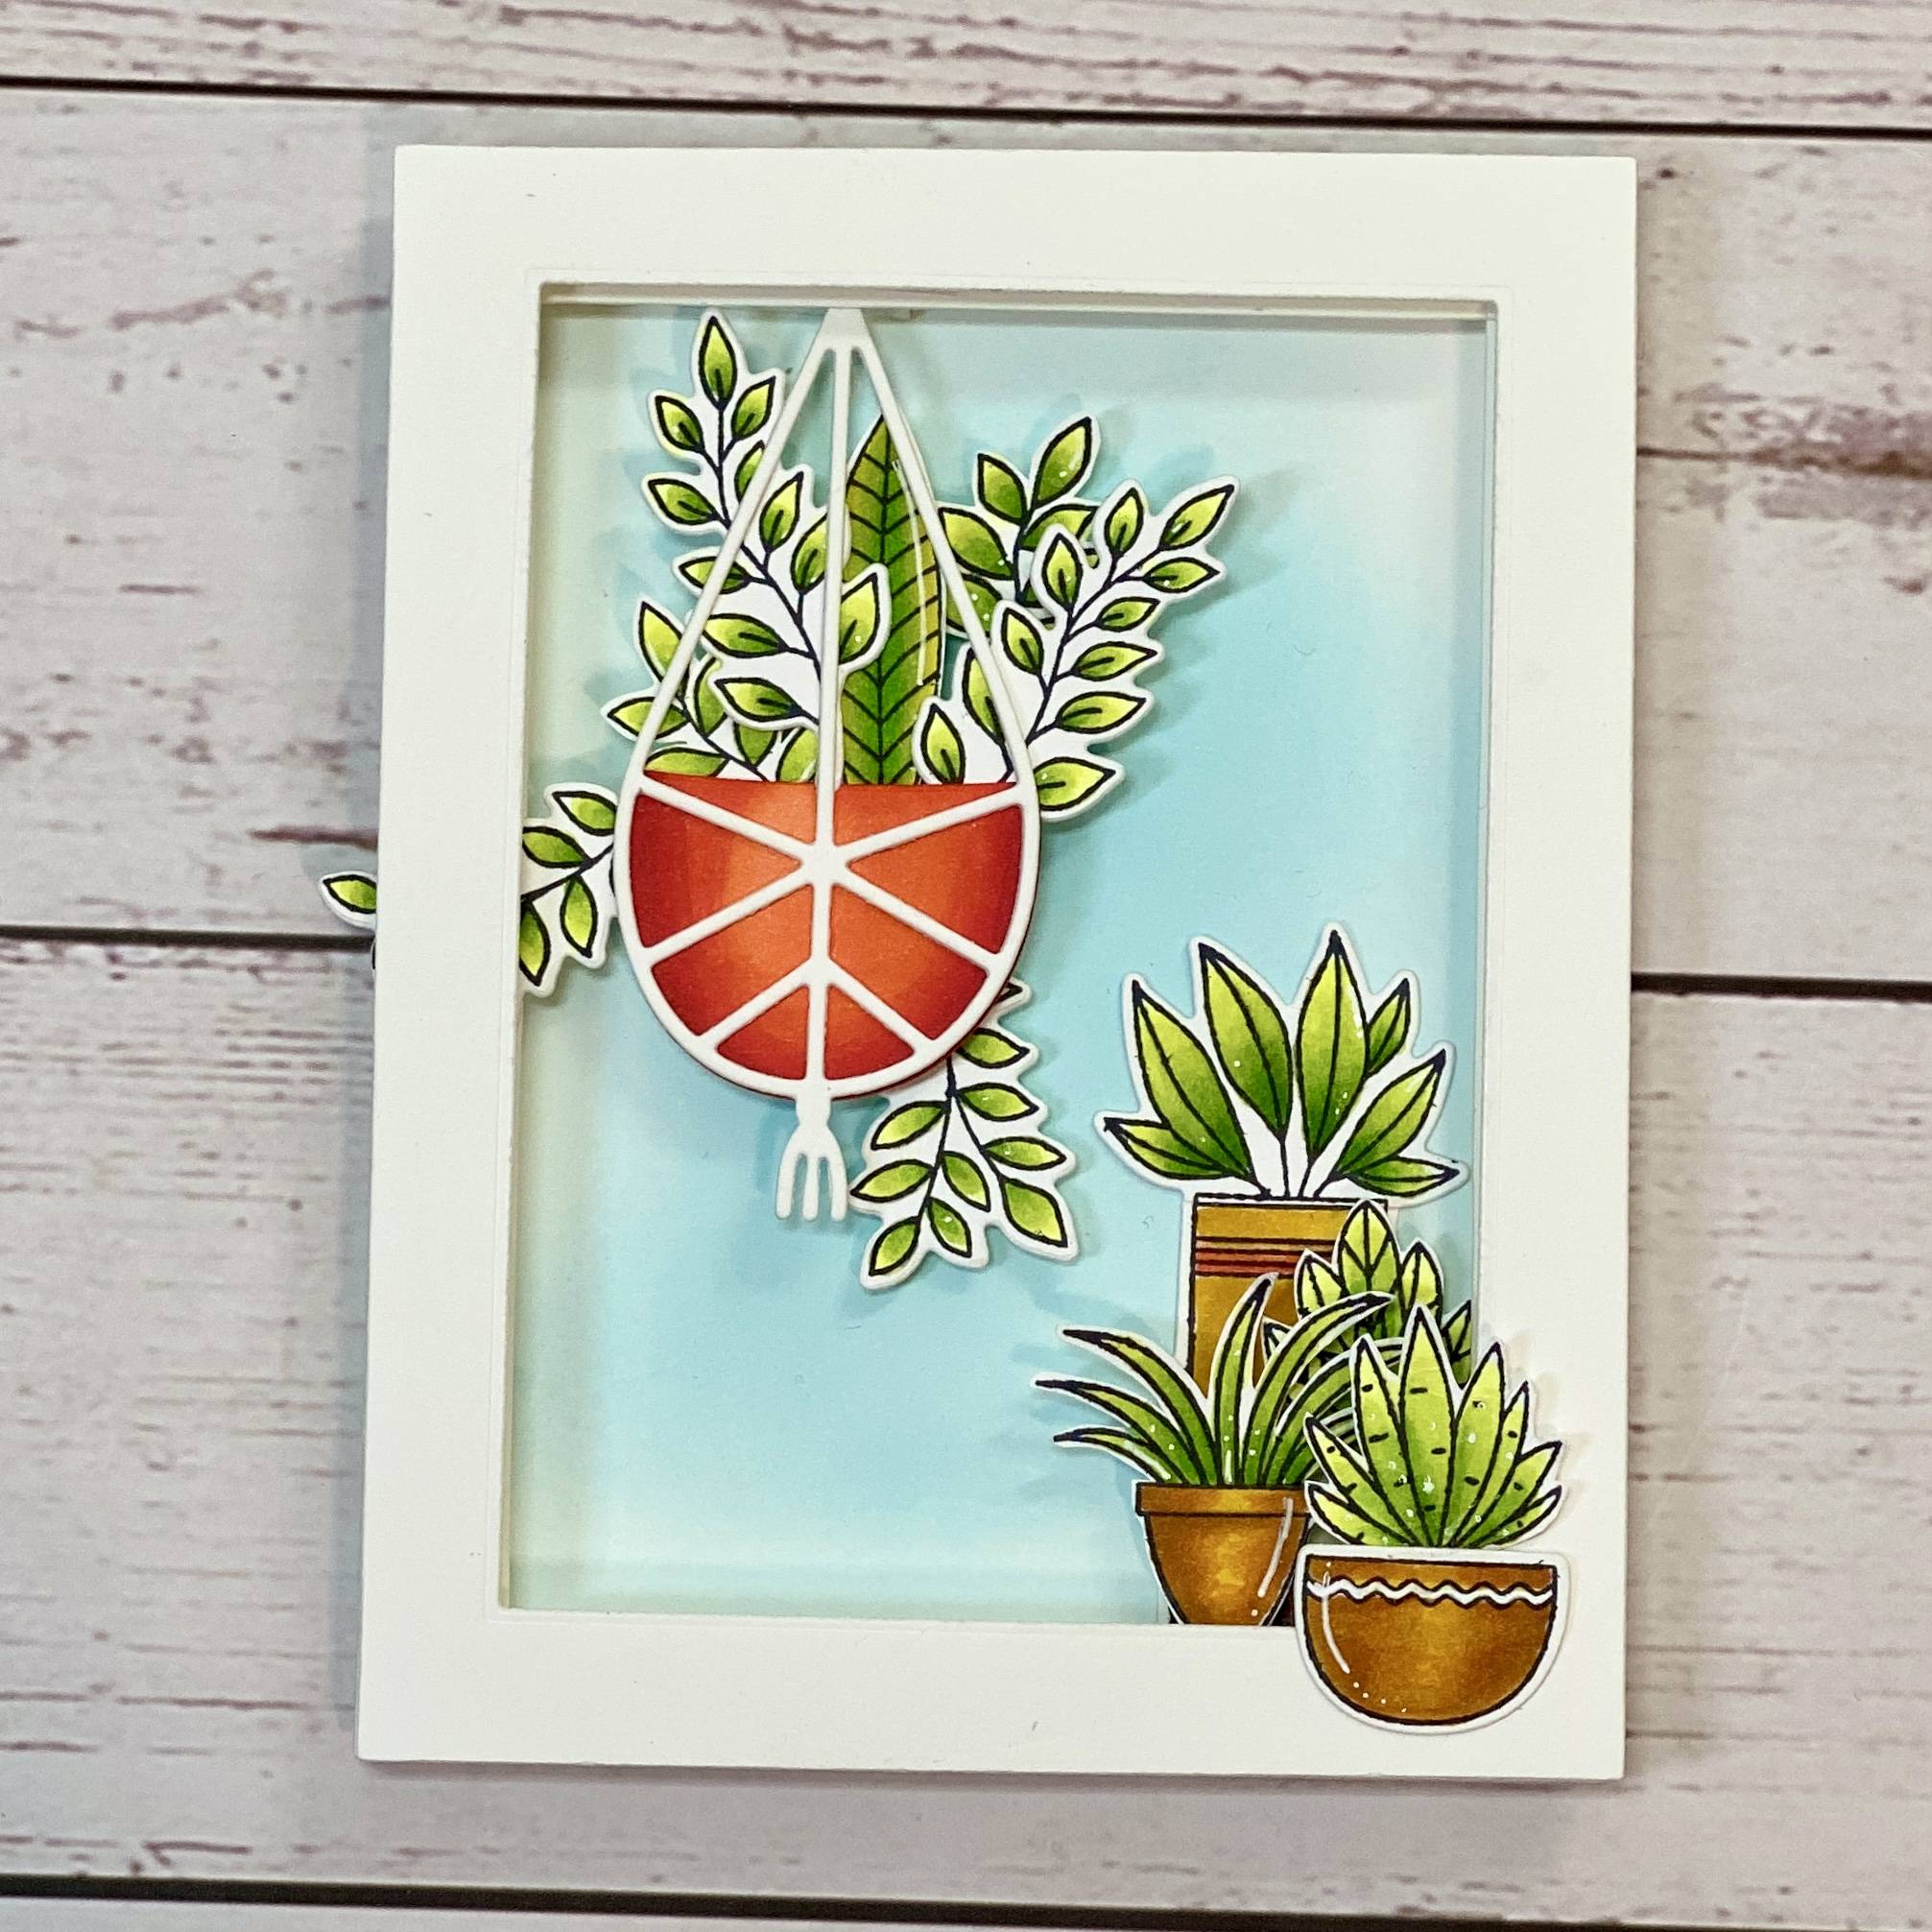
Add another leaf to the bottom of the hanging planter. Add a plant pot directly onto the frame in the bottom right corner.
Step 14
![](https://ucarecdn.com/6bdcf832-84a4-46cc-949d-77bff5dae916/-/format/auto/-/preview/3000x3000/-/quality/lighter/14.jpeg)
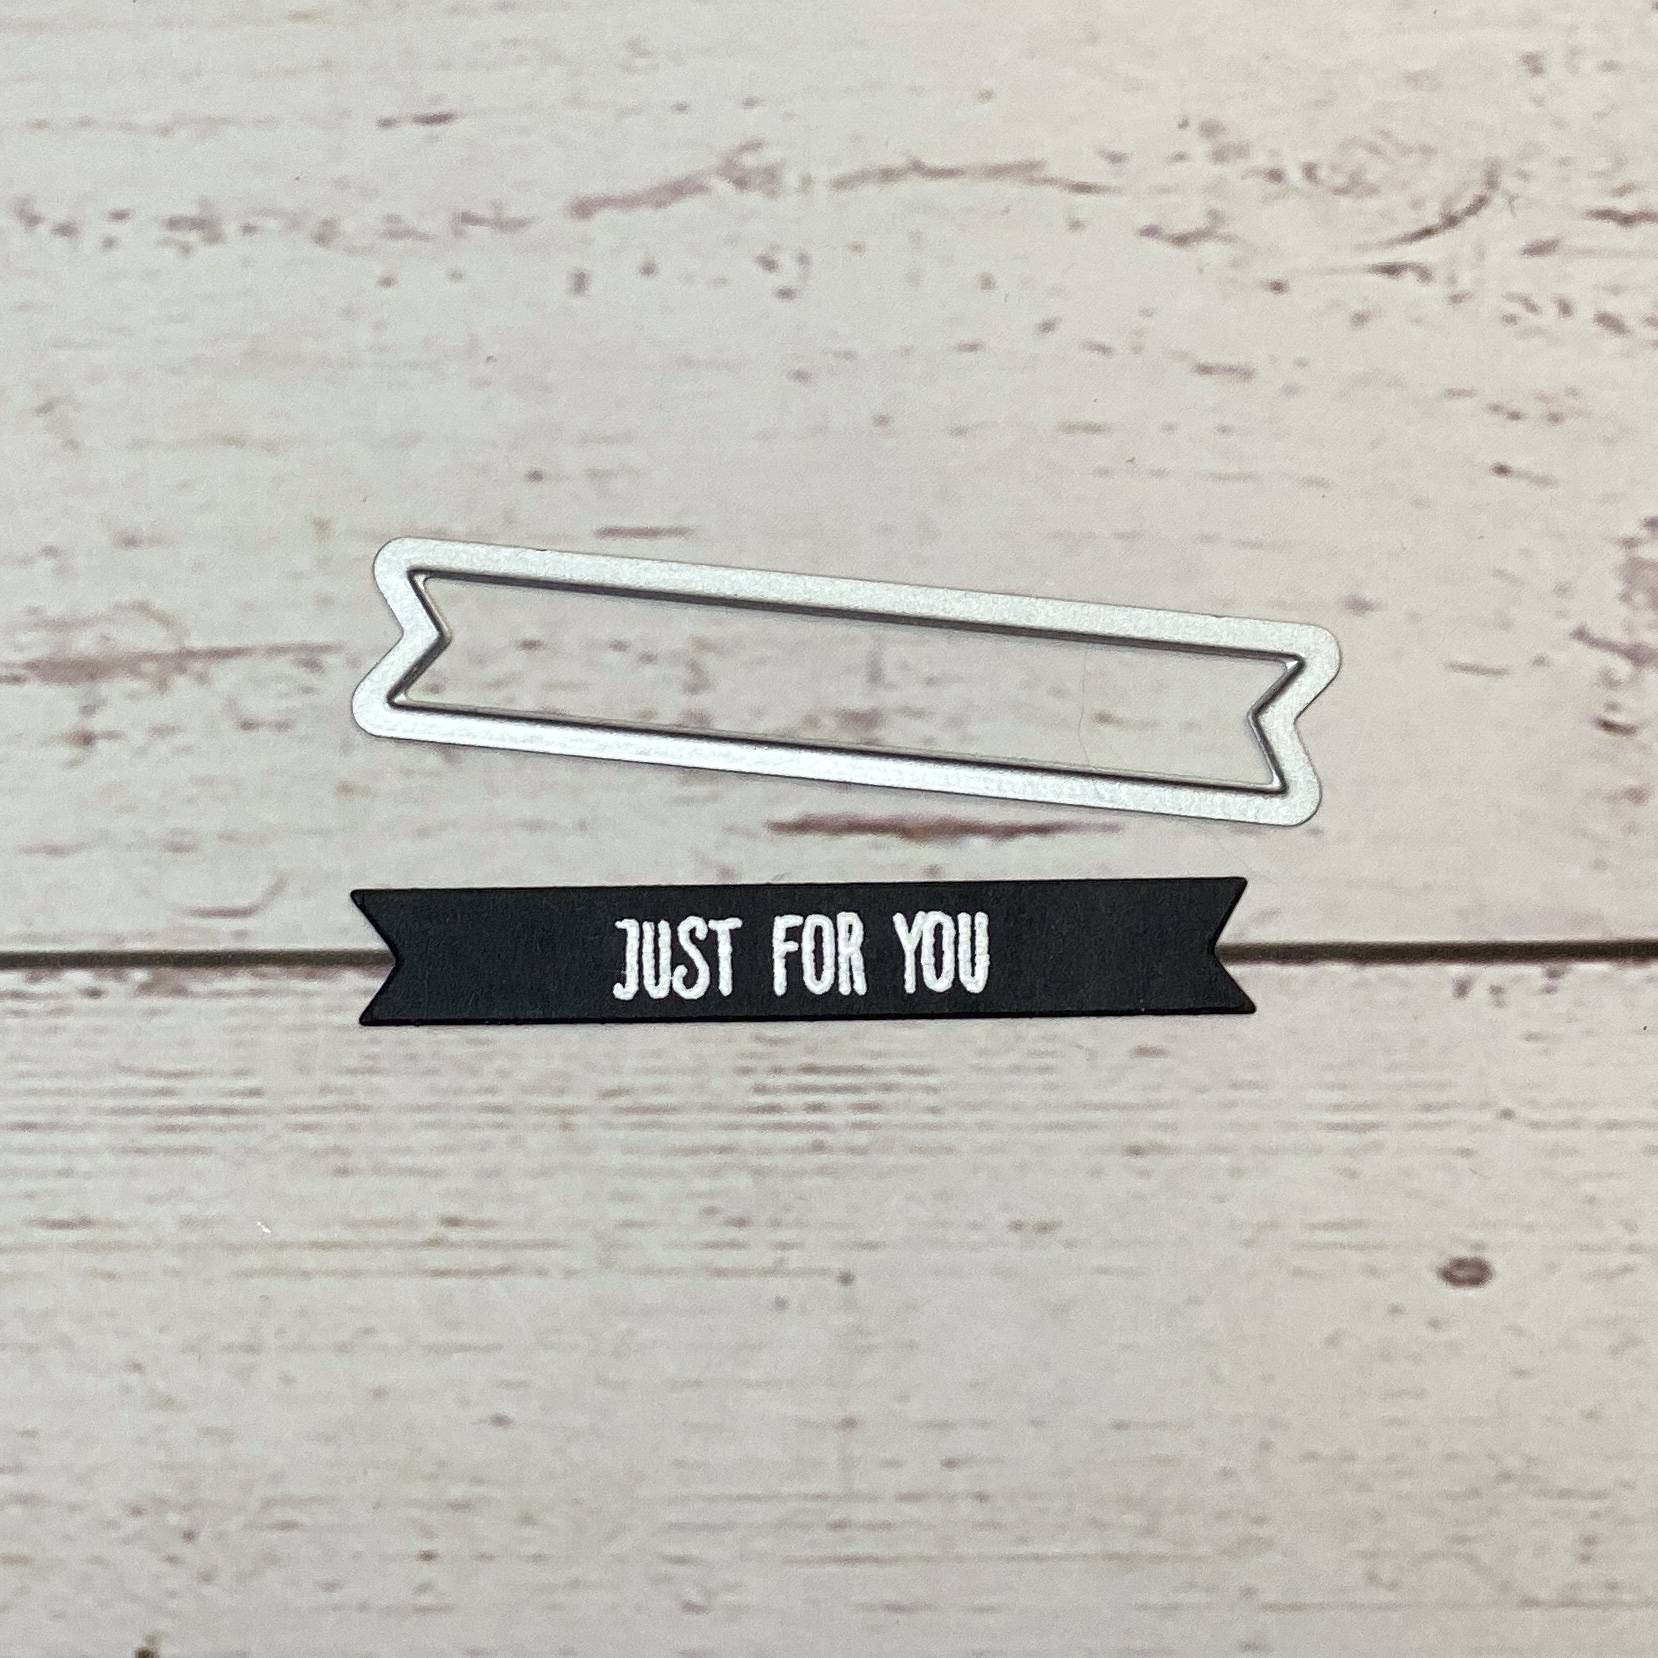
White heat emboss, ‘just for you’ onto black cardstock, and die cut with the banner included in this set.
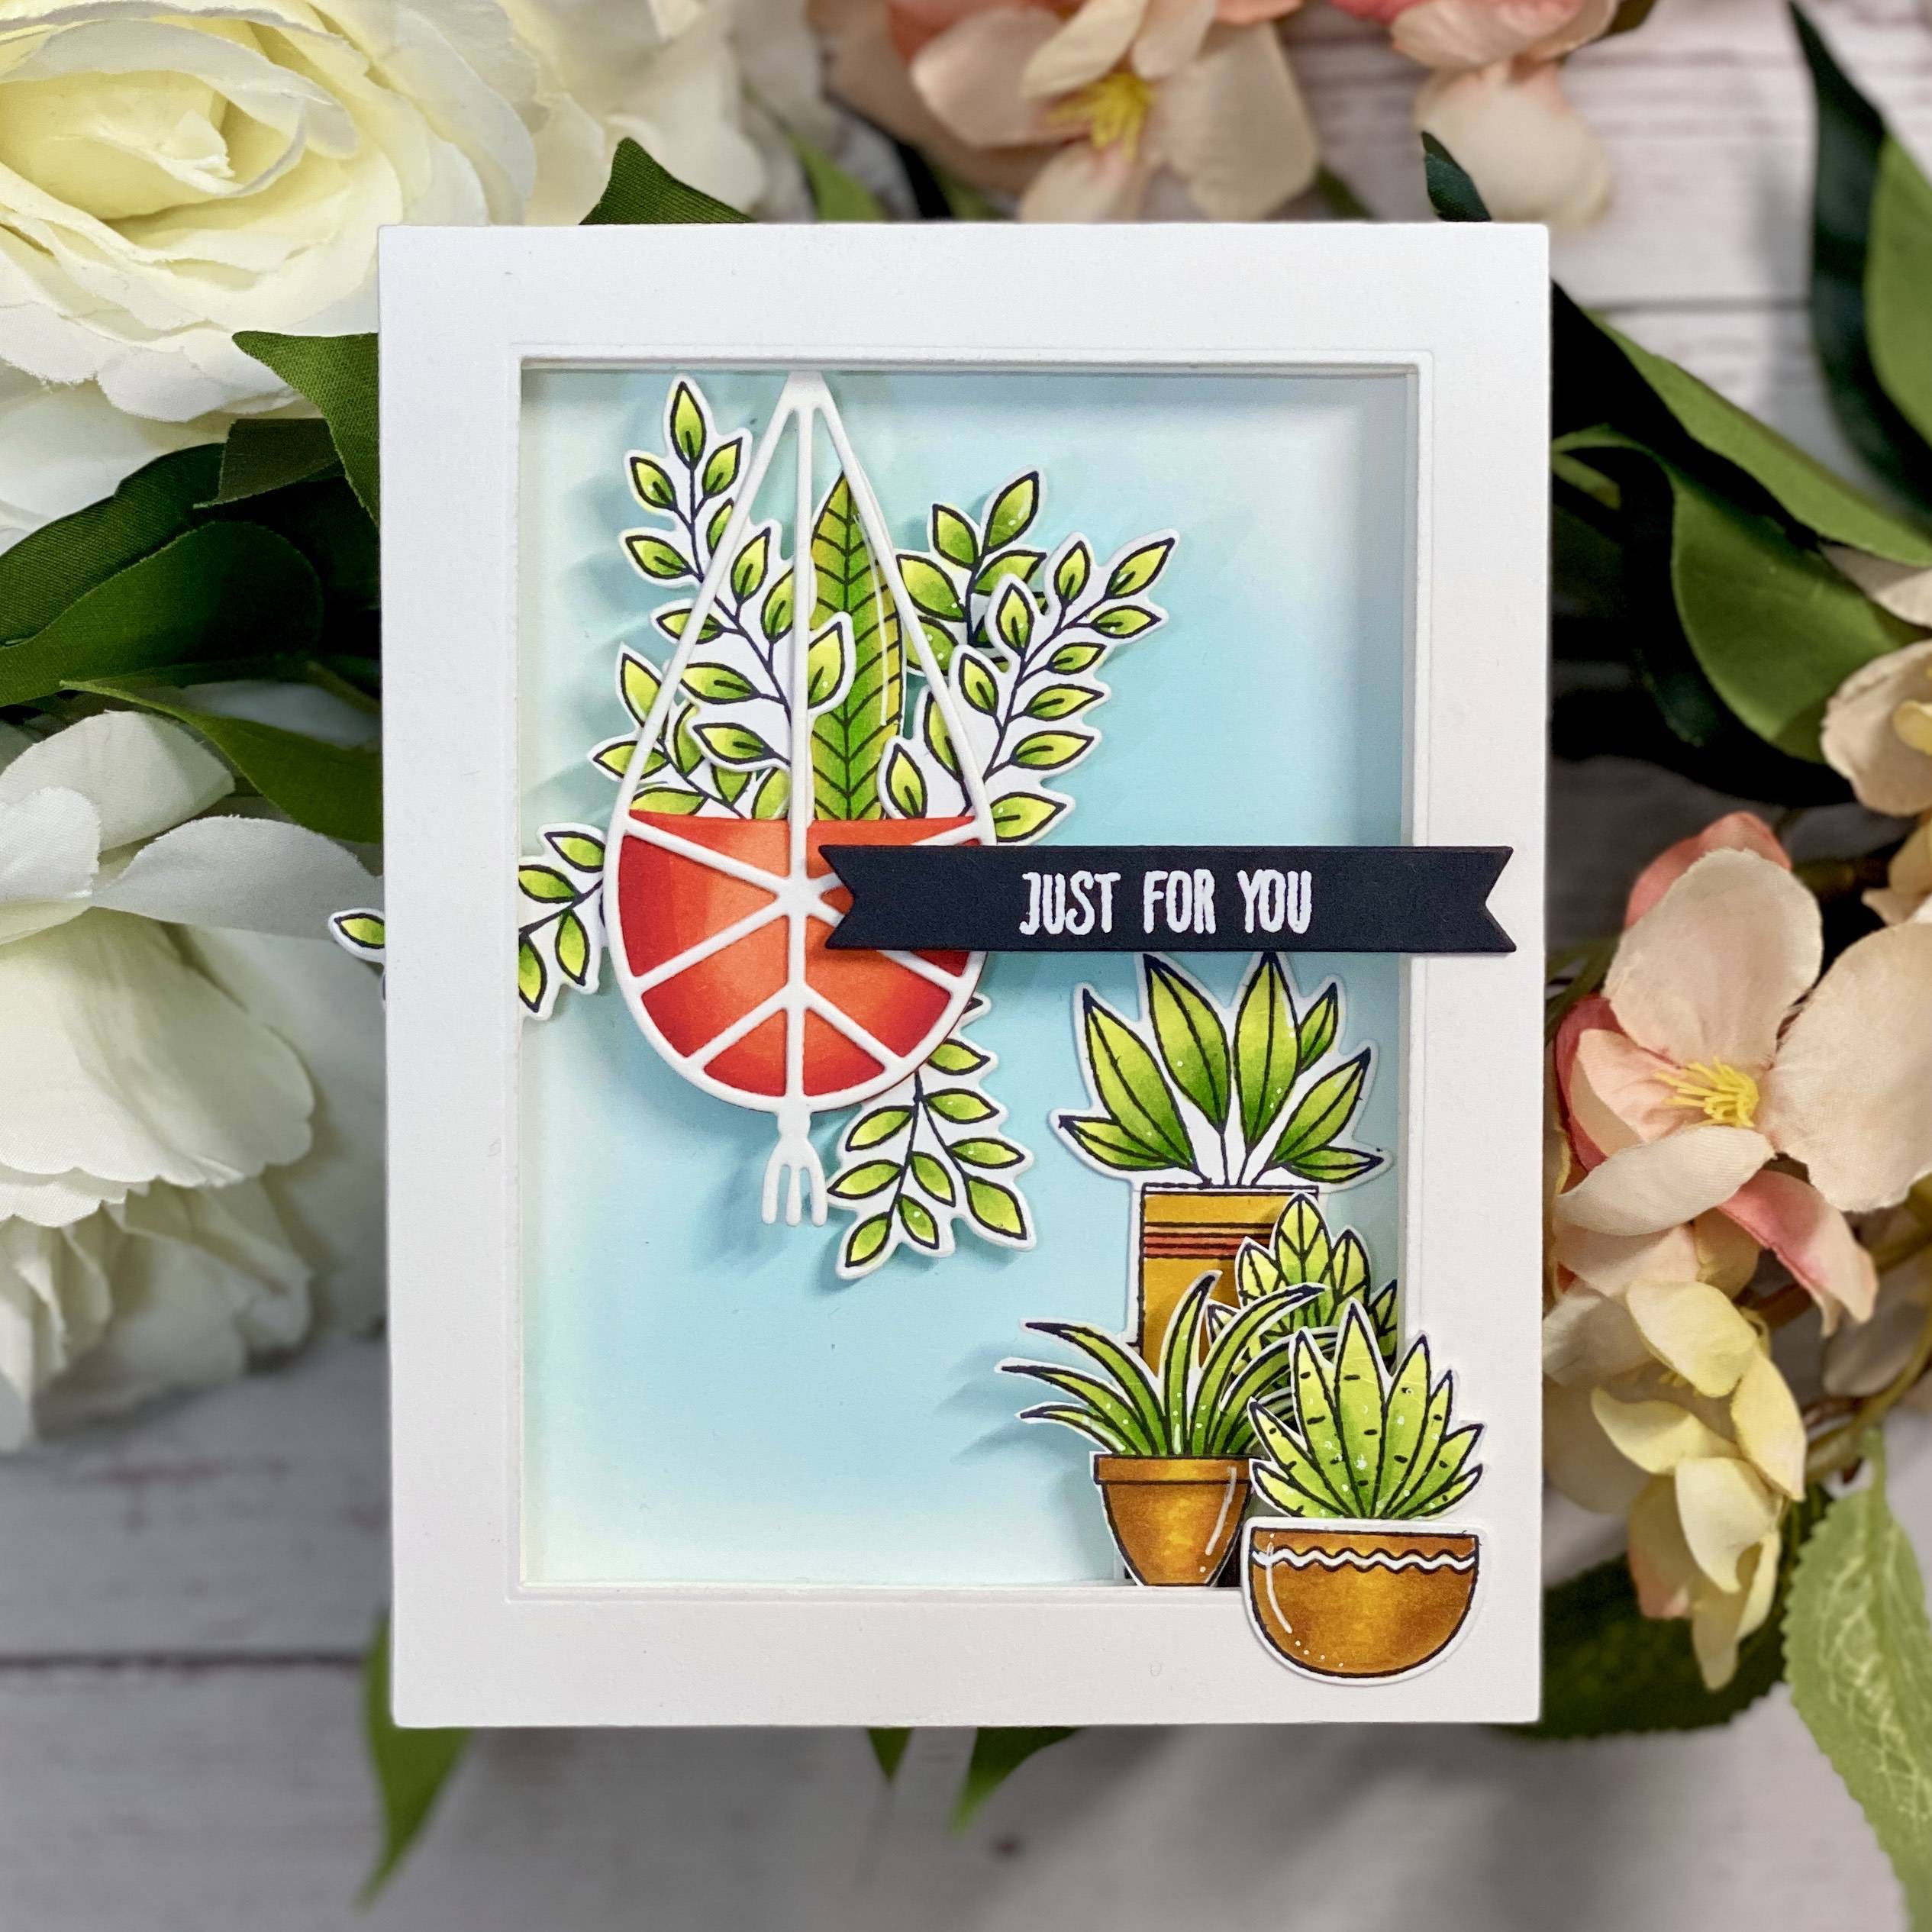
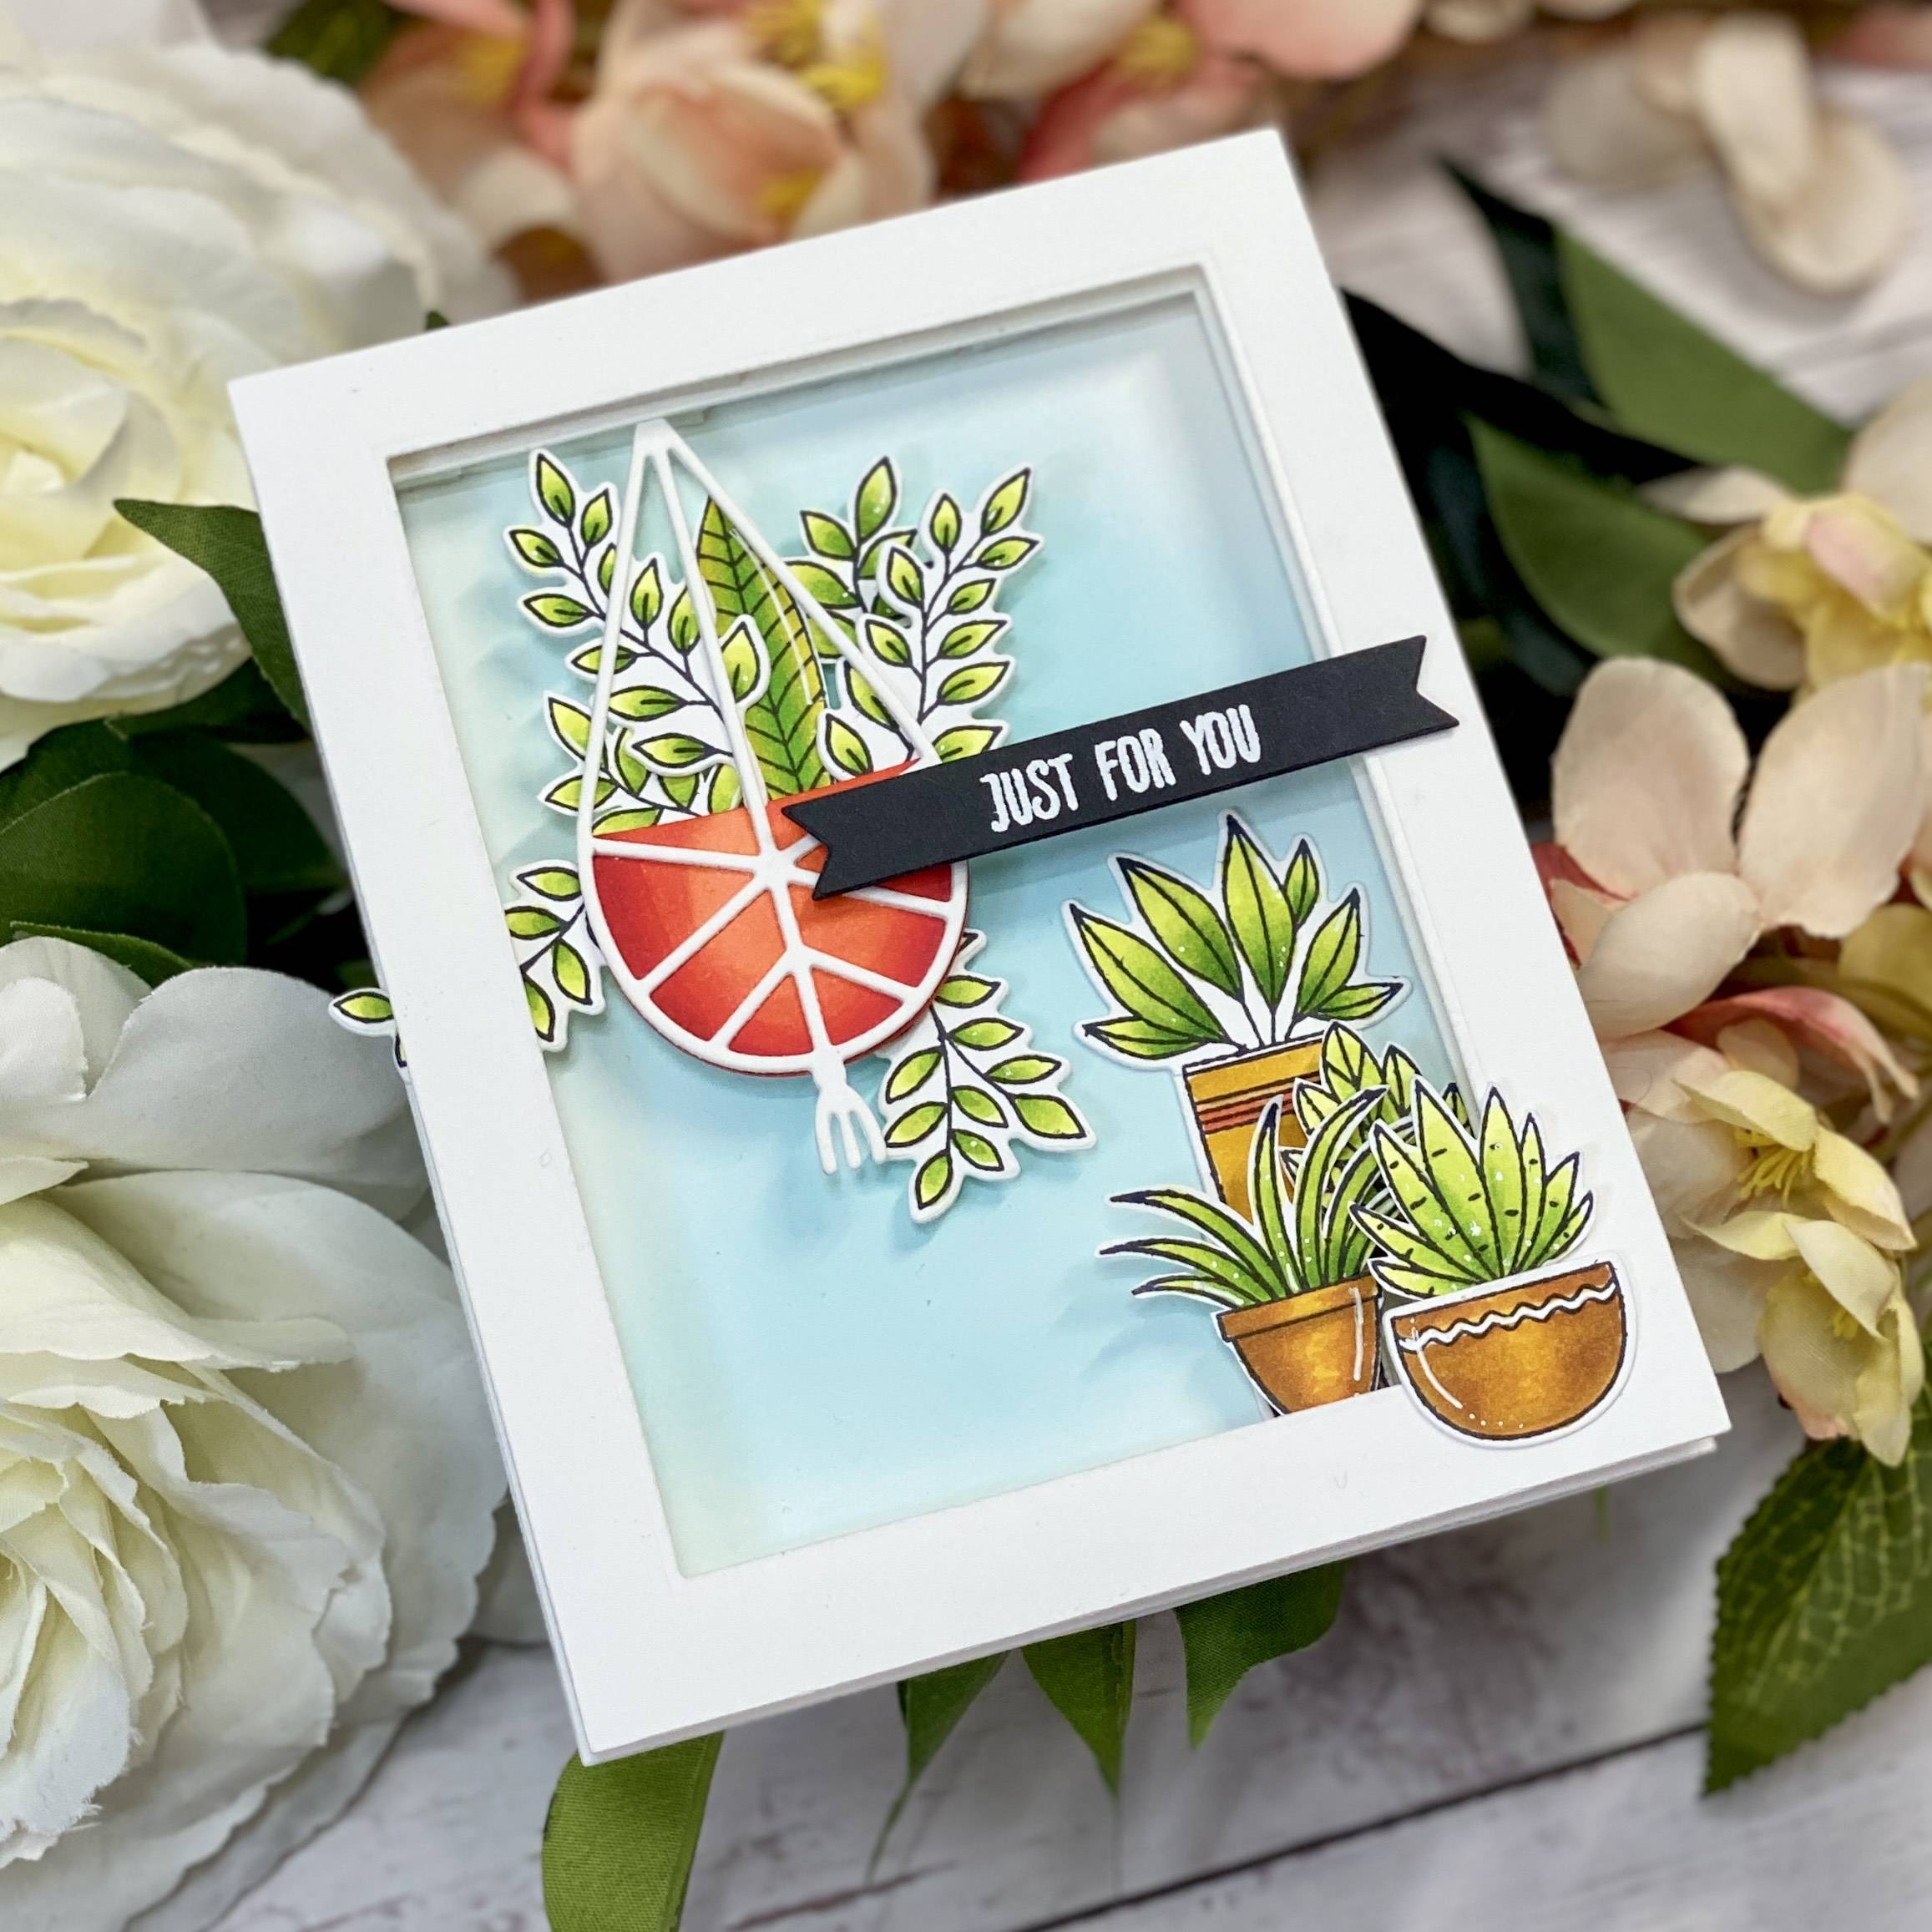
Step 15
![](https://ucarecdn.com/5c490640-ced4-41af-b3ea-c66306ca87cf/-/format/auto/-/preview/3000x3000/-/quality/lighter/15.jpeg)
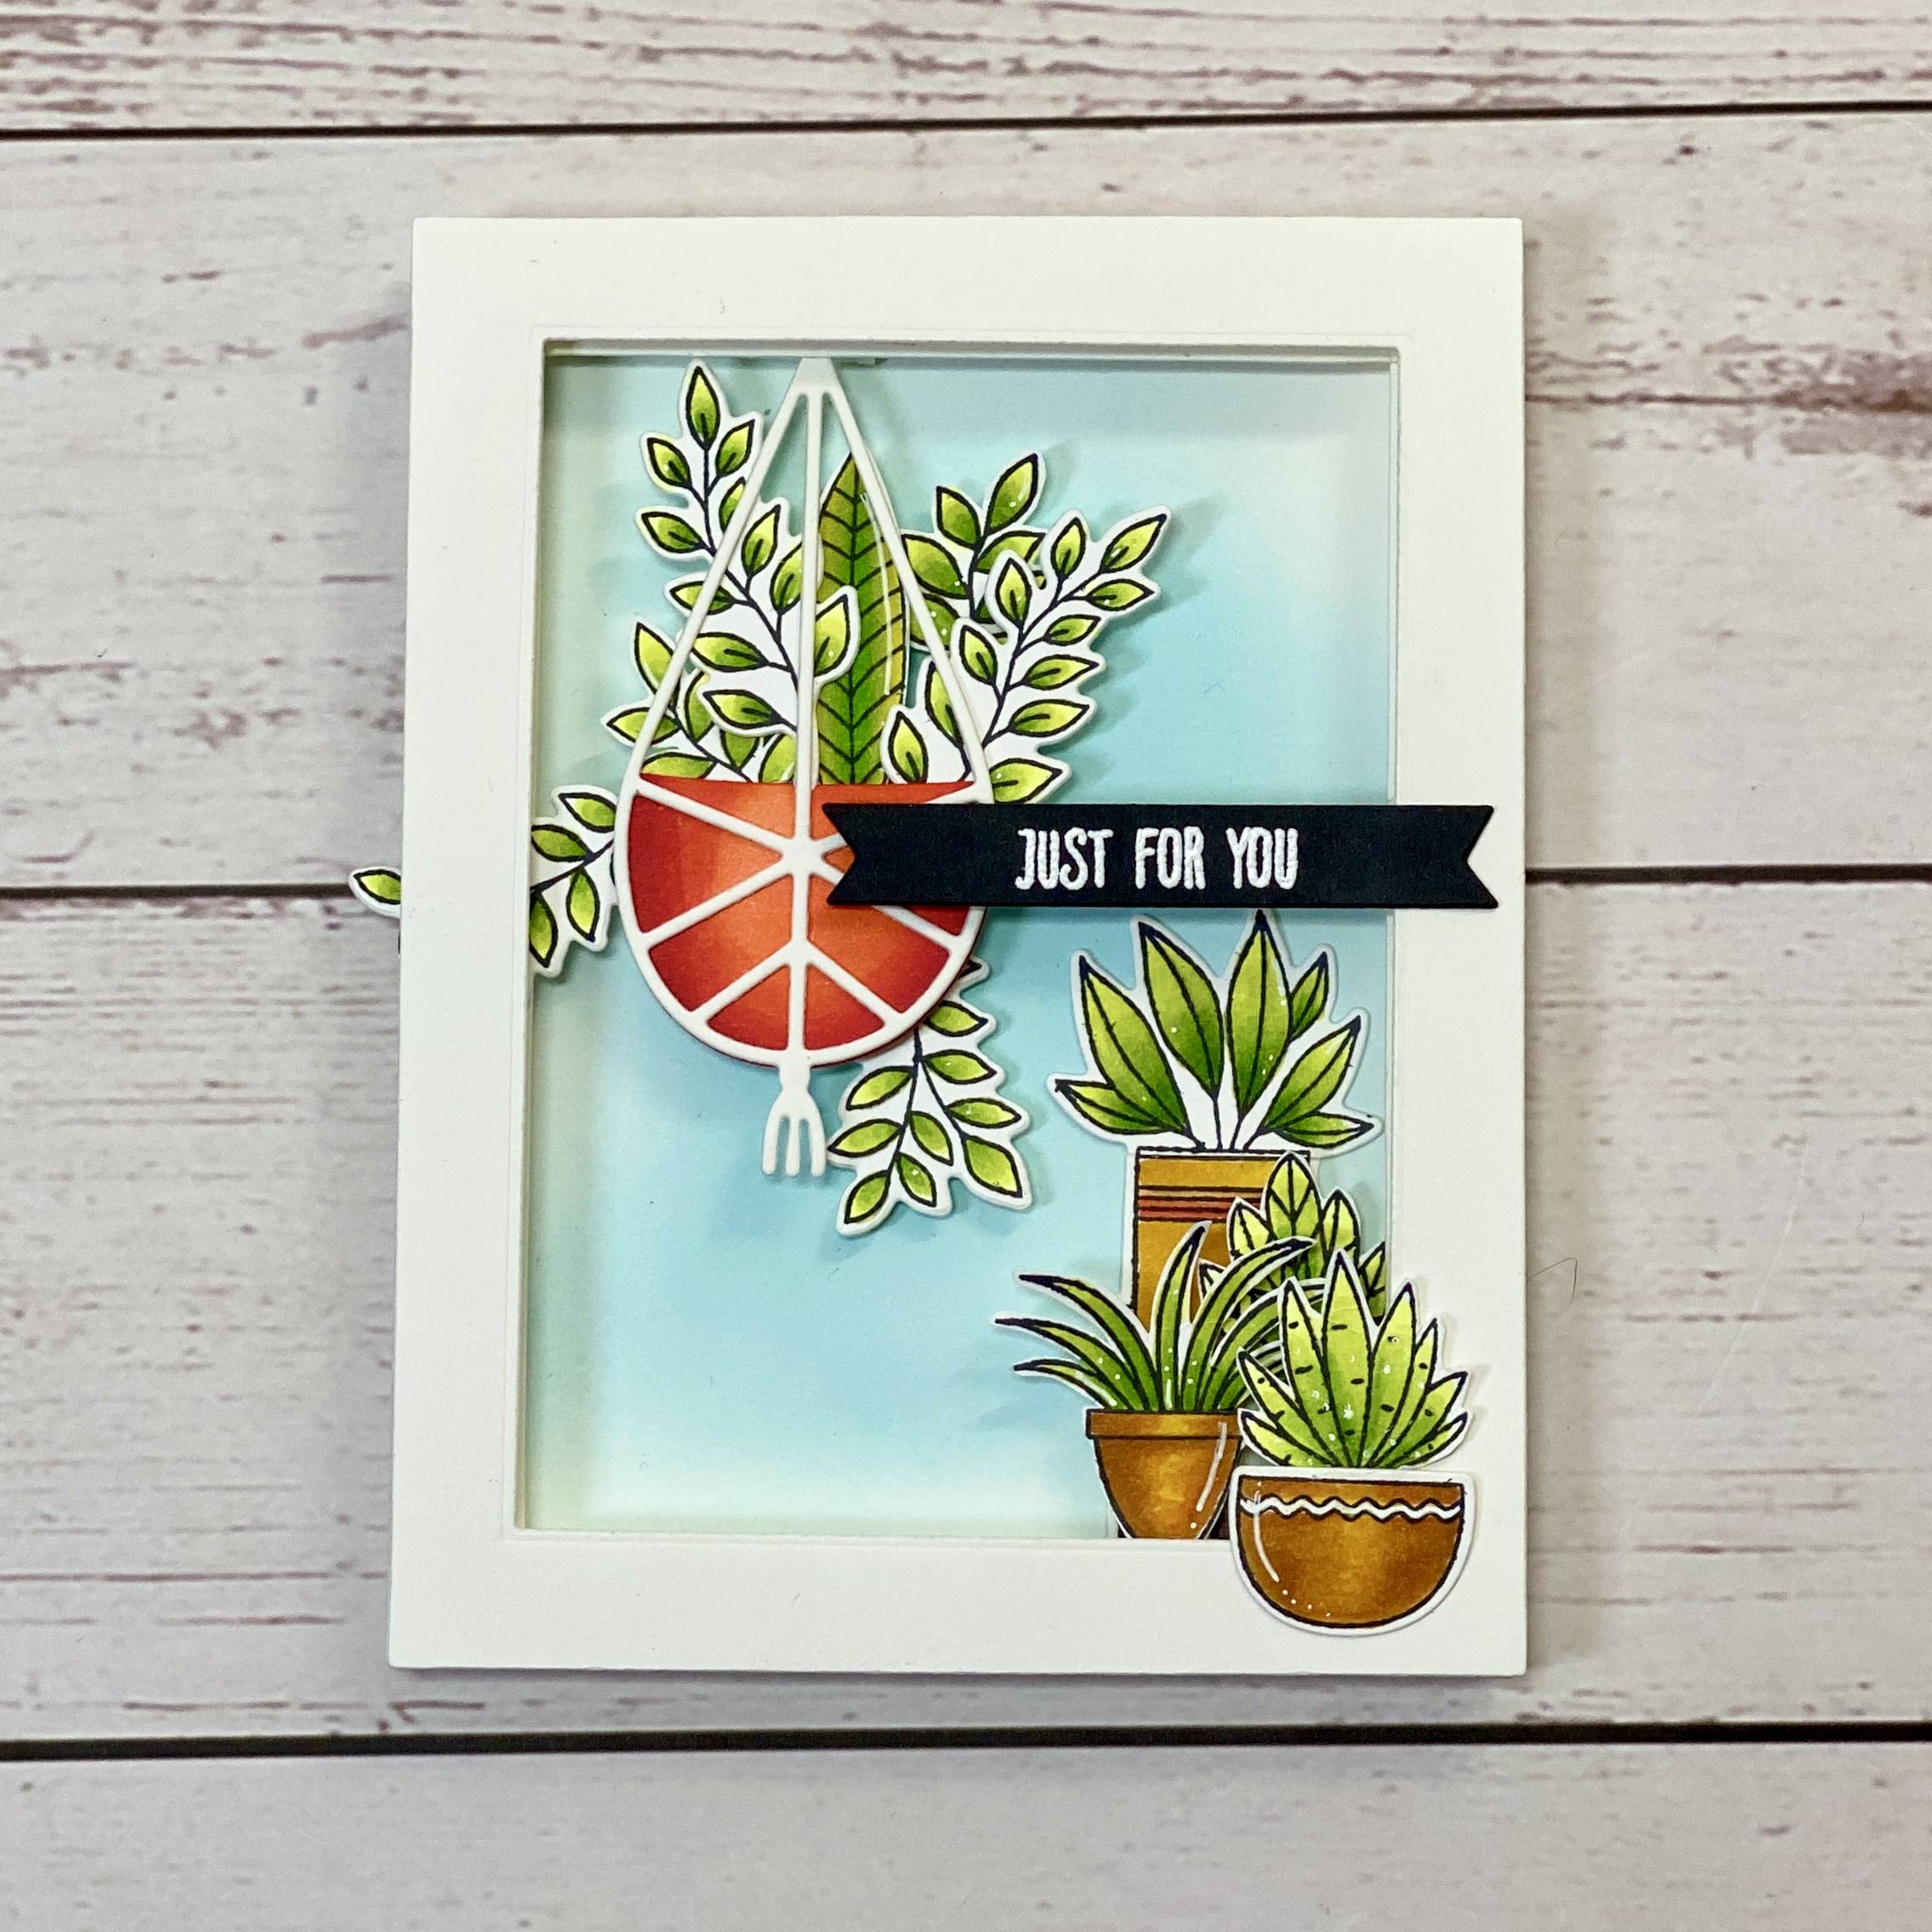
Adhere the sentiment, and then add your dimensional card to an A2 cardbase.
Buy The Craft Project