


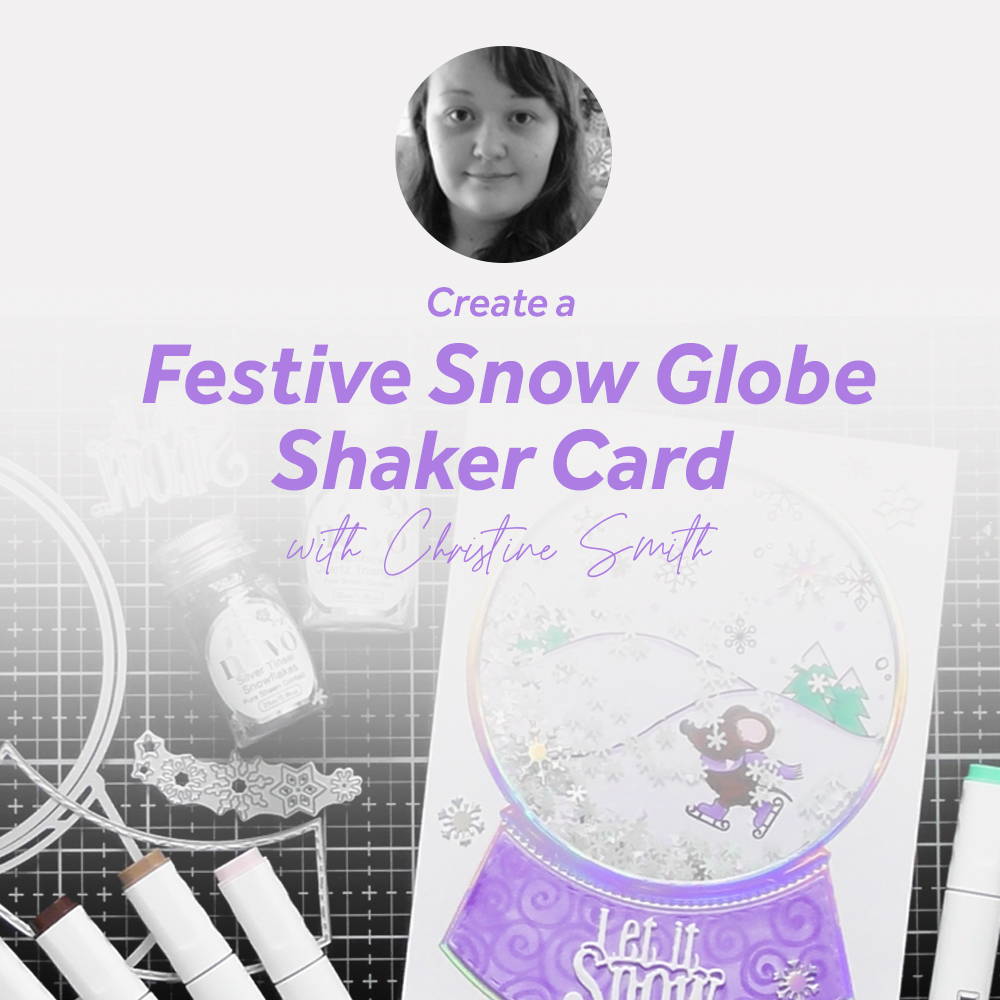
I really loved working with the Snow Globe die set and coordinating stamps, and for this blog post I thought I’d show you how I made this shaker card using the adorable little ice skating mouse inside
What you will need
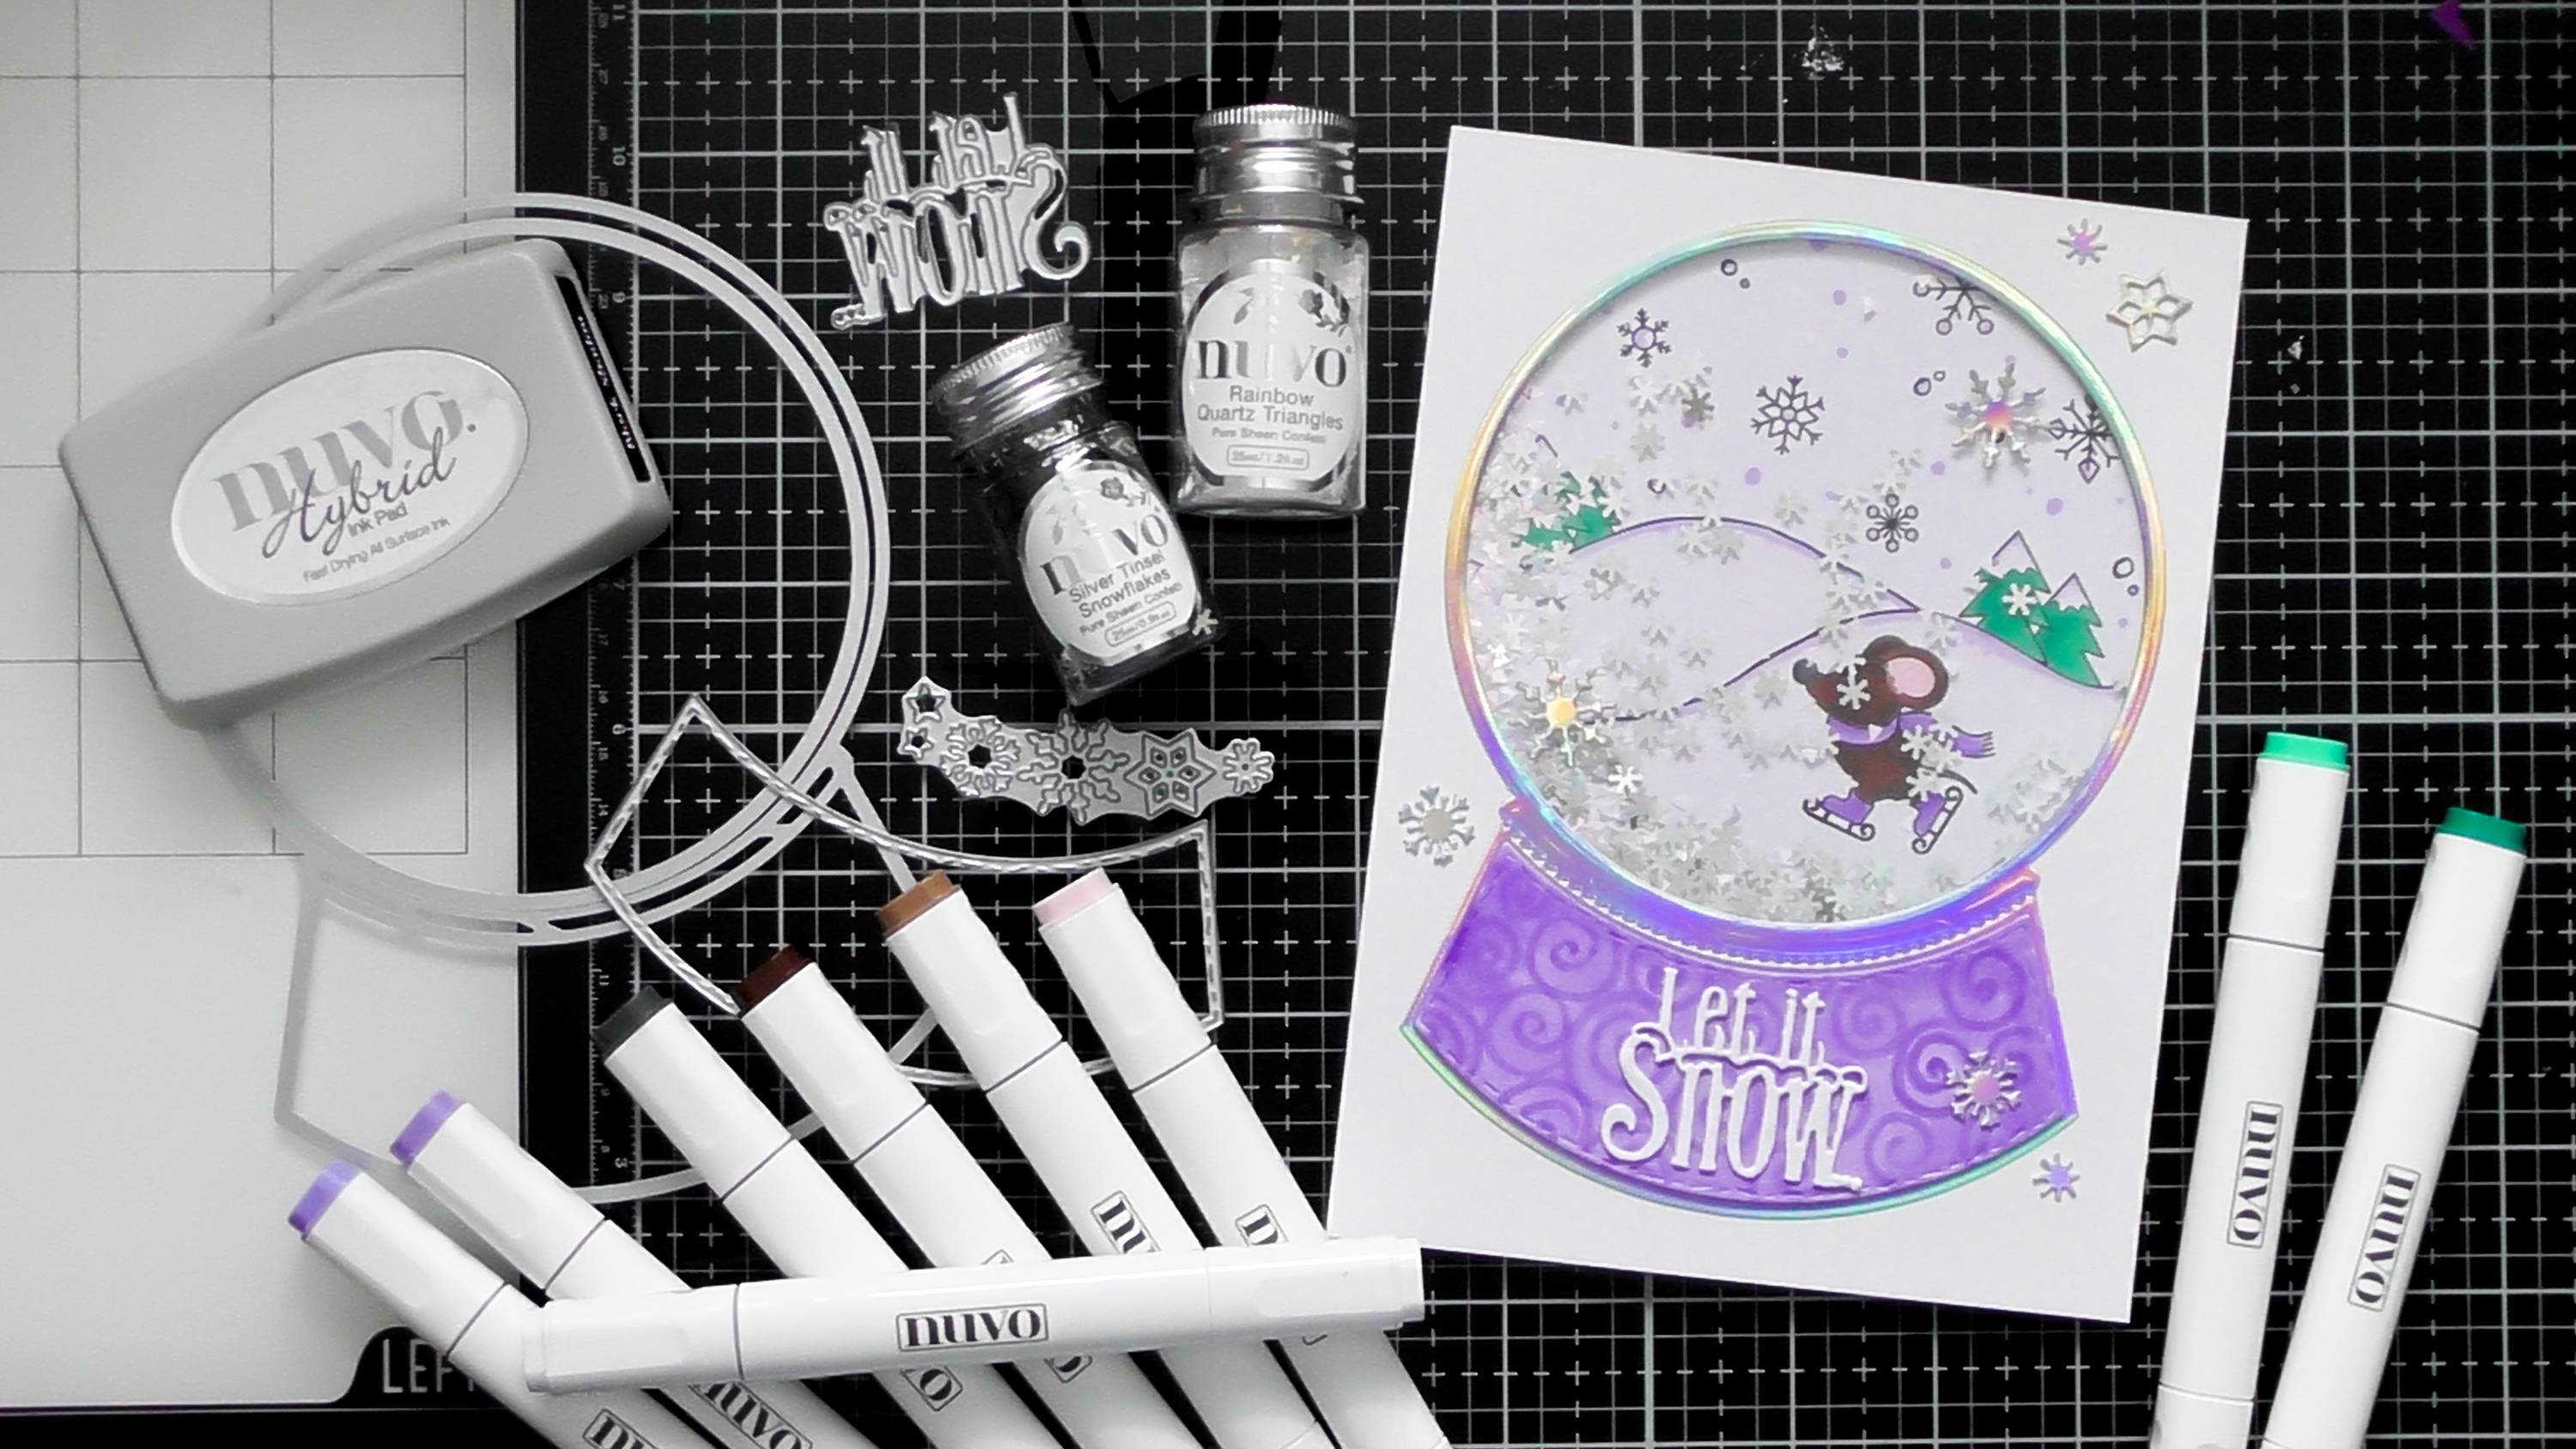
- Snow Globe Die set
- Snow Globe Stamp Set
- Nuvo Black Shadow Ink Pad
- Nuvo Alcohol Markers
- Fine Black Pen
- Tonic Stamping Platform
- Tonic Tangerine Die-Cutting Machine
- Smooth White Card
- Holo Waves Craft Perfect Card
- Nuvo Pure Sheen Confetti
- 3D Foam
- Acetate
- A pencil
Step 1

Firstly, let’s get all the elements die-cut, you’ll need to cut just the circle die into your main card panel (sized to fit nicely on an A5 card blank), you’ll also need the main snow globe cut from Holo Waves, the bottom decoration cut from white, 2 of the sentiments from white (we’ll stack these later) and a selection of snowflakes cut from Holo Waves.
Step 2
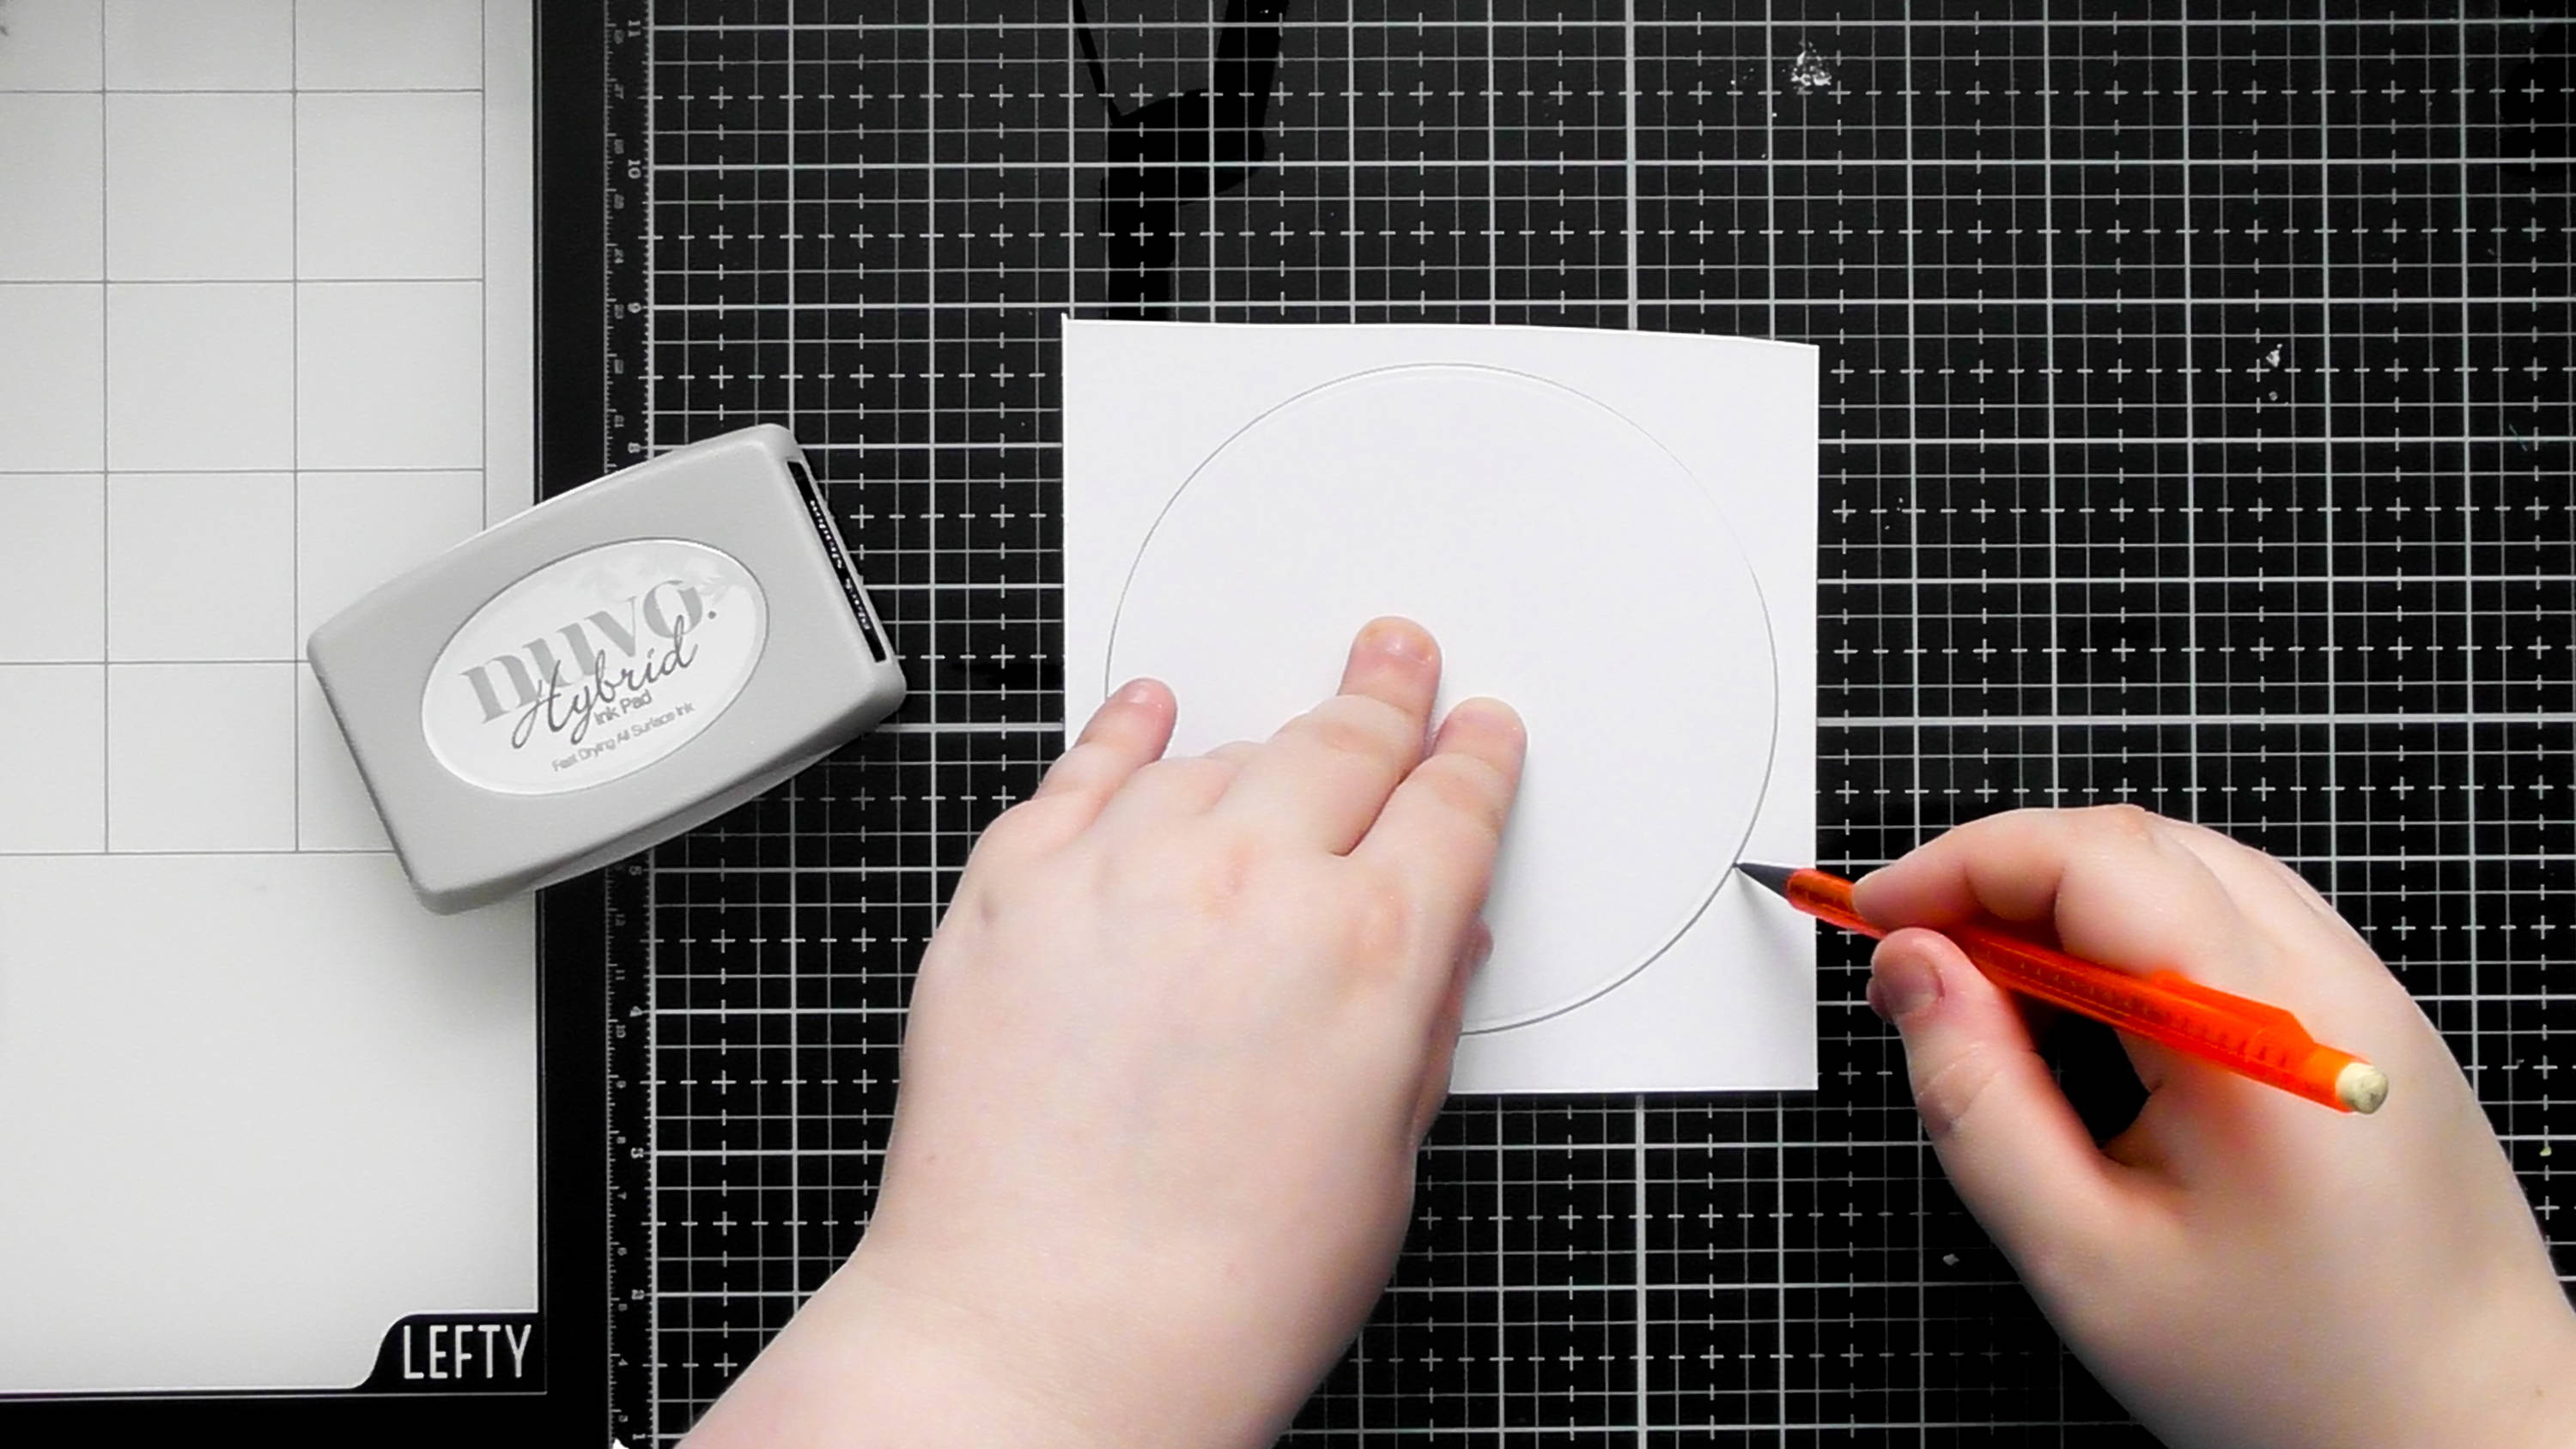
Take a piece of smooth white card, slightly bigger than the circle aperture, then use the fall away circle as a template to draw around in pencil so that we know exactly where to position our stamped scene inside the globe.
Step 3
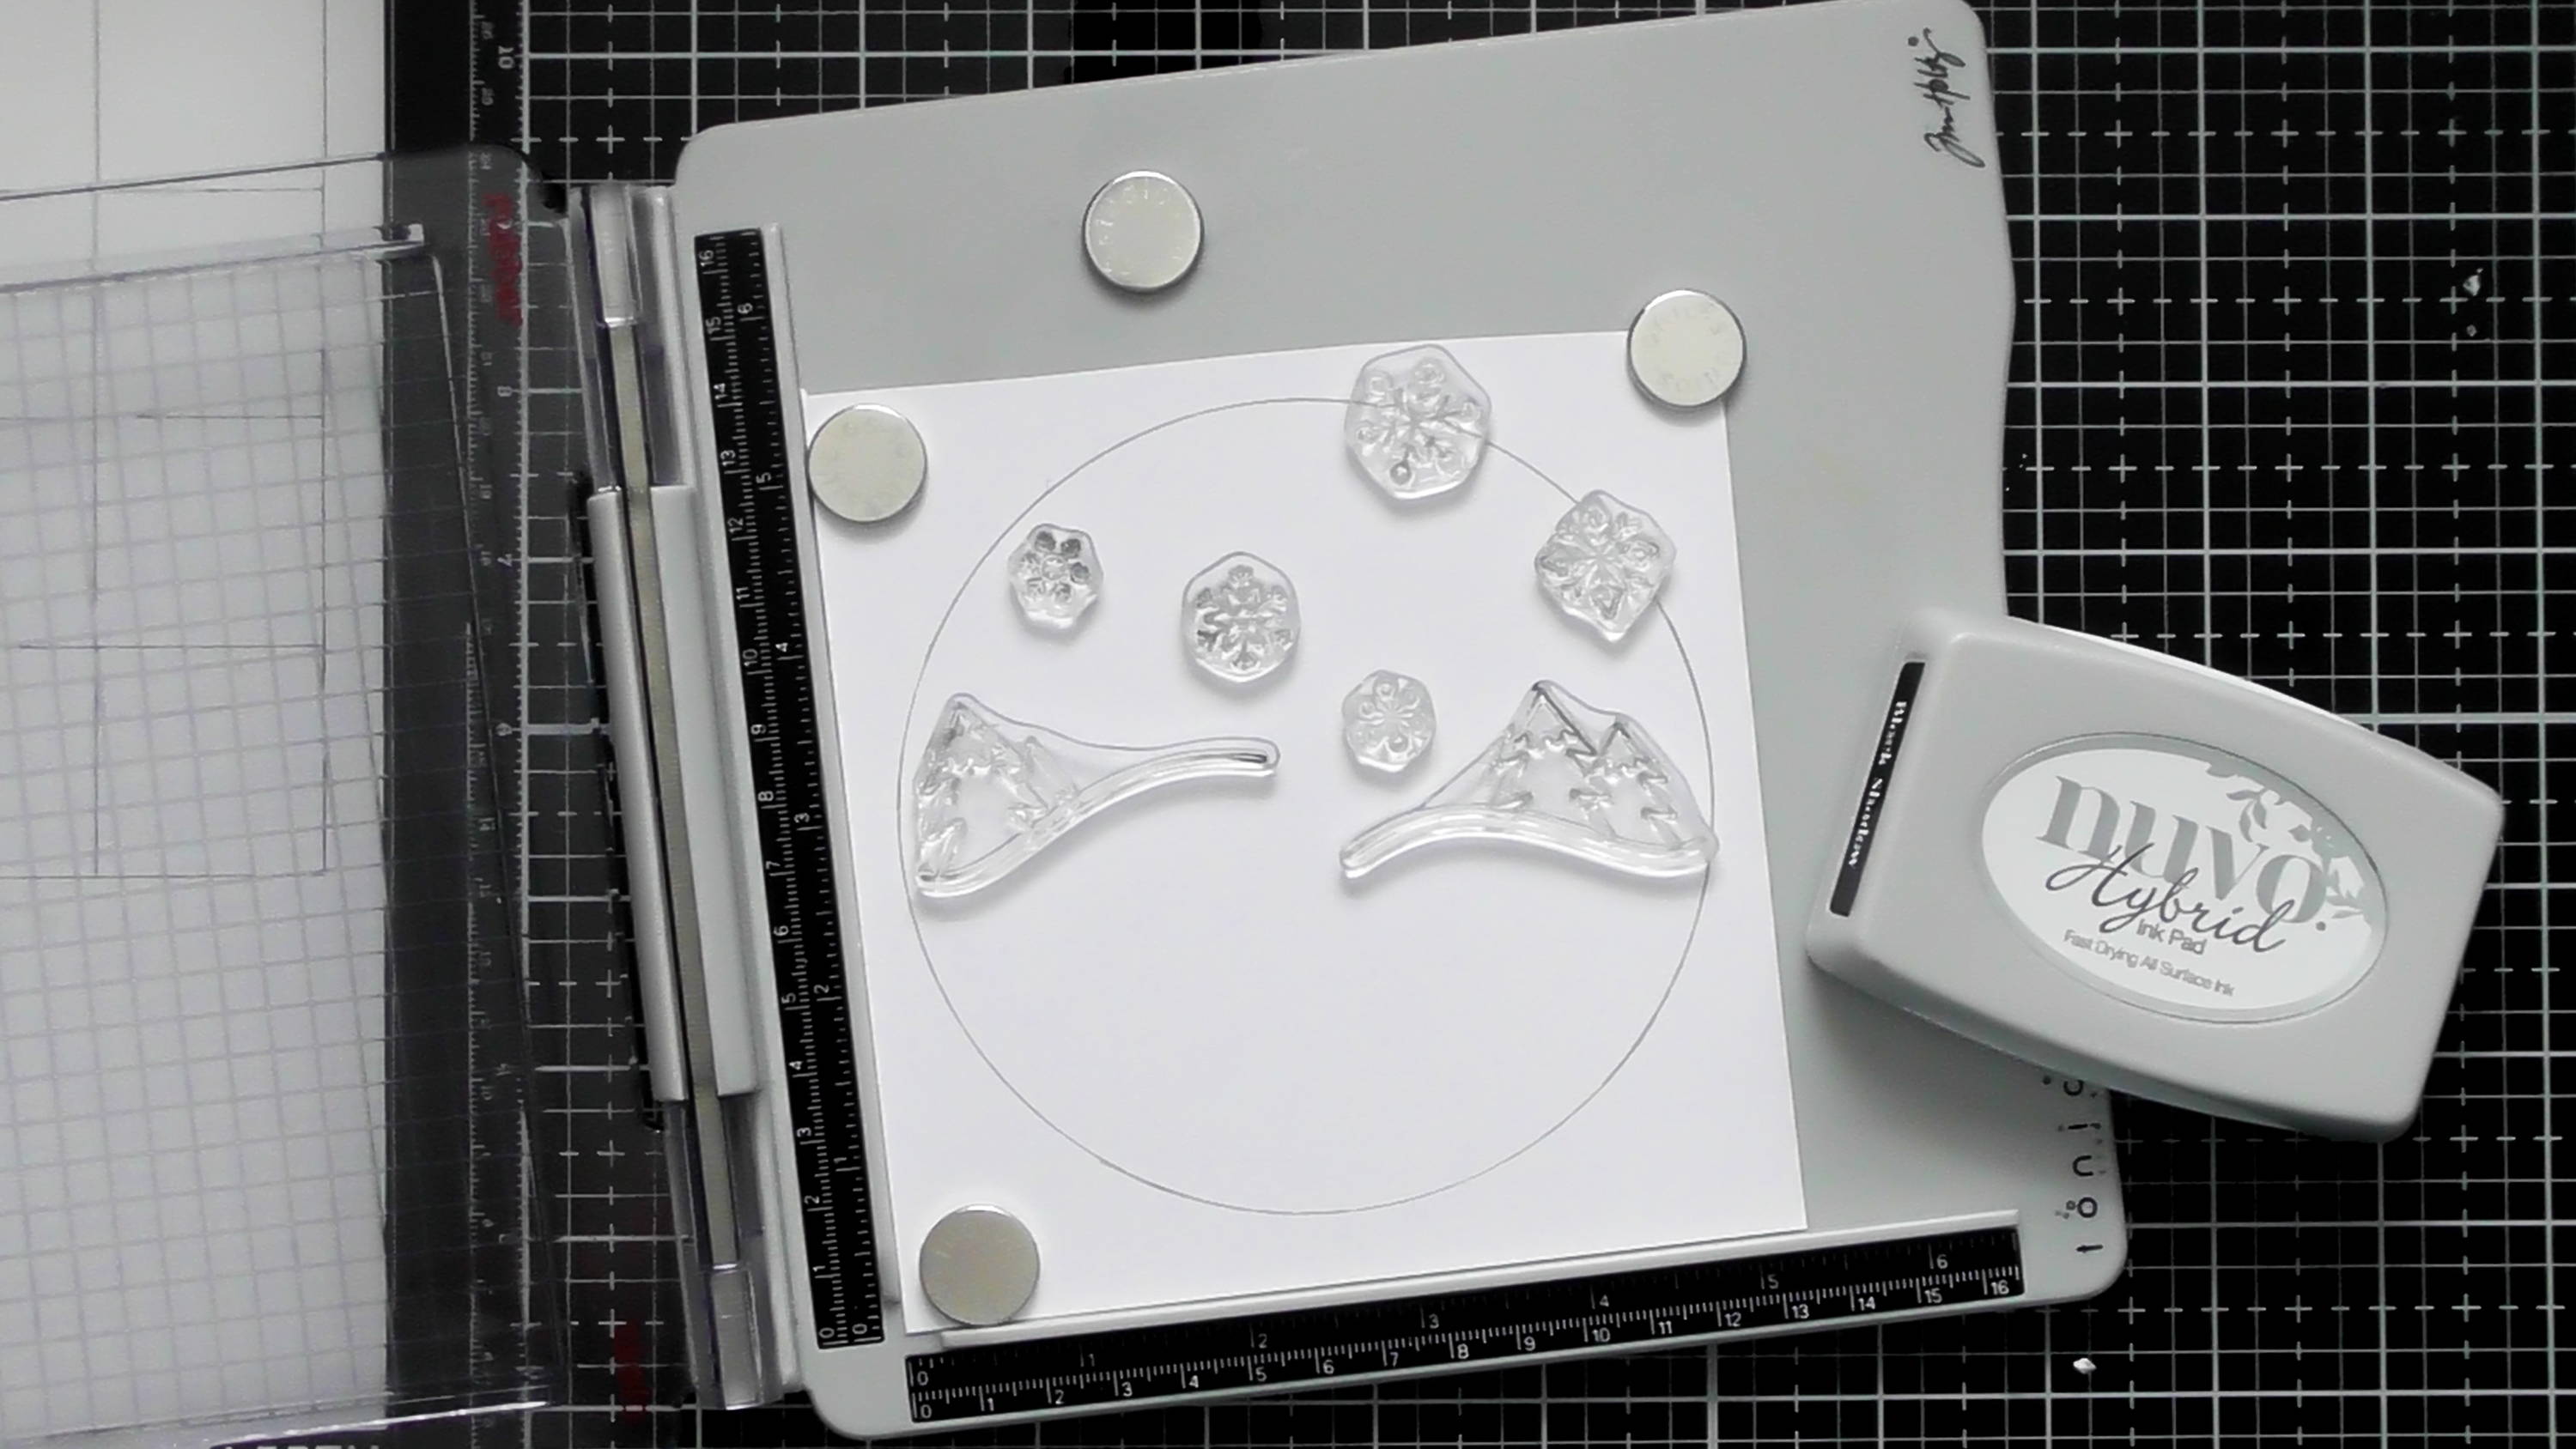
Pick out the elements from the stamp set, I chose to use both of the tree stamps plus the snowflakes as well. Then stamp these in black in the positions shown above inside your pencil circle.
Step 4
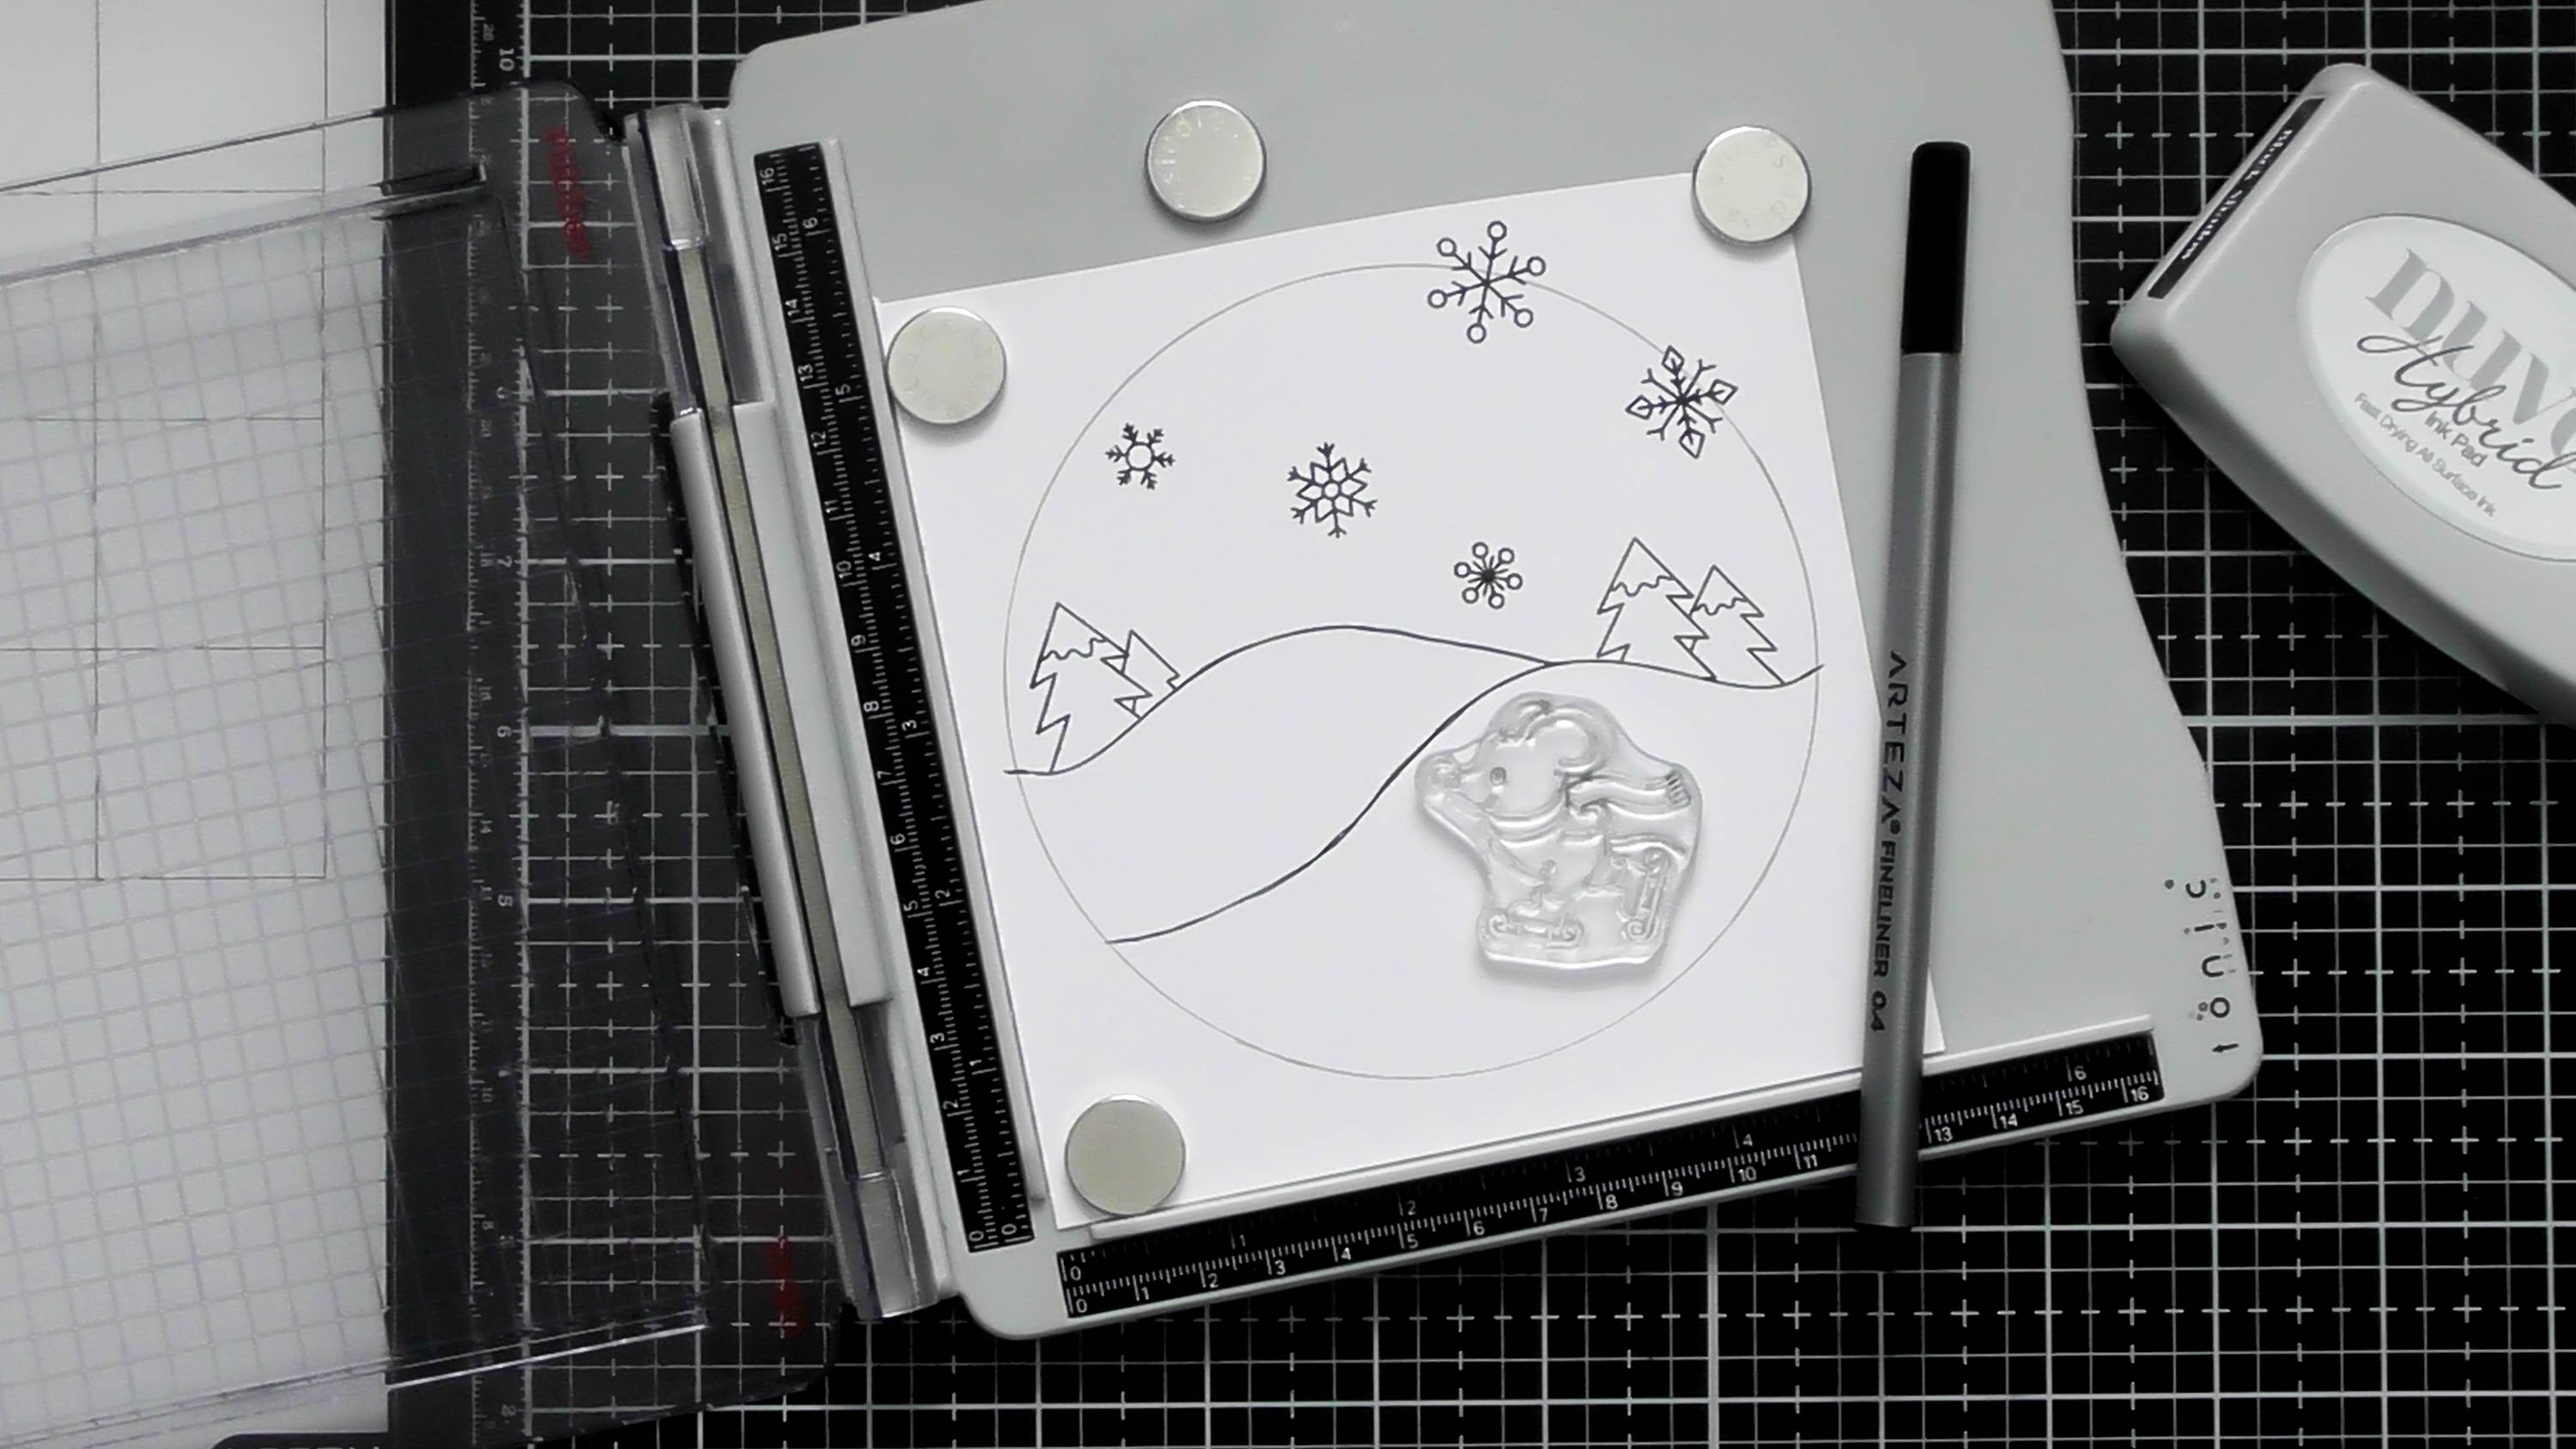
Use a fine black pen (that is water based so it won’t smudge when we colour later) and extend the snow slopes from the stamped images so they span the width of the circle. You can then choose your critter and stamp them in the forefront. Or if there’s not enough room left, simply stamp the critter onto another piece of card and fussy cut it out and add it later, either way looks fab.
Step 5
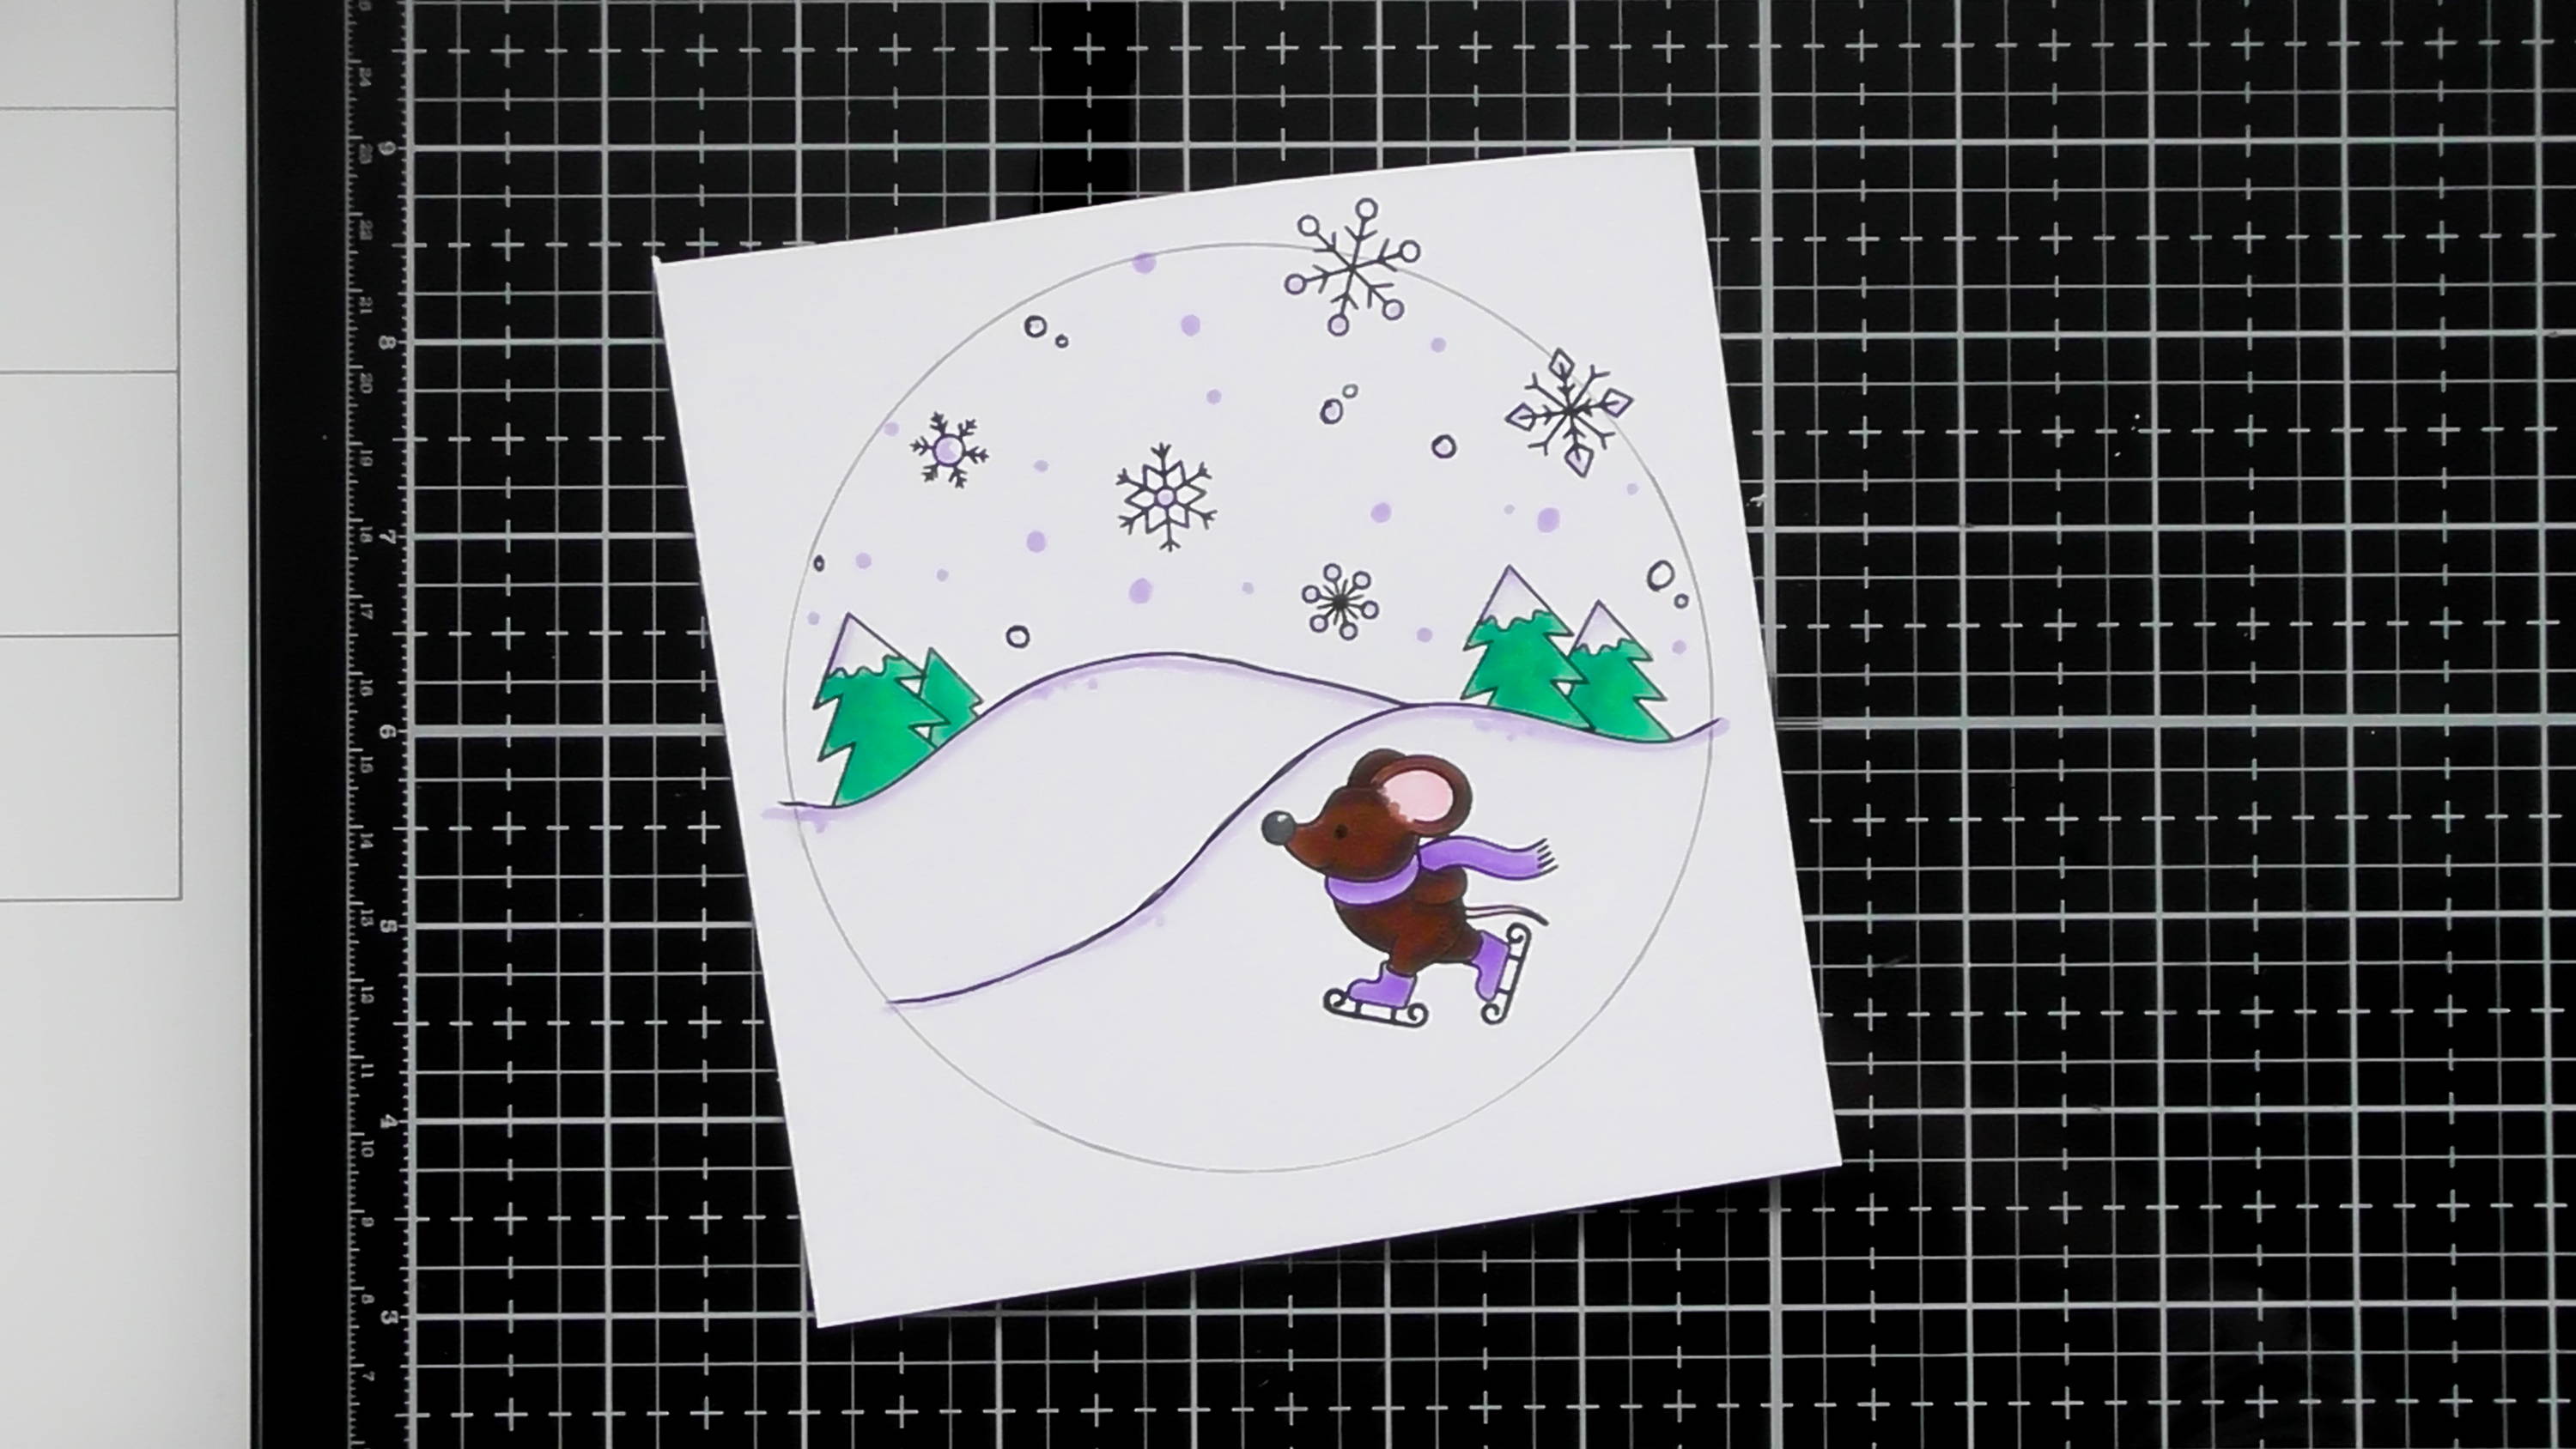
The next step is to colour everything, I decided to keep the colouring really simple and to a limited colour palette as well…
Step 6
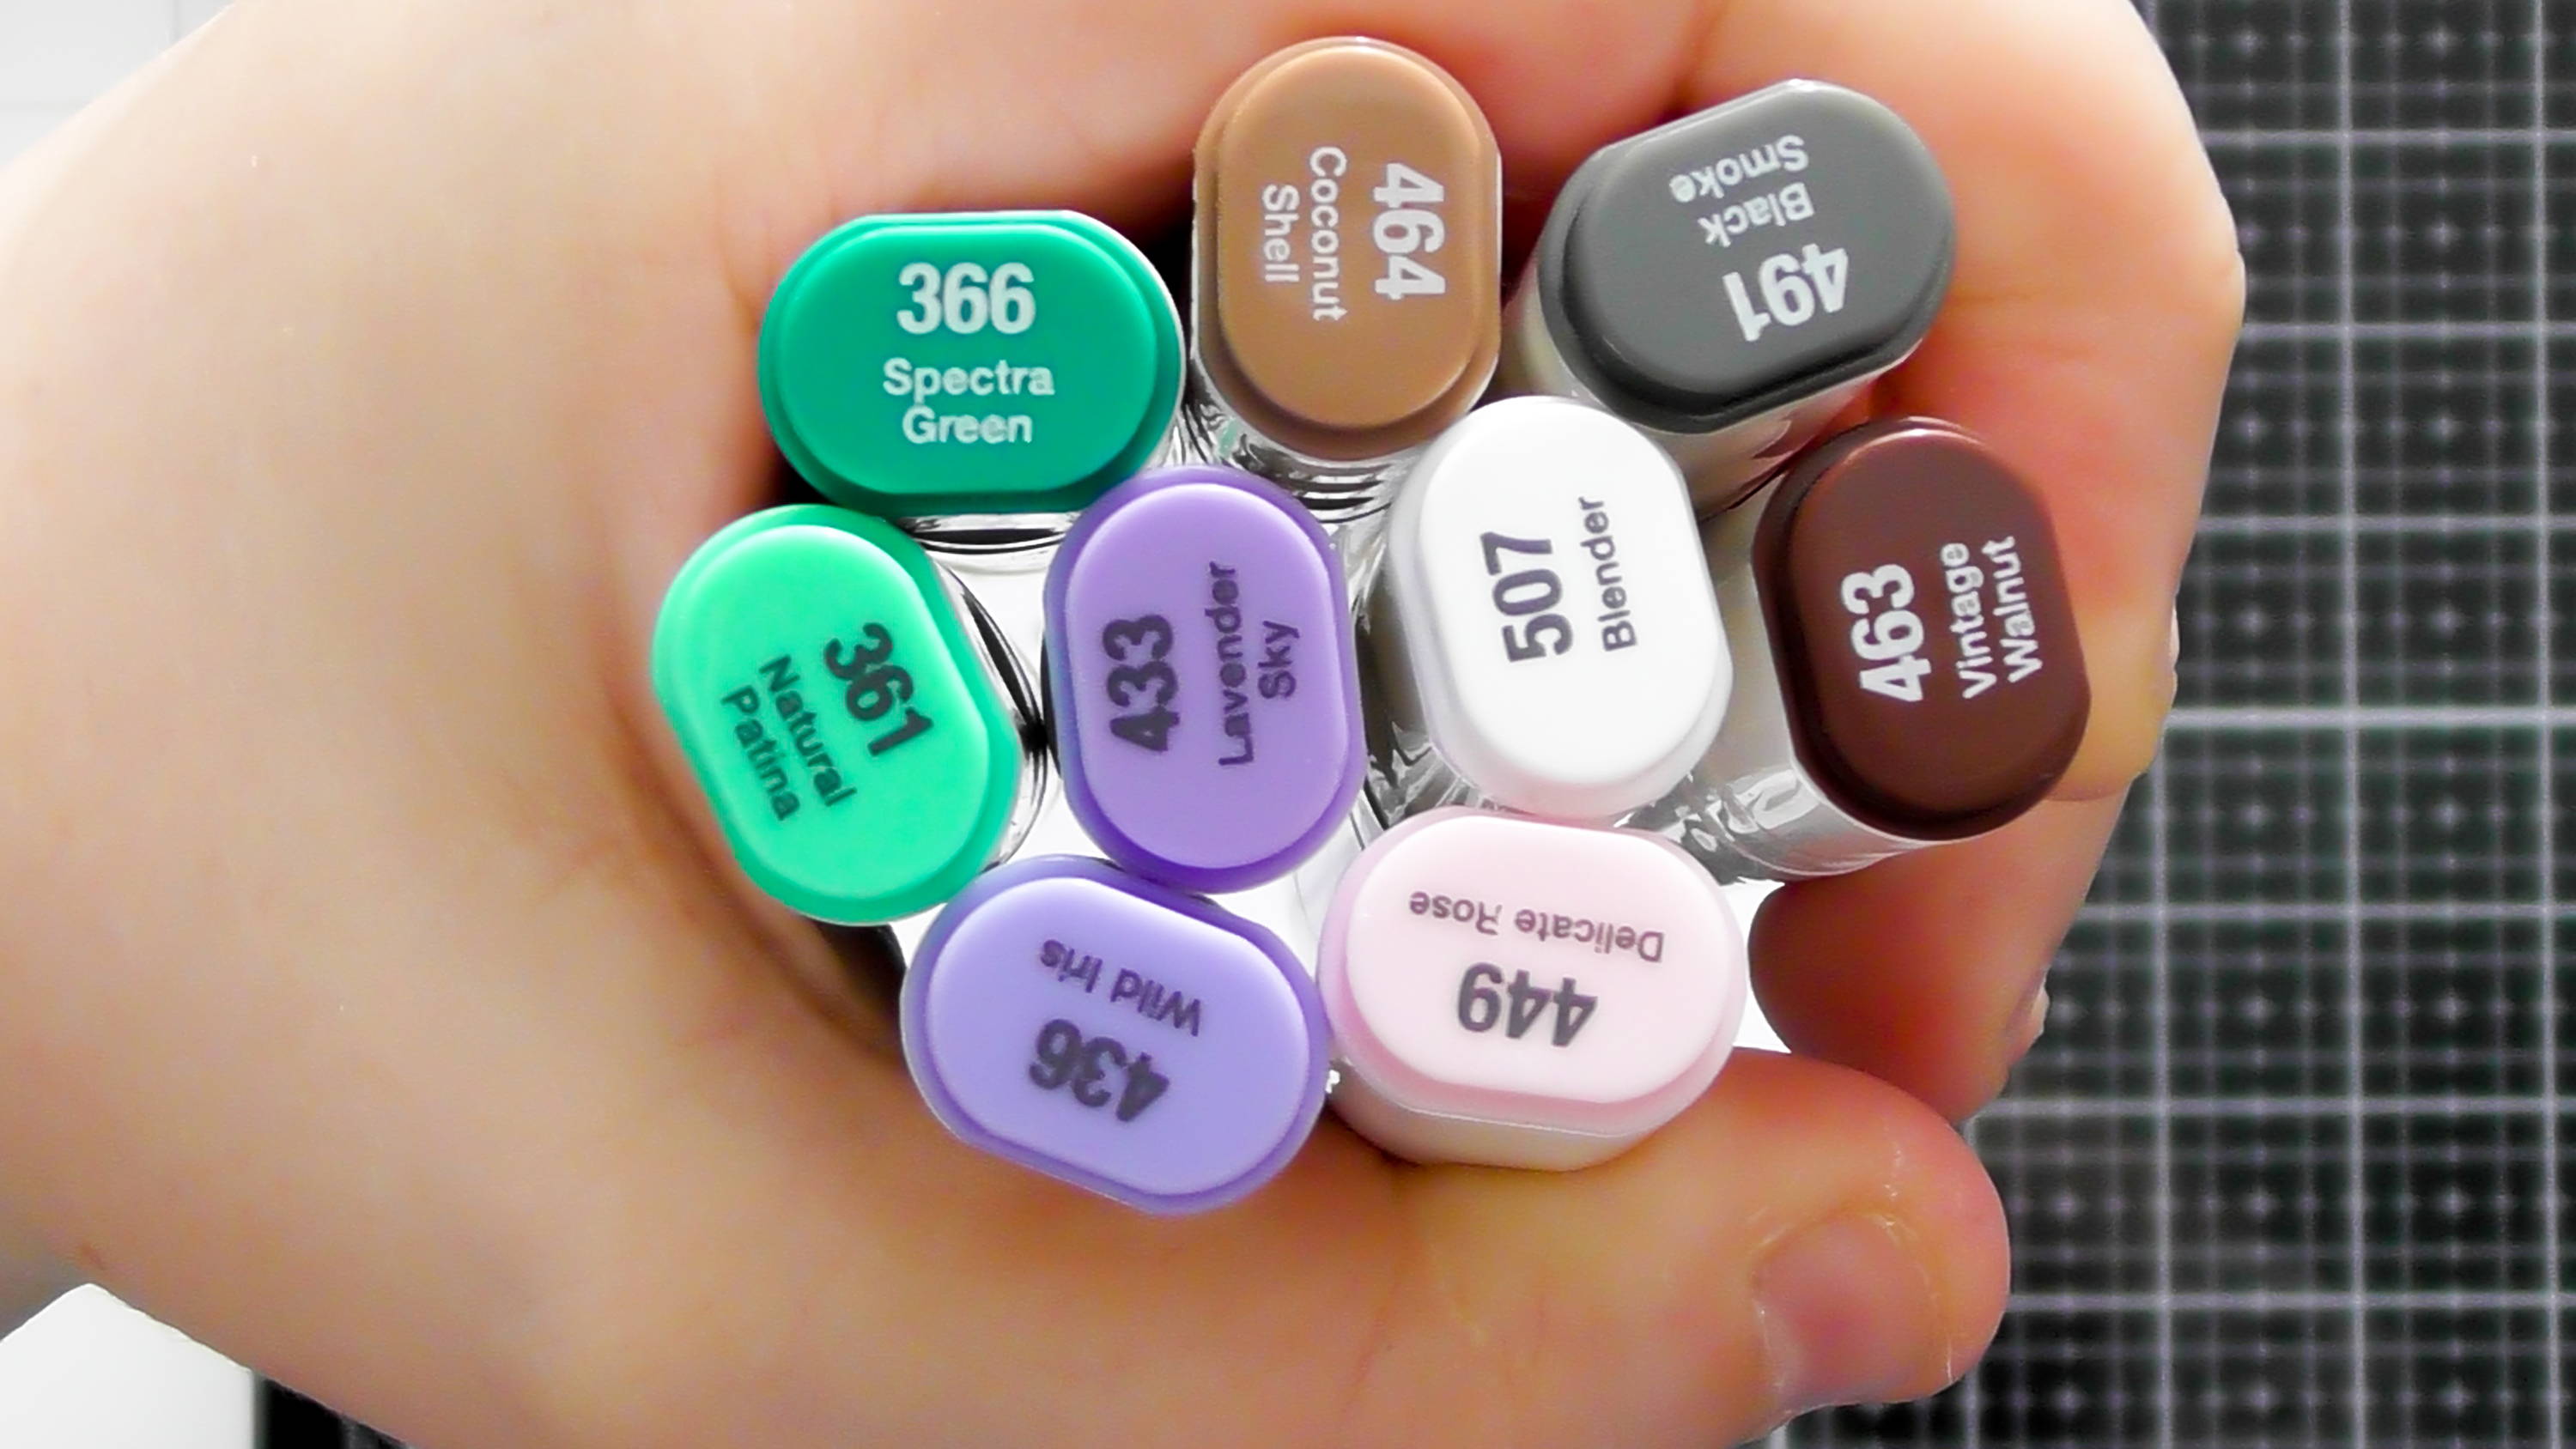
These were the colours I used in case you want to achieve the same look. The colourless blender is very handy for softening the purples on the snowy areas too
Step 7
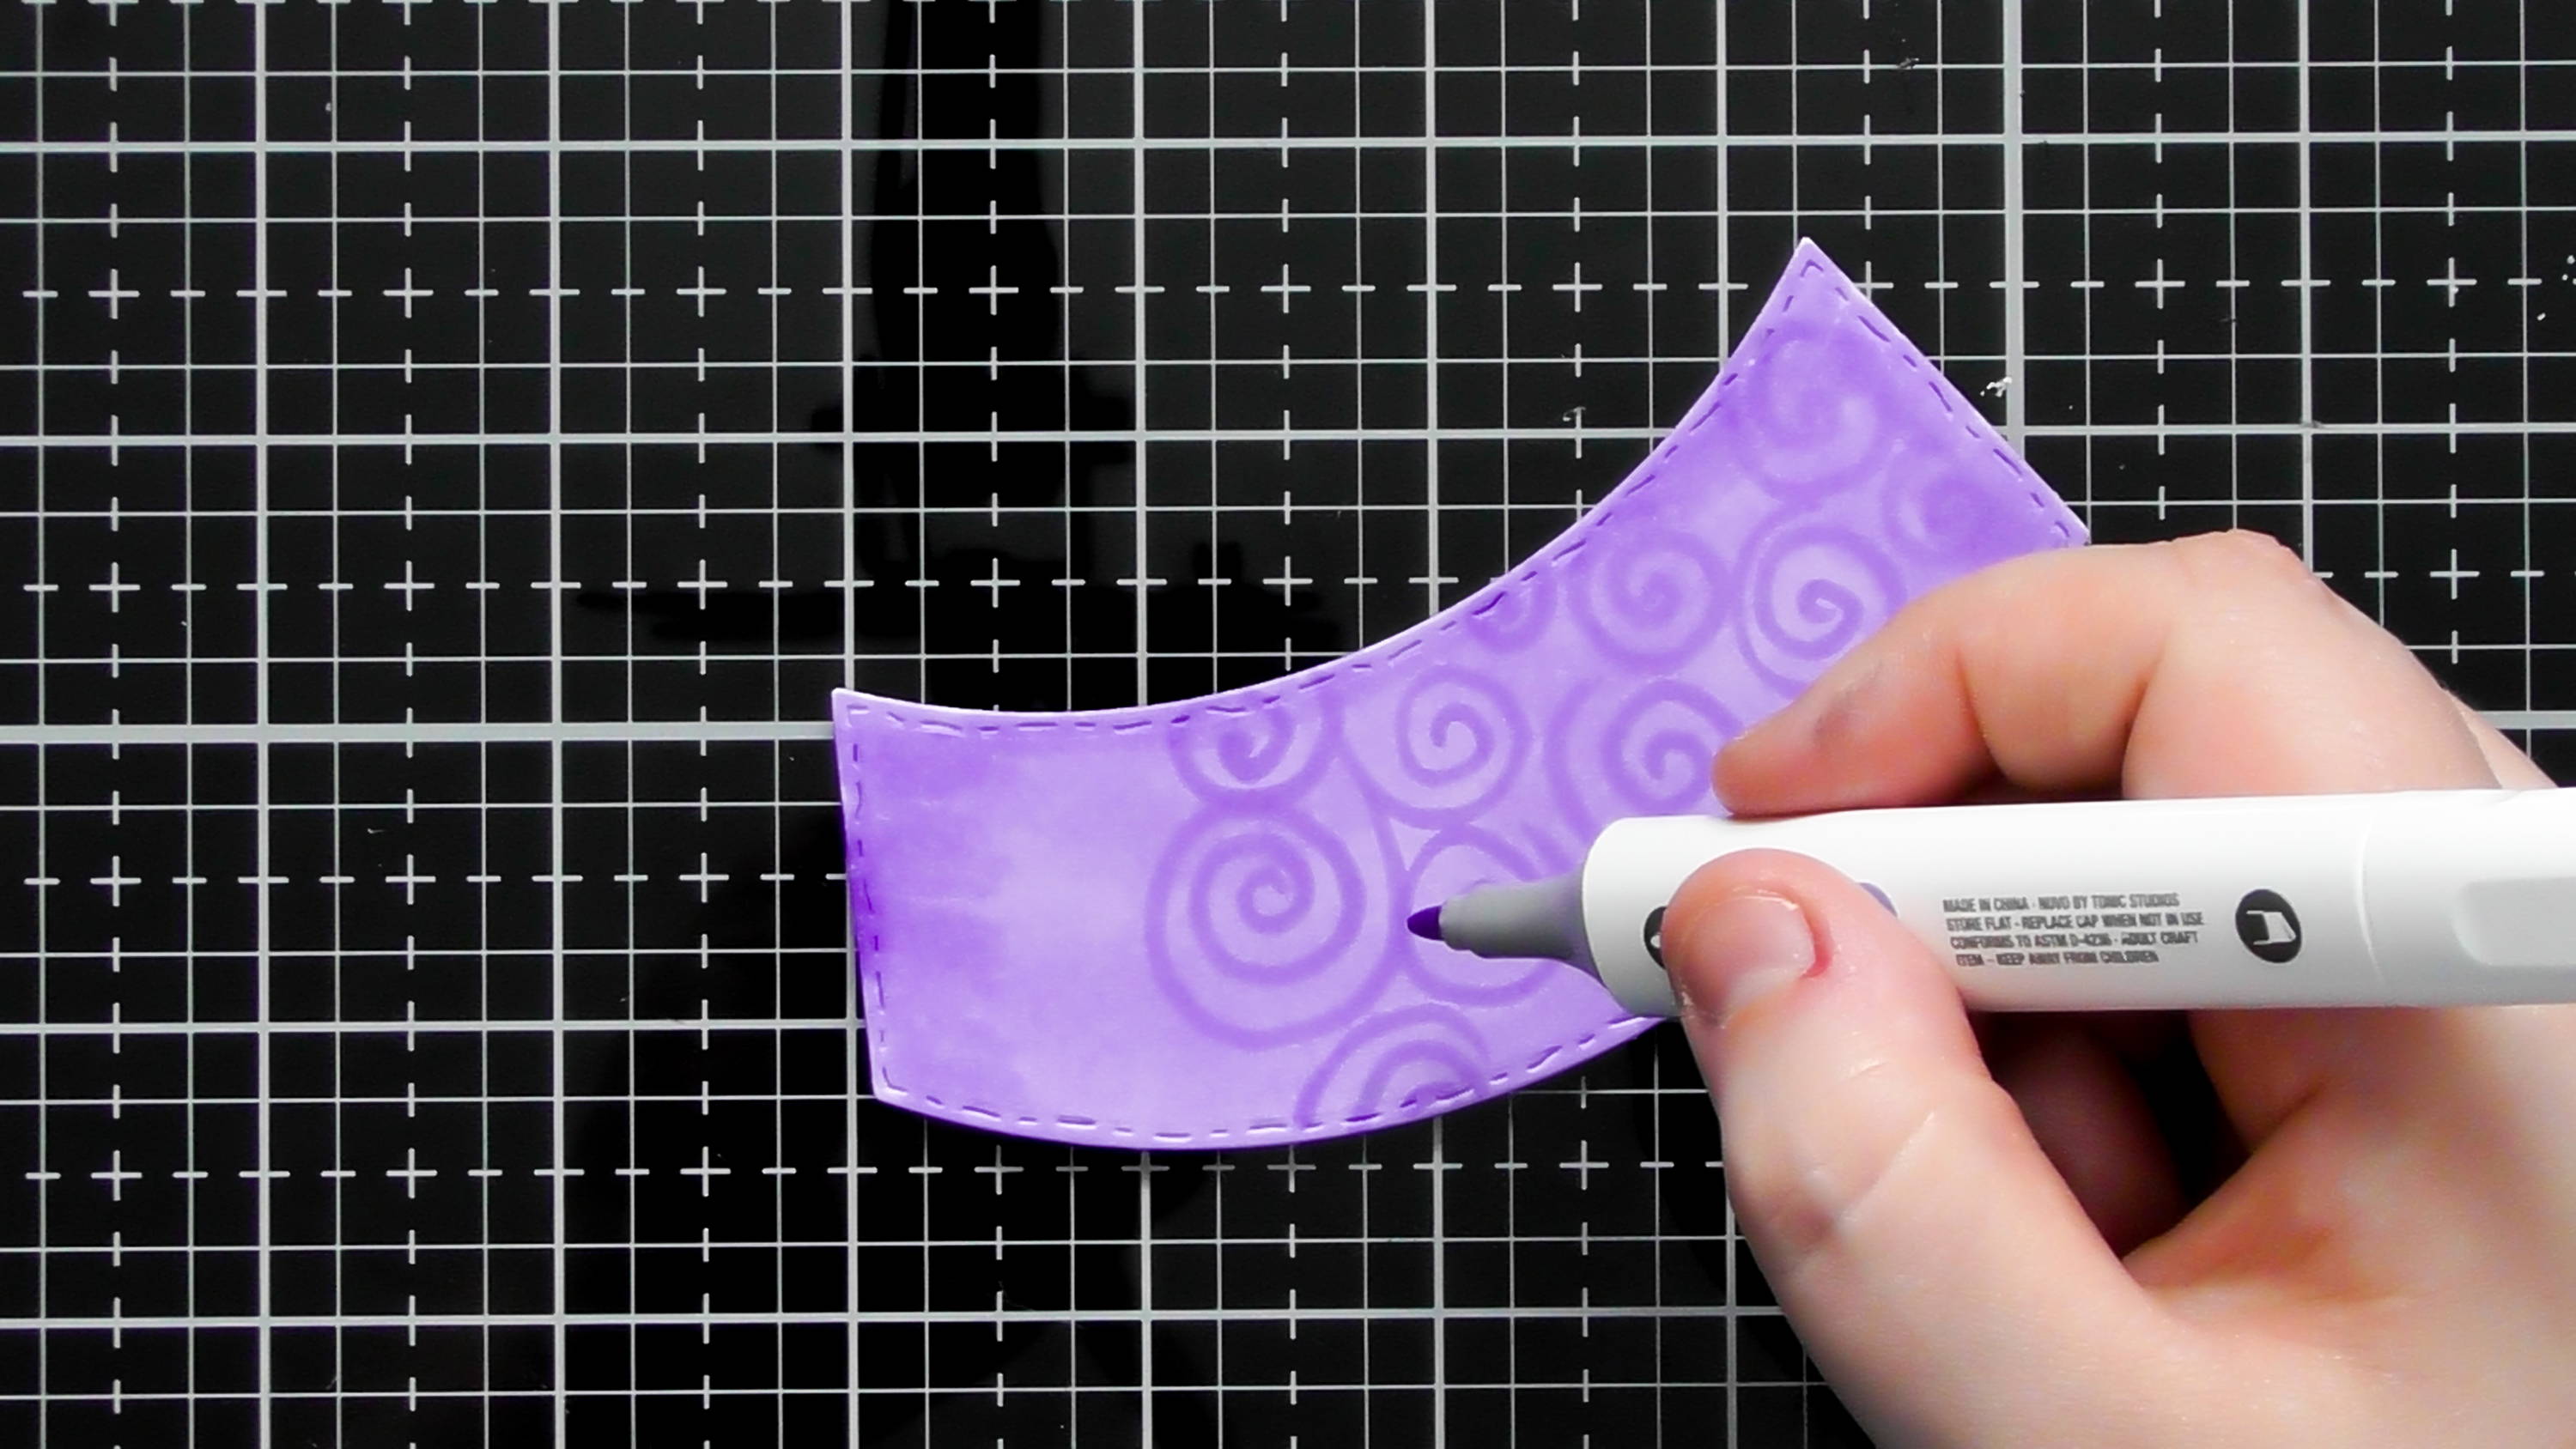
To help the bottom of the snow globe coordinate with our colouring, simply use the same coloured pens to solidly colour the piece (using the chisel nib) and then add some swirl detail with the darker shade to give it some pattern.
Step 8
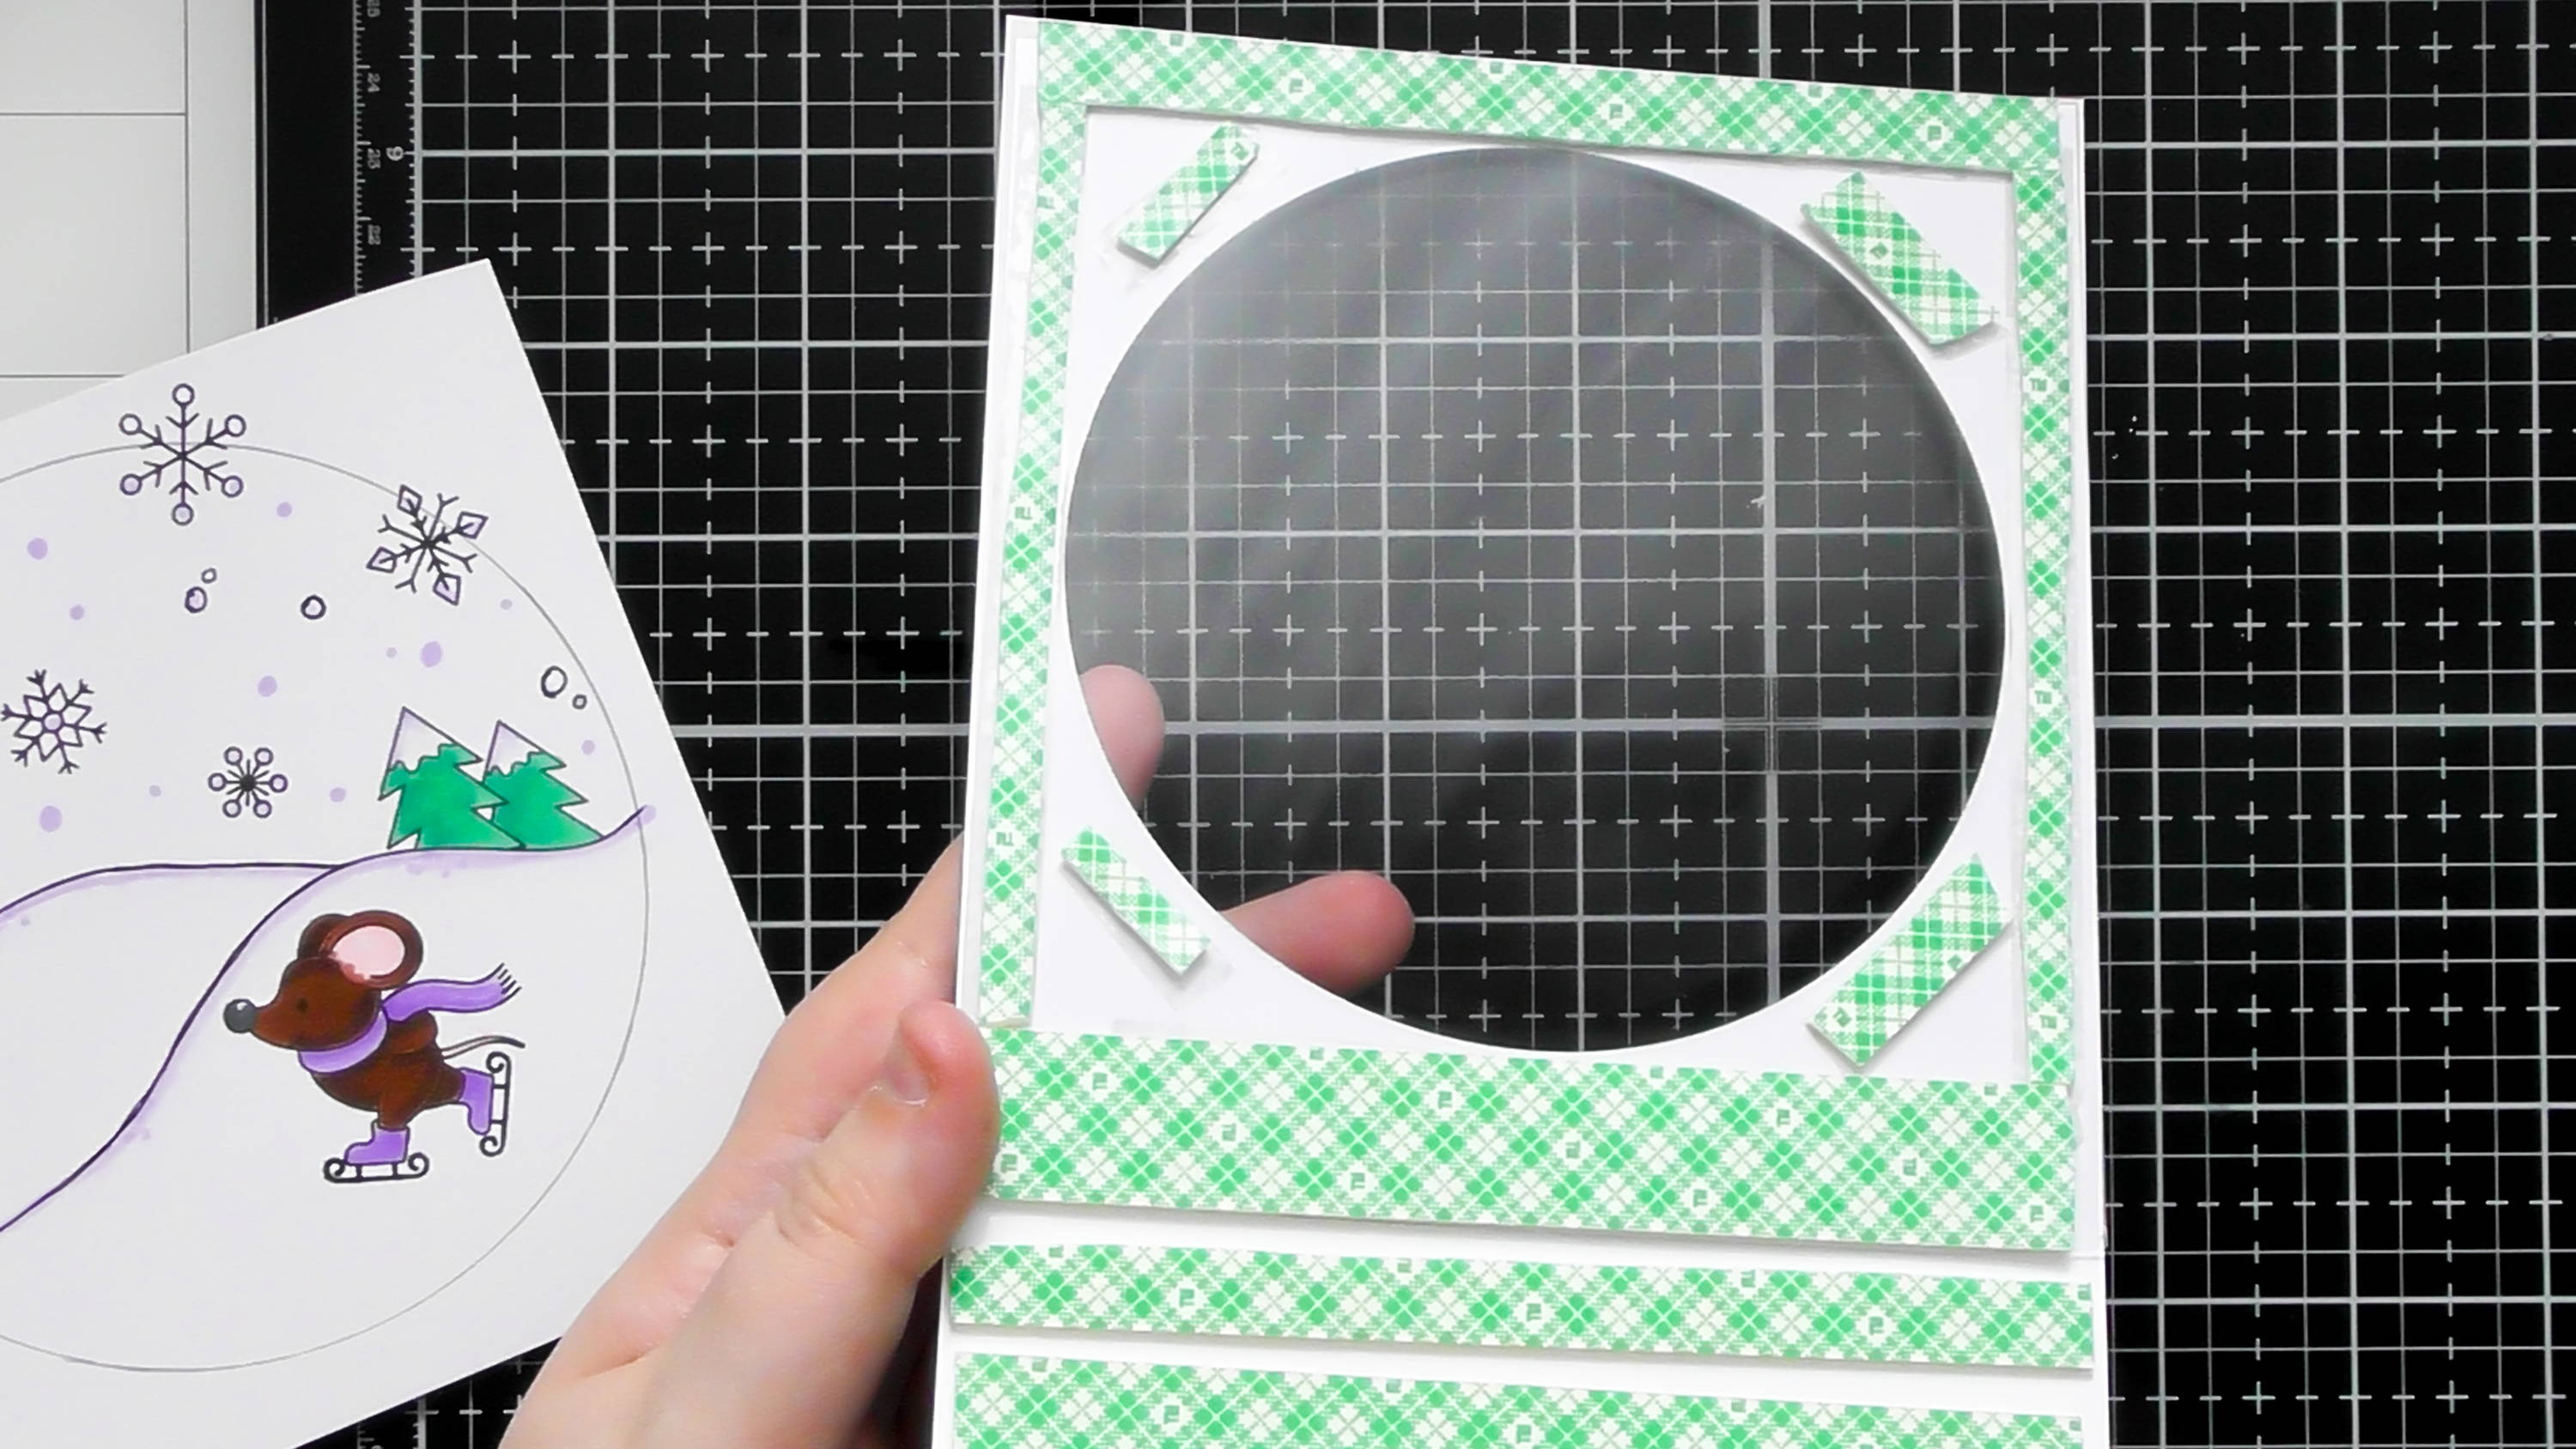
Flip your aperture panel over, and add acetate behind said aperture, then surround the perimeter with 3D foam, making sure to add foam to the rest as well so that it’ll all be the same height when we add it to our card blank.
Step 9

Choose your shaker elements, I always like to use a mixture, so I chose The Rainbow Quartz Triangles (from the Dream in Colour Trend) and the Silver Tinsel Snowflakes (from Let it Snow Confetti set). The best way to assemble the shaker is then to add a pile of the confetti to your stamped scene, then remove the foam tape backing and place your aperture over the top of your scene, you can then line it up perfectly.
Step 10
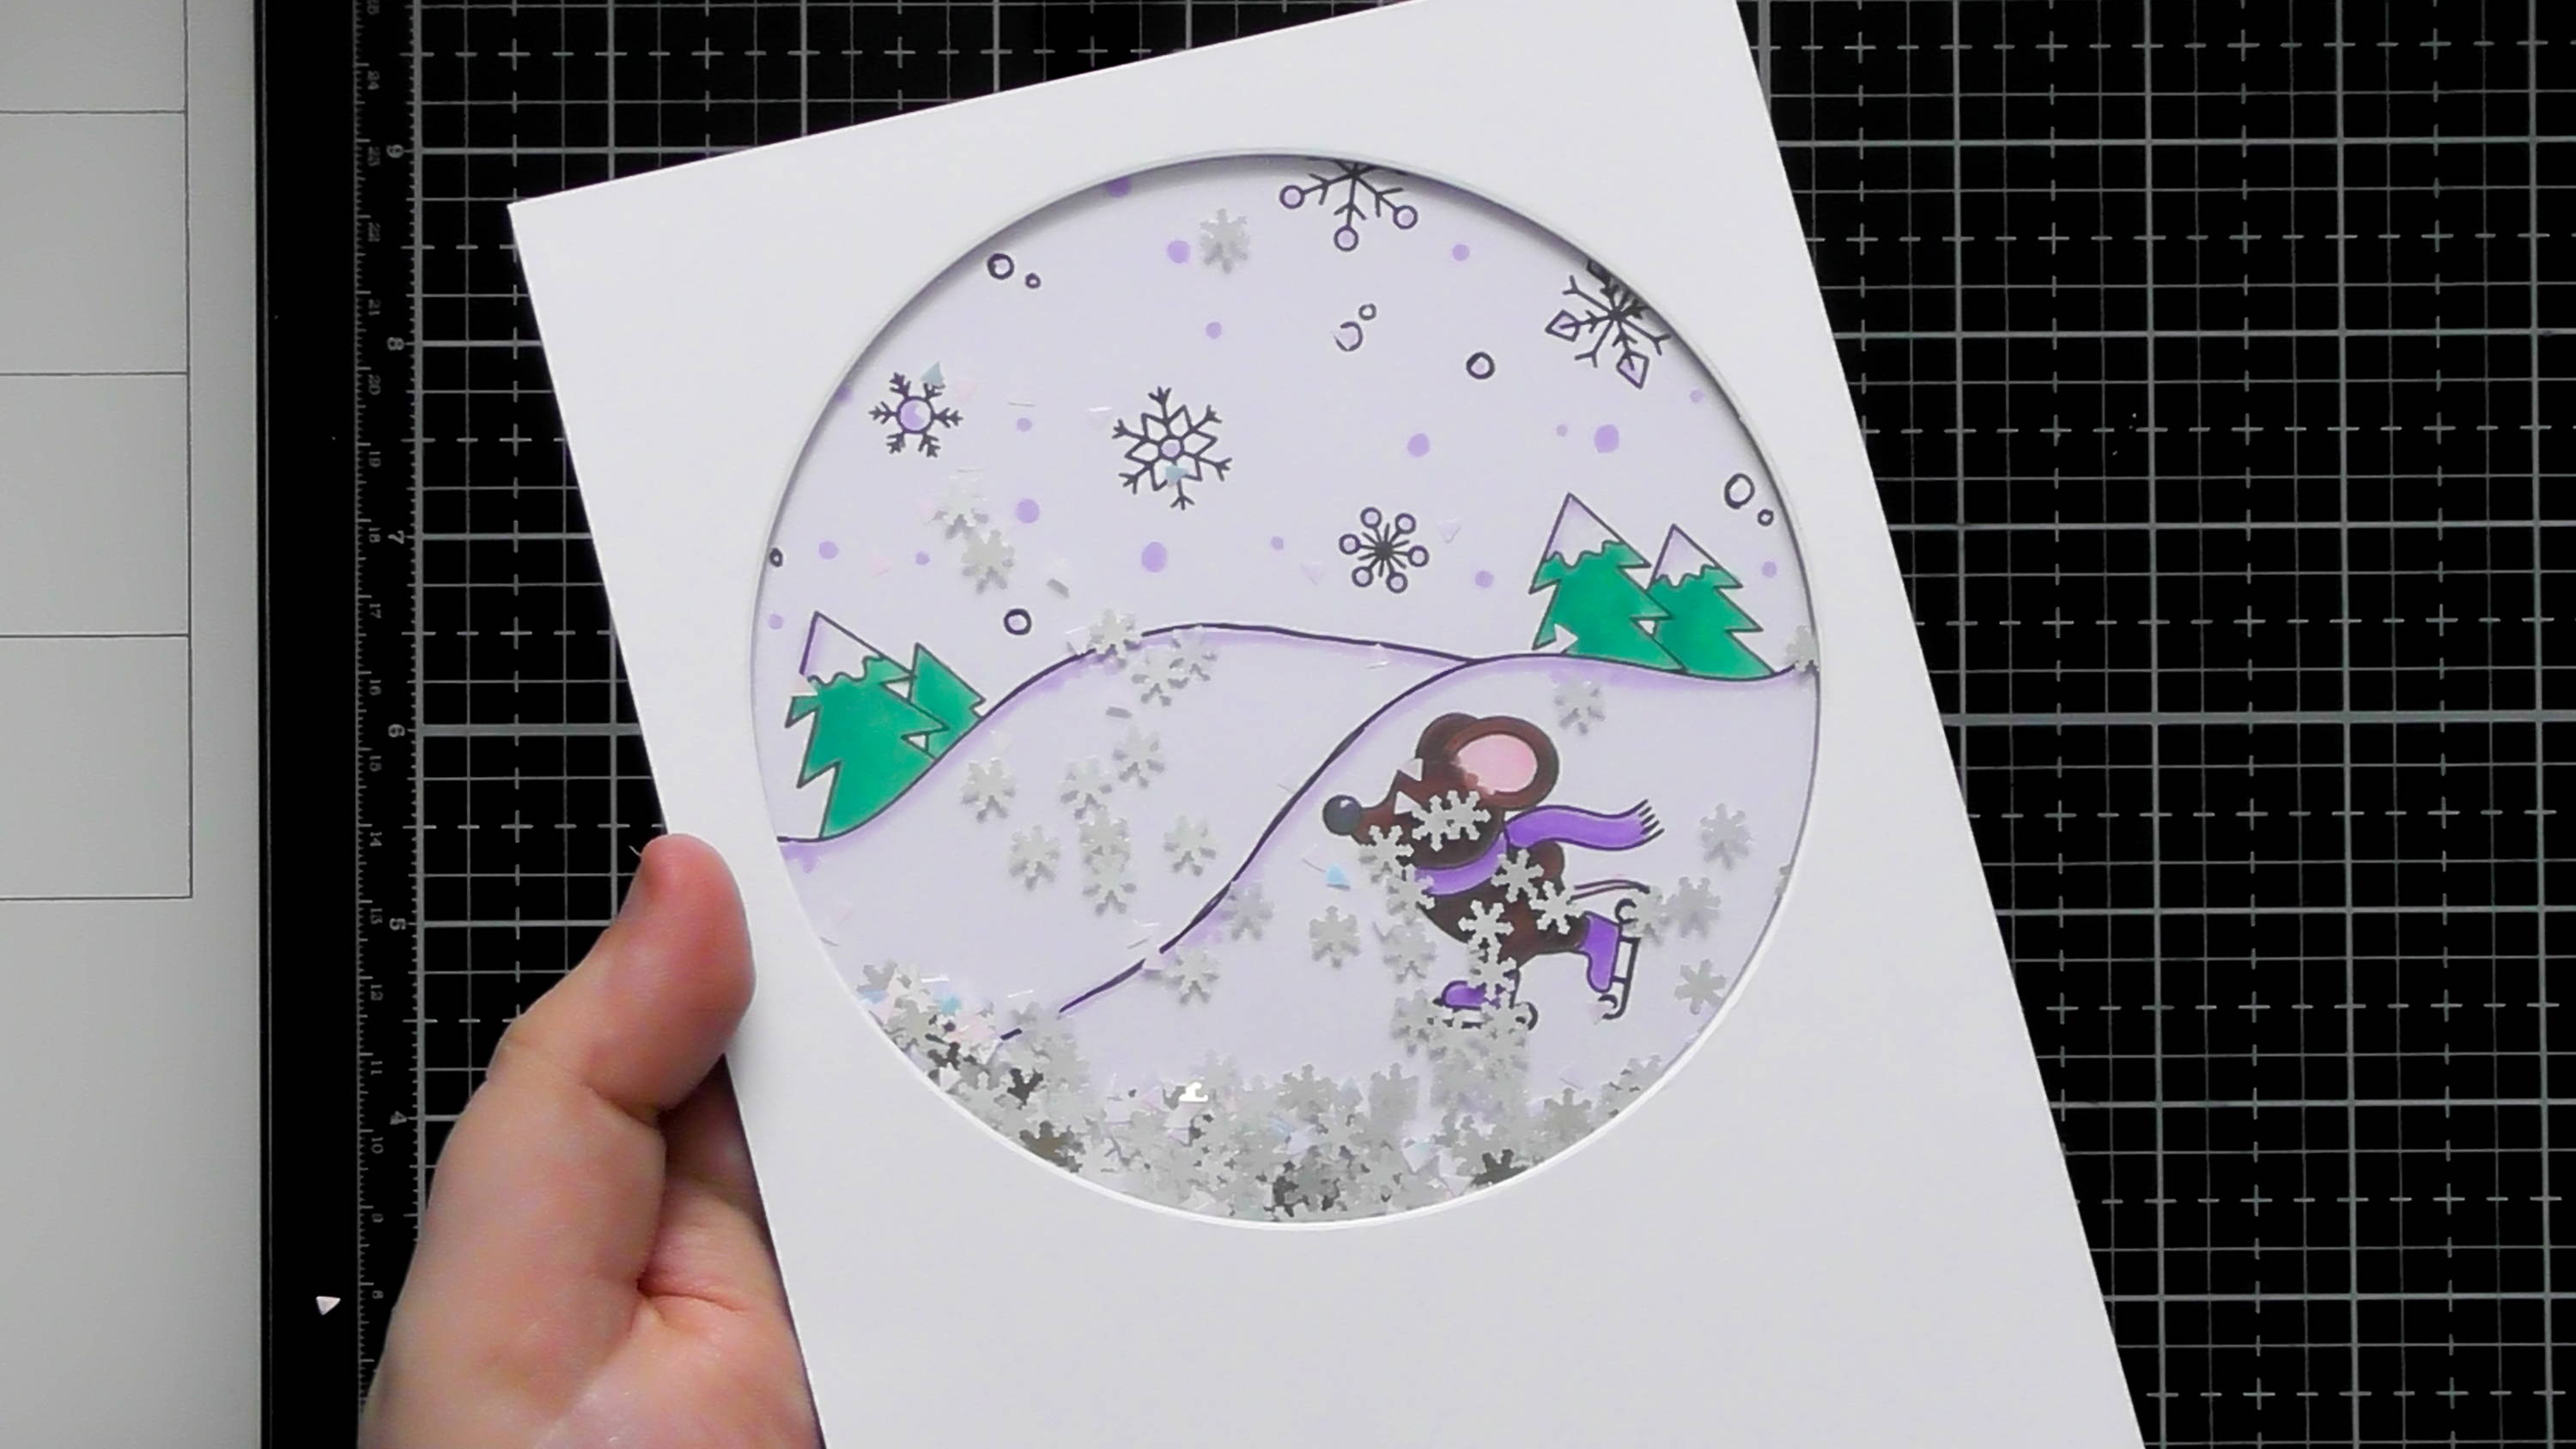
Like so :D Bear in mind when you add your shaker elements that there’s a scene inside, so you don’t want to add too much, otherwise you won’t be able to see the scene.
Step 11
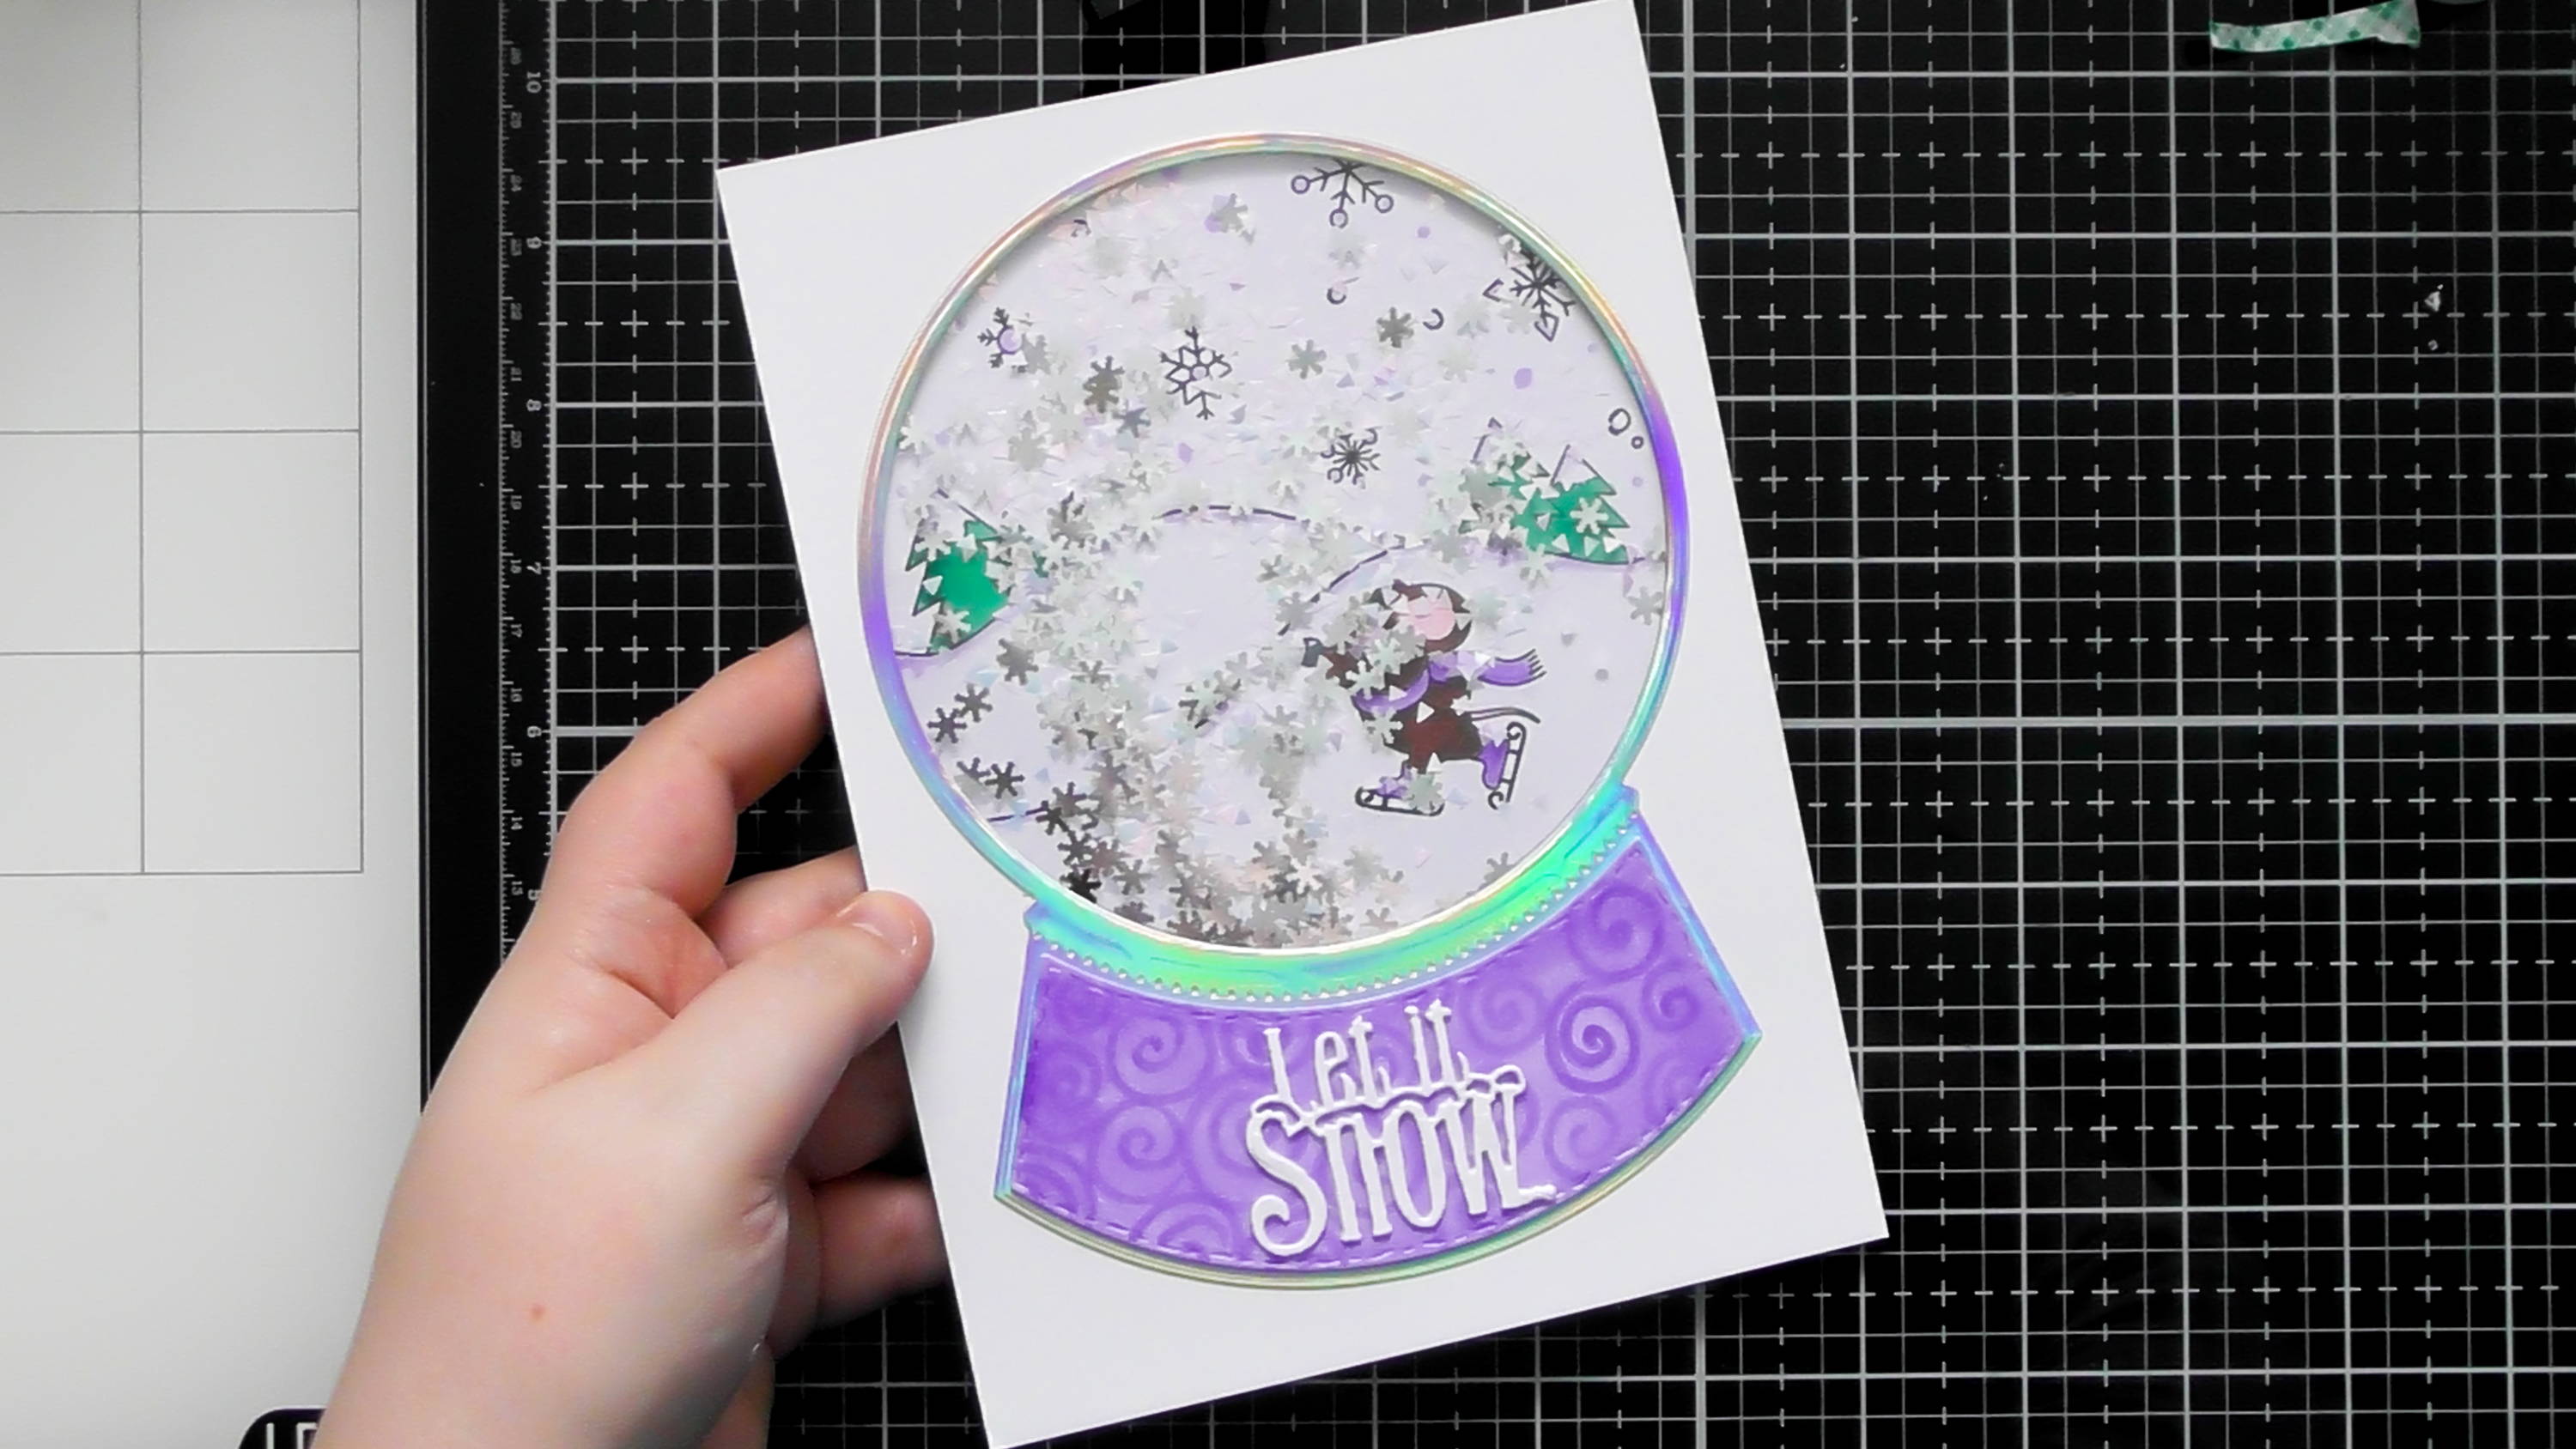
Finally add the rest of your die-cut elements, lining up the snow globe frame perfectly around your aperture, add the hand coloured bottom piece, stack your sentiments and adhere in the centre, and finally finish with a scattering of the die-cut snowflakes too :D
I hope you enjoyed seeing the steps behind this card! There are so many different ways to use this Snow Globe and not just for Christmas either, and the rest of the critters in the stamp set are just adorable too, so have fun mixing and matching to create all sorts of different scenes inside your globes :D Christine aka CRaFTi PoTeNTiAl xxx
Buy The Craft Project
