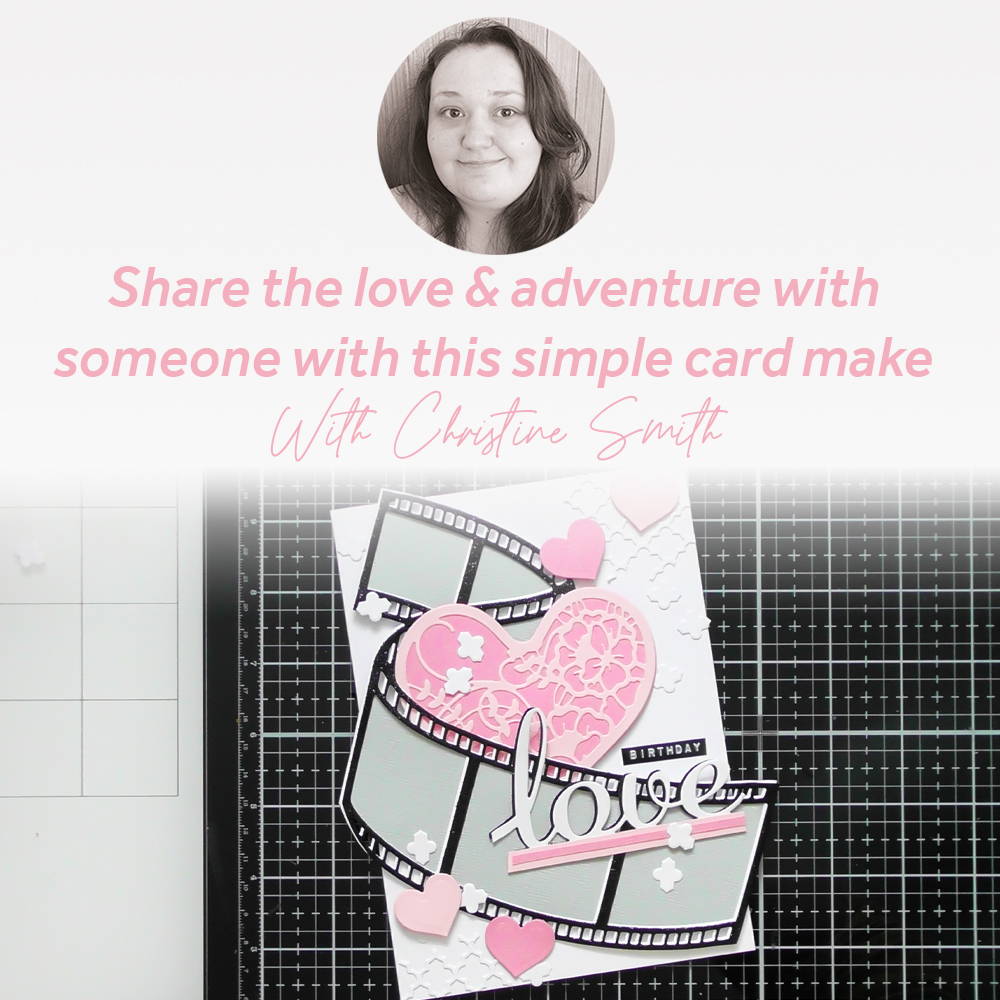

These sentimental frames are fantastic! And can be used for so many projects too from Memory Books, to Home Décor to just simple cards too :D There were some fabulous samples on the shows when these launched on Create & Craft, but for this blog post, I thought I’d do a relatively simple card focusing mainly on the Adventure die set :D
Step 1

Die-cut the full die from white card and black glitter card
Step 2

then use your scissors to snip them both out just leaving the film strips. I also pinched some elements from one of the other sets and die-cut the word love from some scraps of the same card.
Step 3
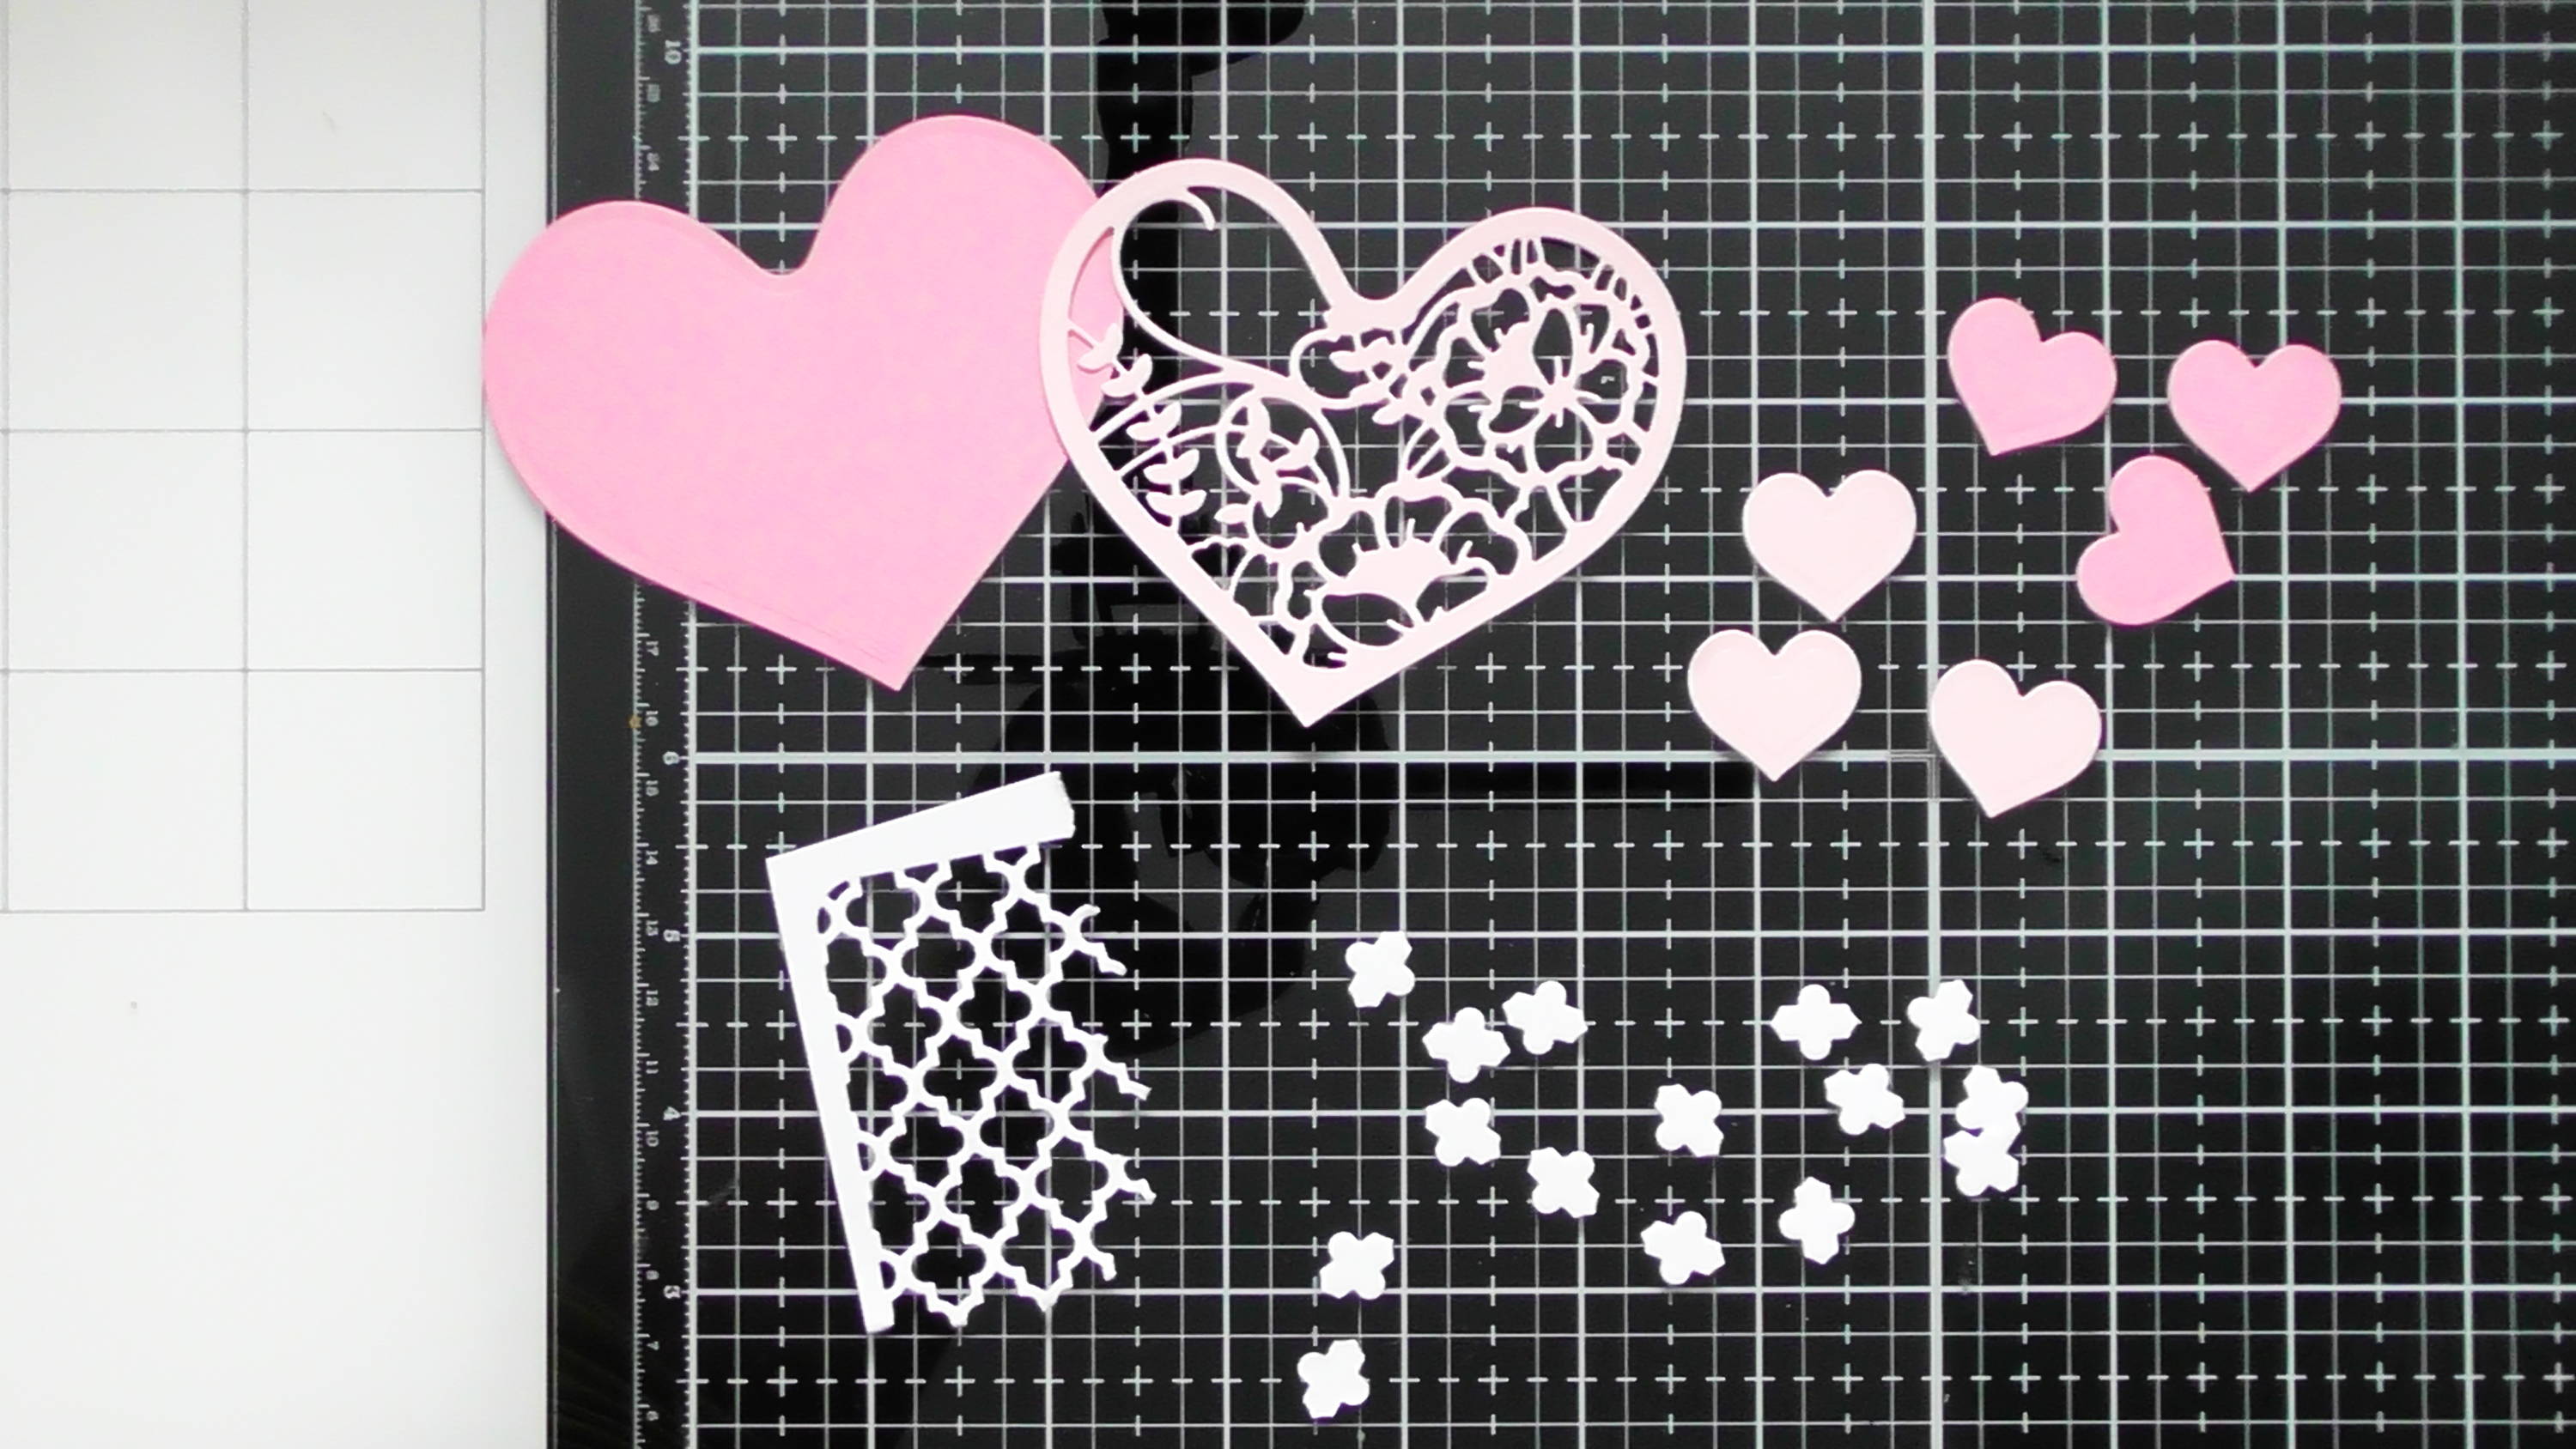
As a focal design I chose one of the heart designs, the tiny heart and I picked the largest trellis design too. I cut the hearts from 2 different tones of pink and the trellis from white, and I tore away two sides so I could utilise this on my card too.
Step 4
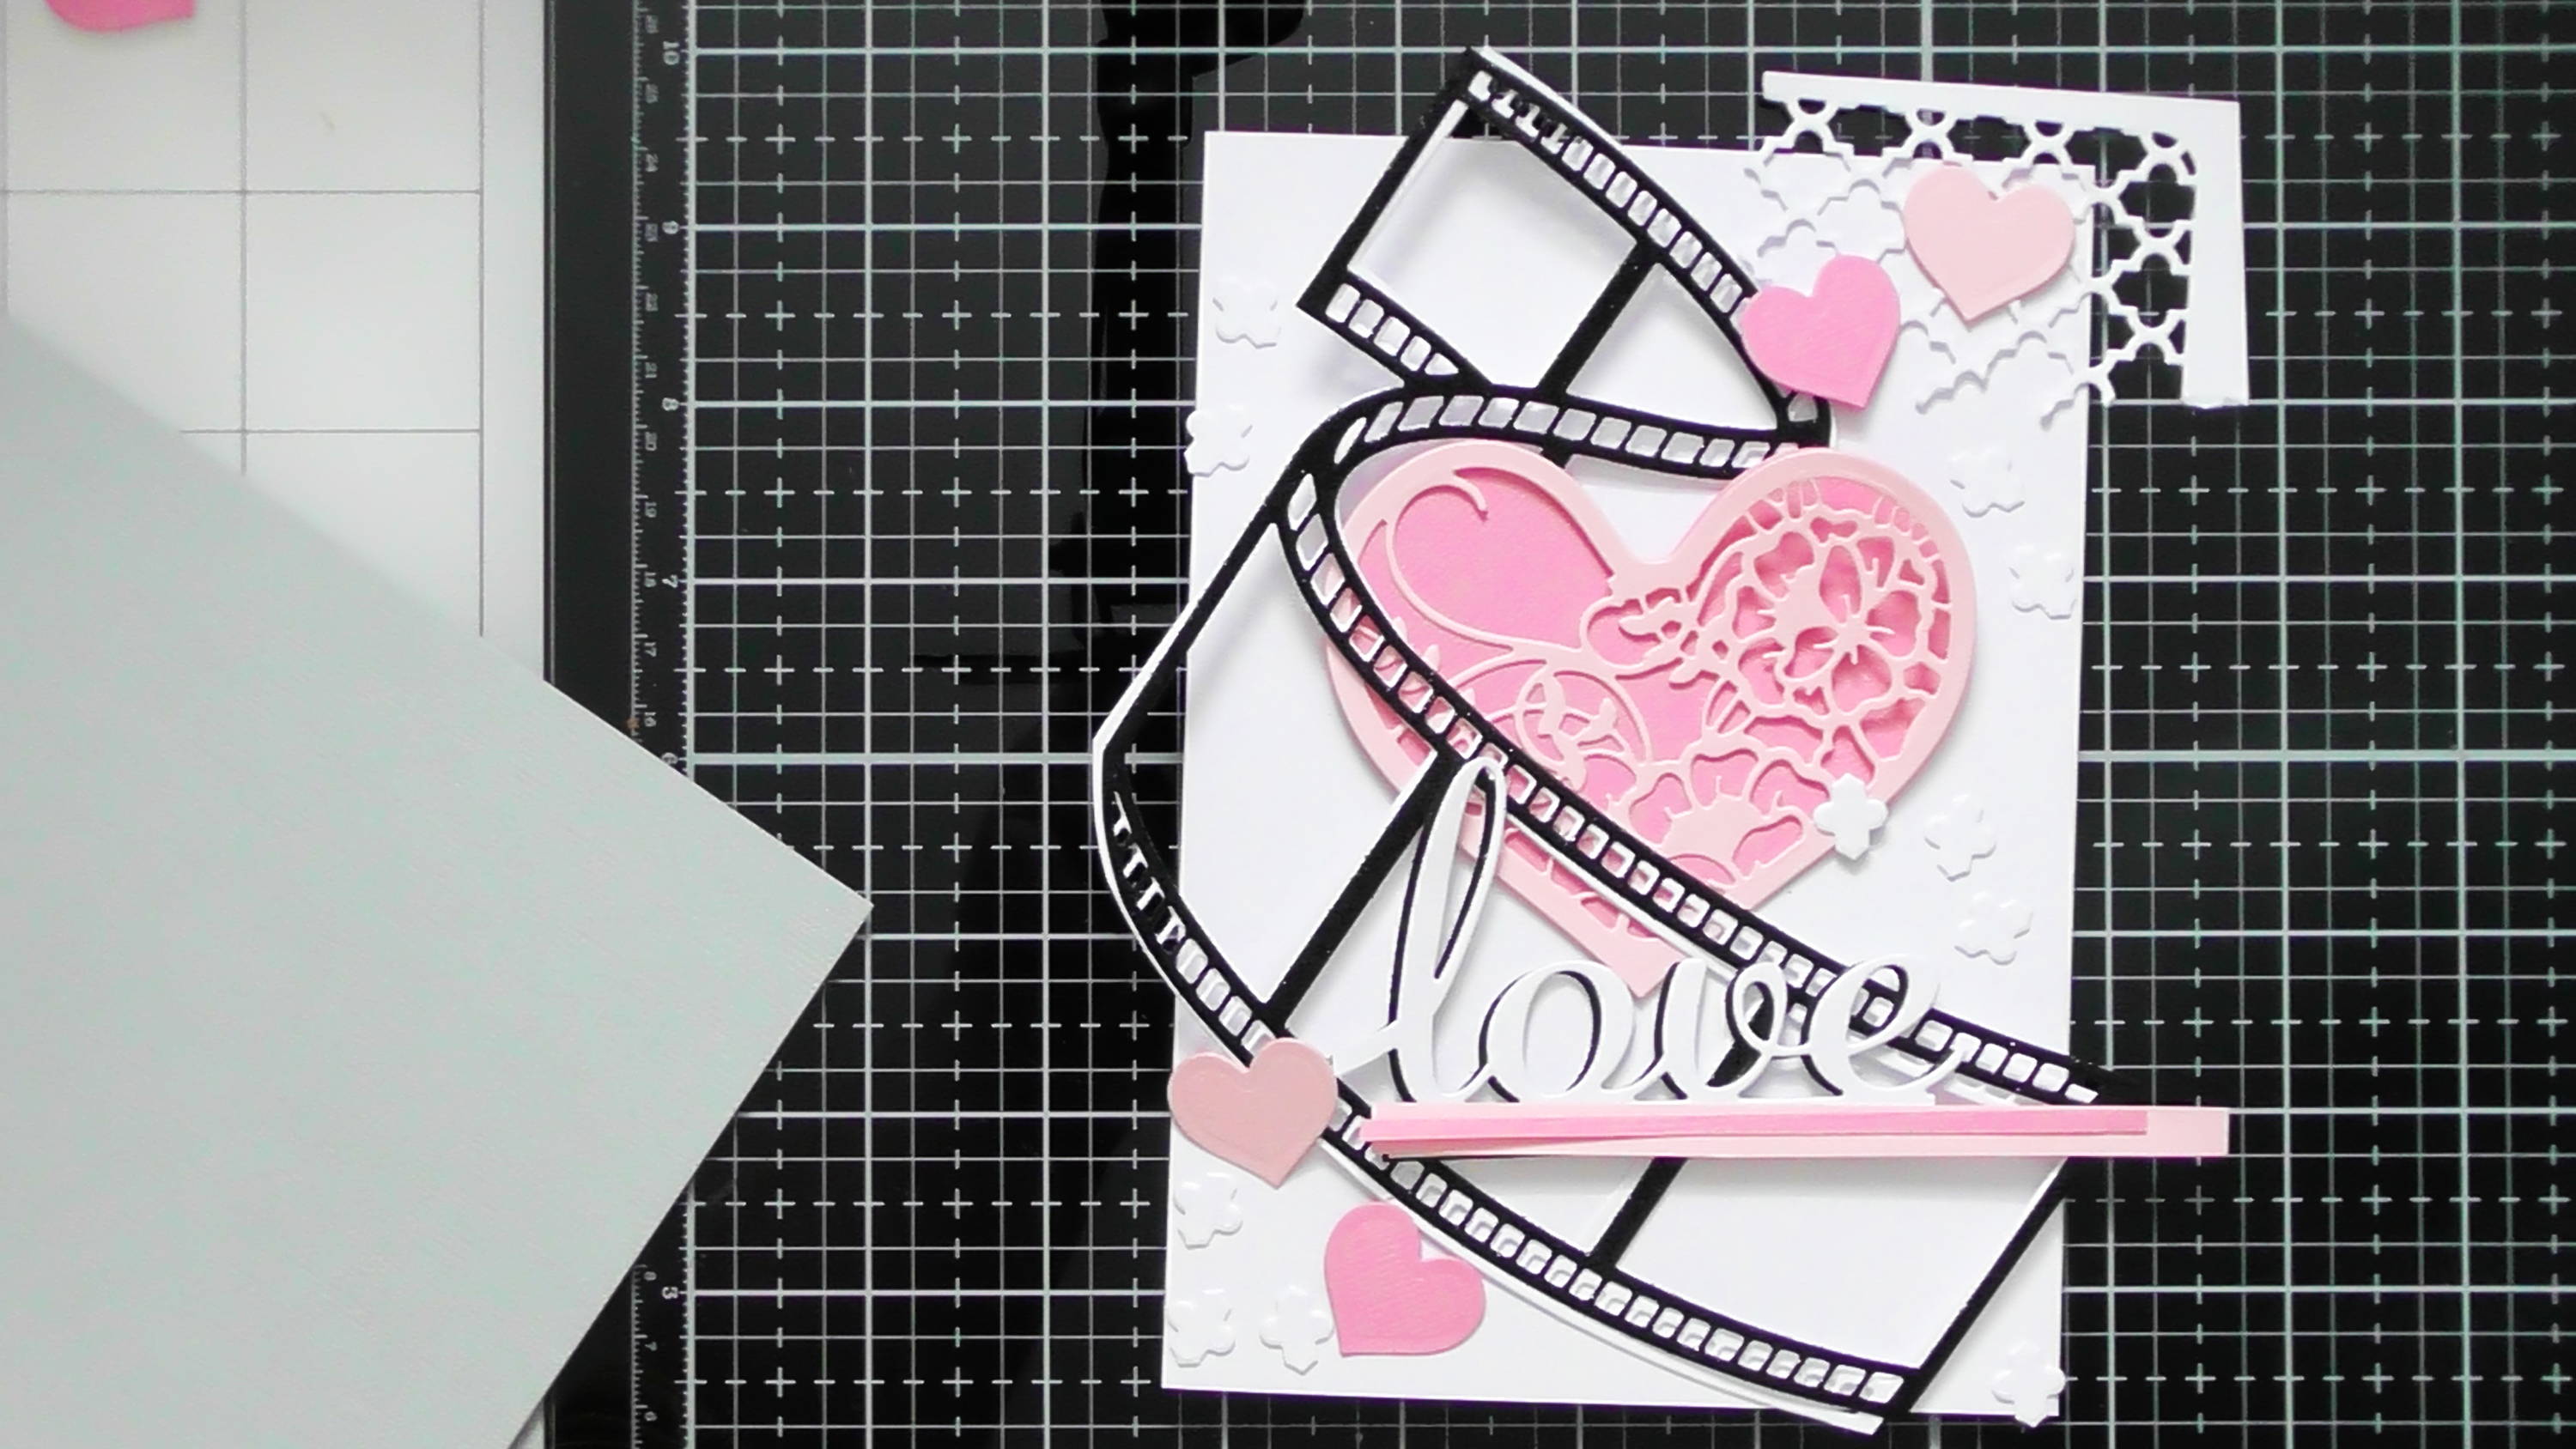
I then did a test run with the layout, and took a photo with my phone so I could refer back to it later
Step 5
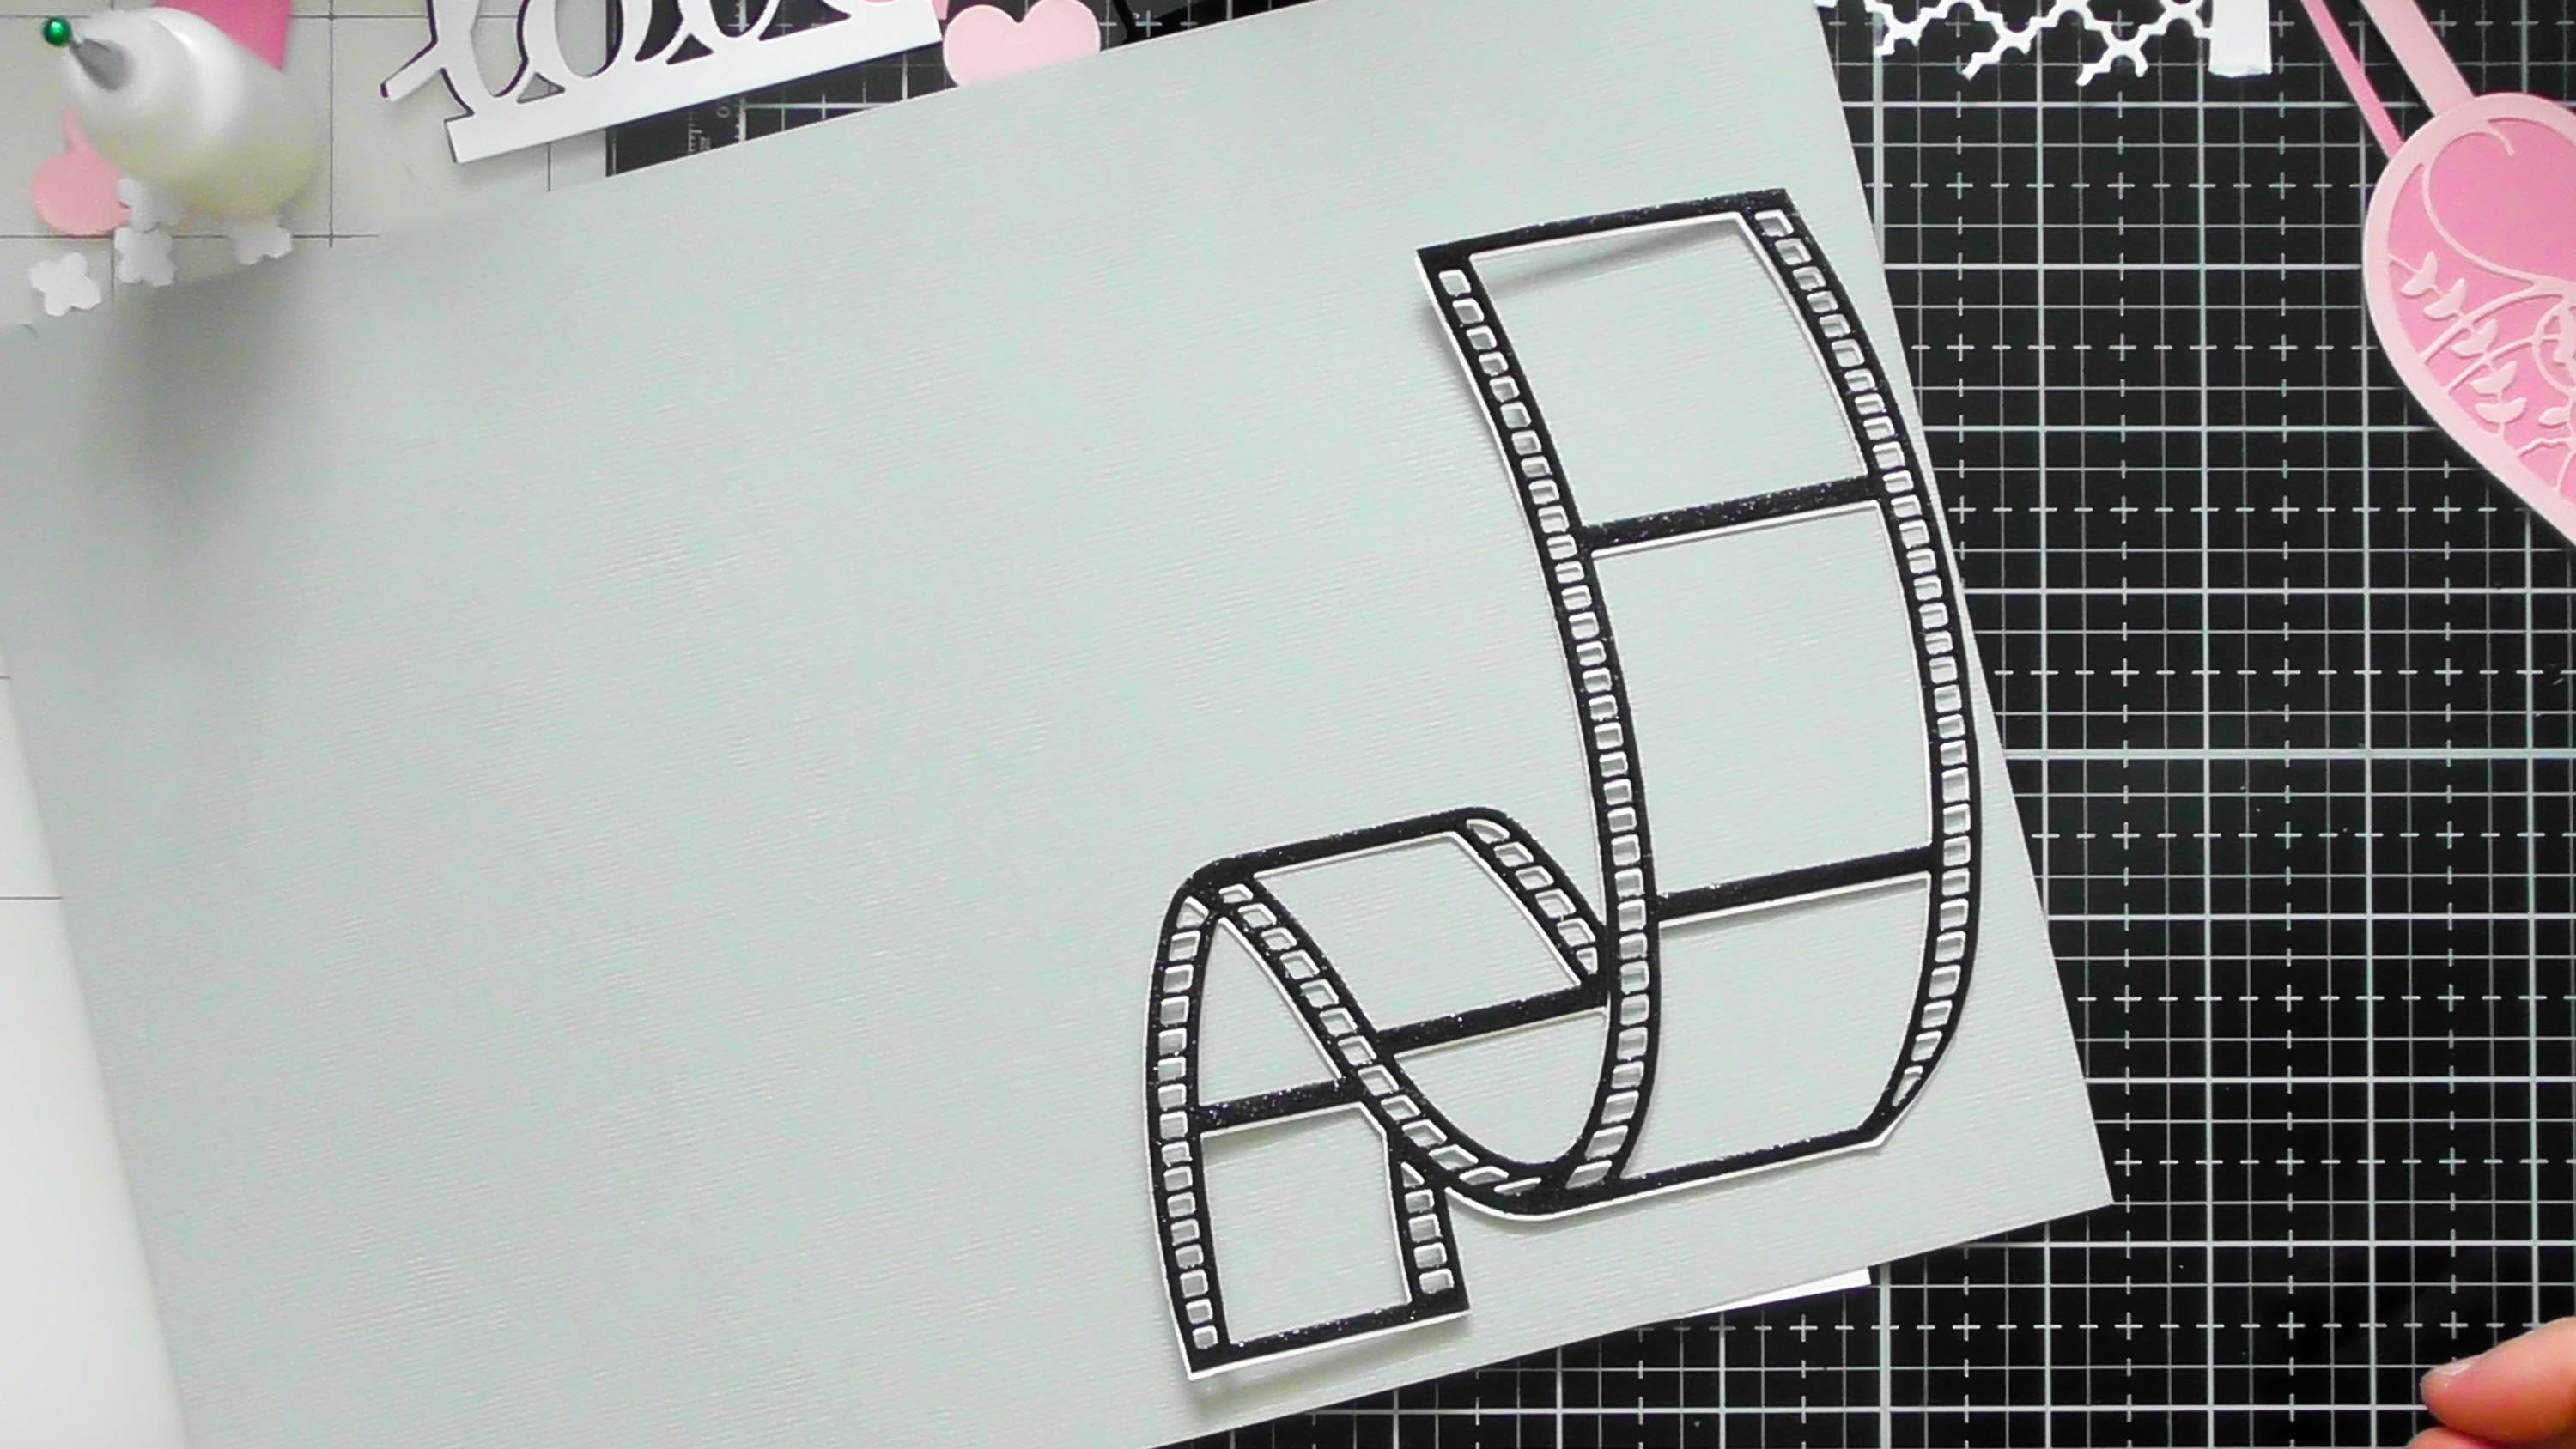
After doing the test run I decided I wanted the filmstrip to be solid, there are a few ways that you can do this using the dies in the set, but in the end I opted for sticking it to some light grey card
Step 6
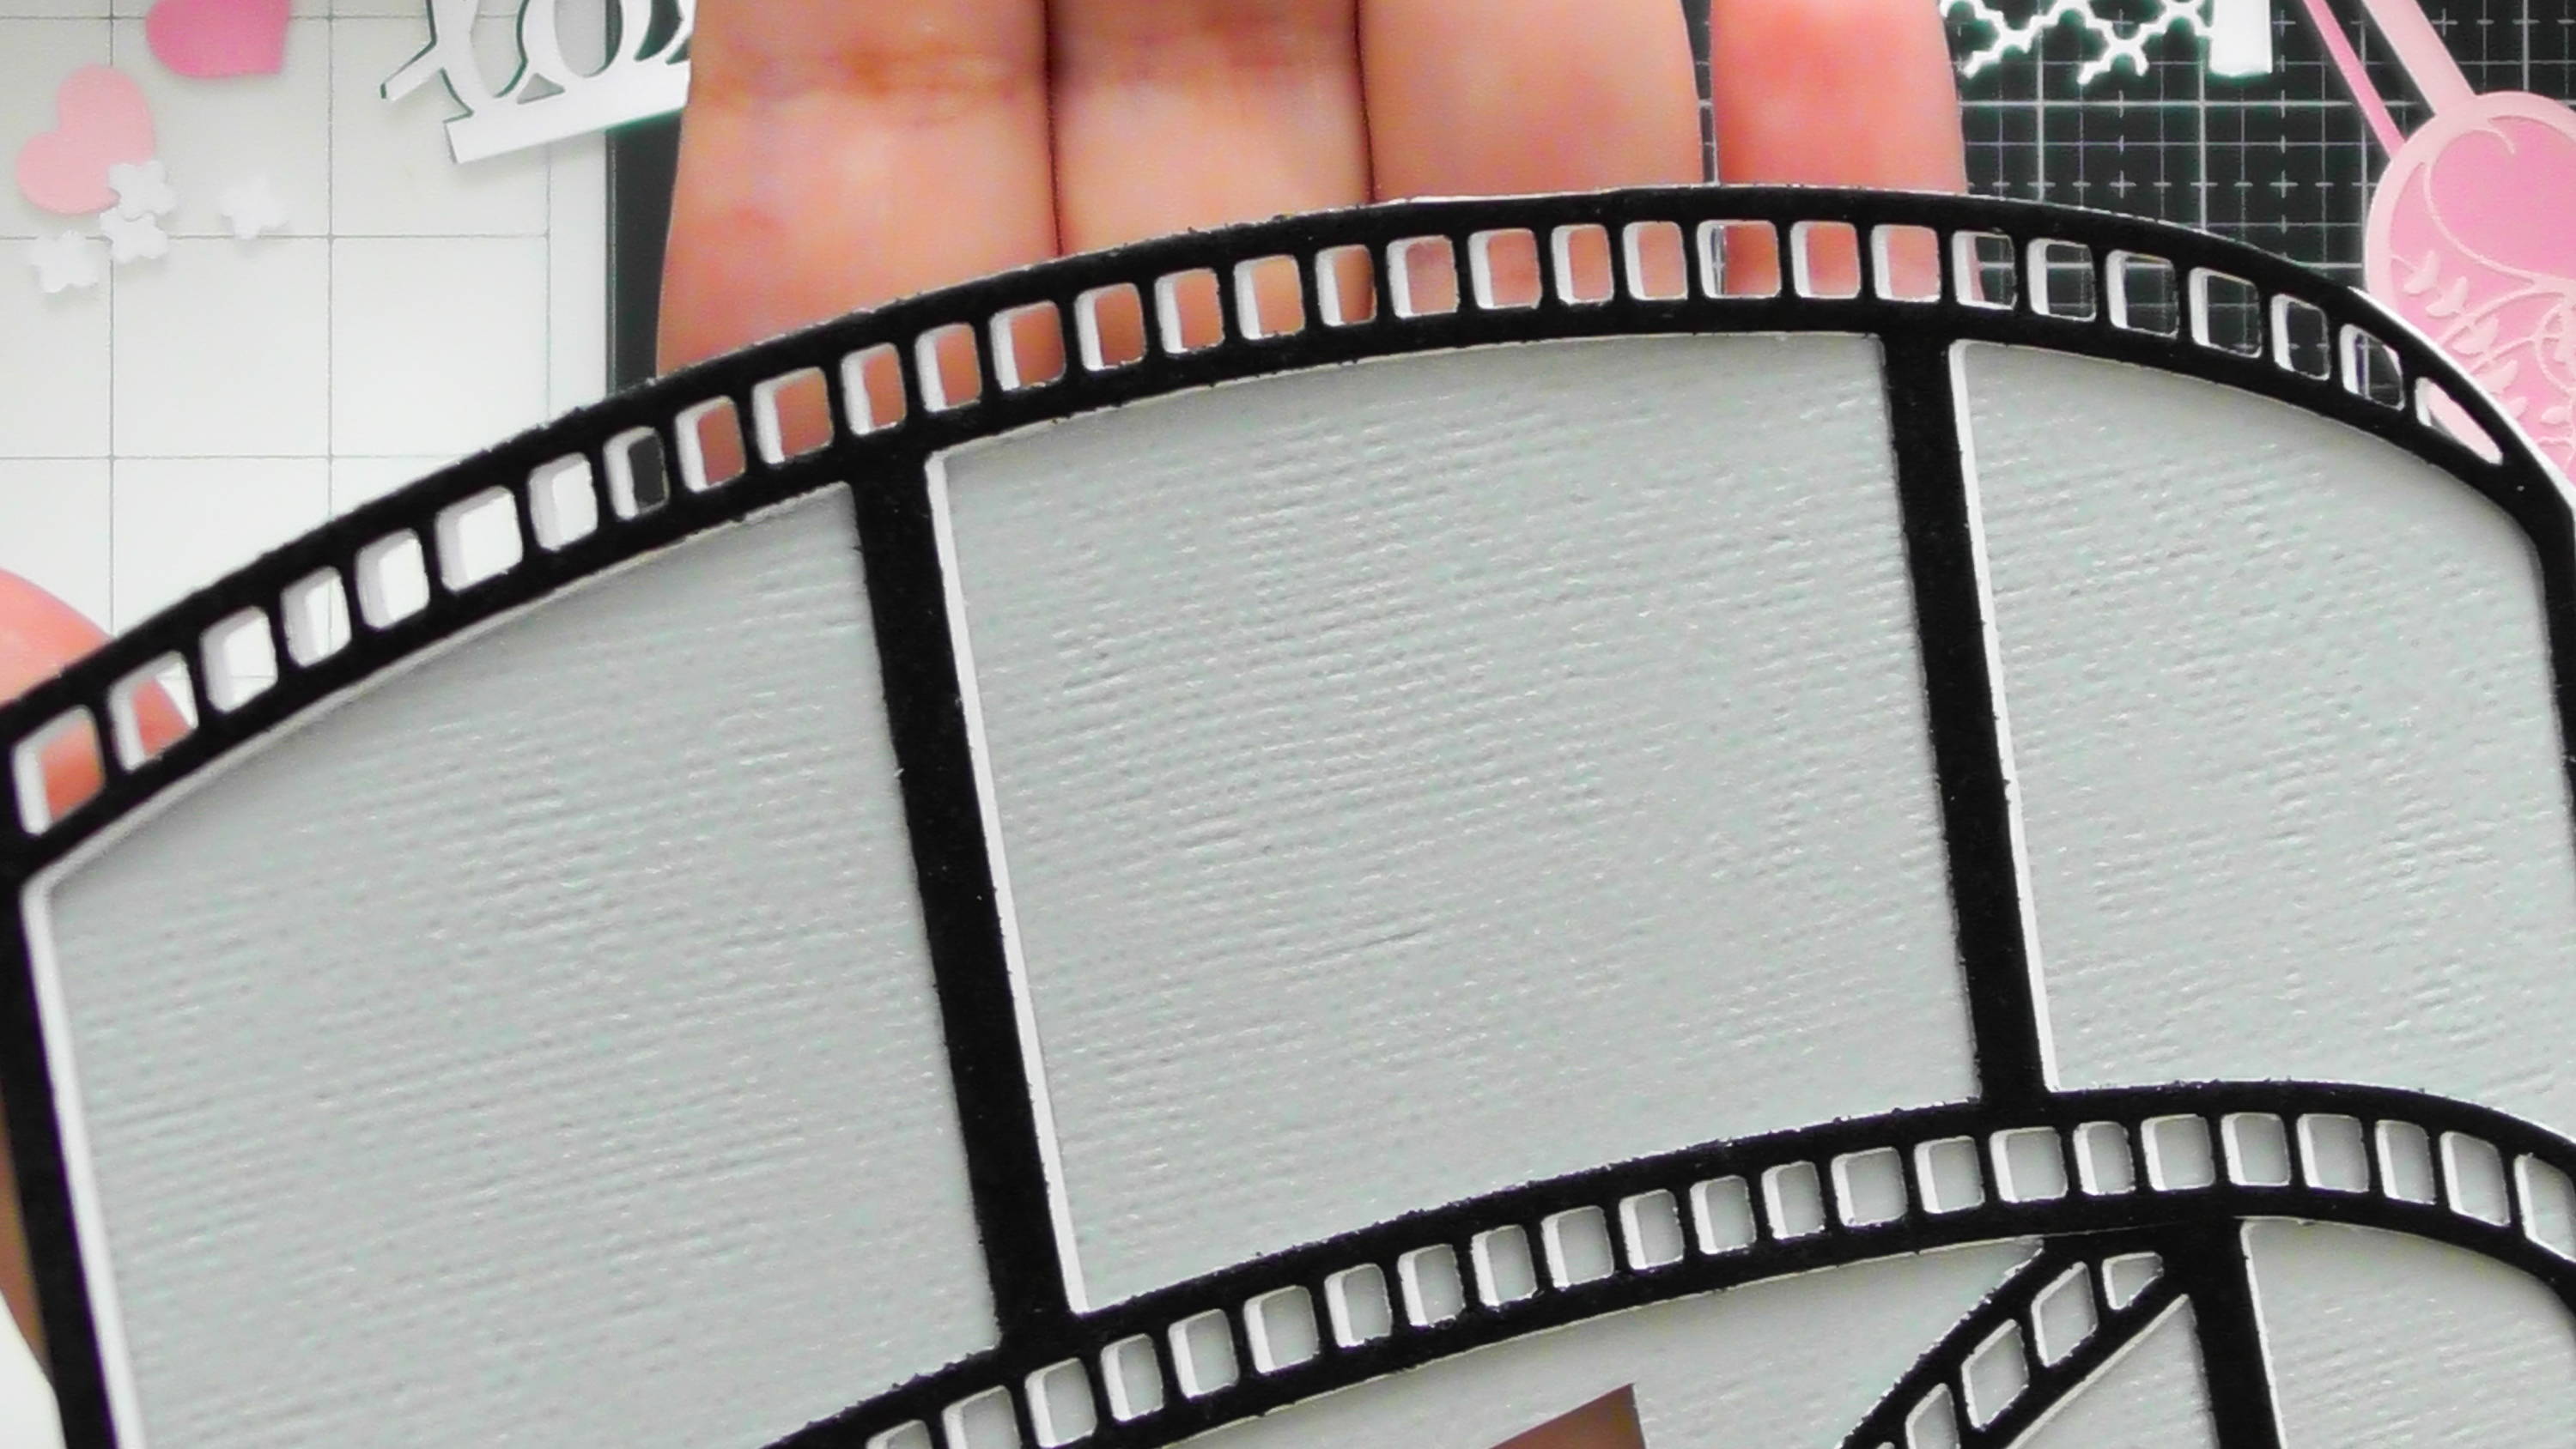
and trimming around it, undercutting so the edges of the filmstrip remained see-through
Step 7
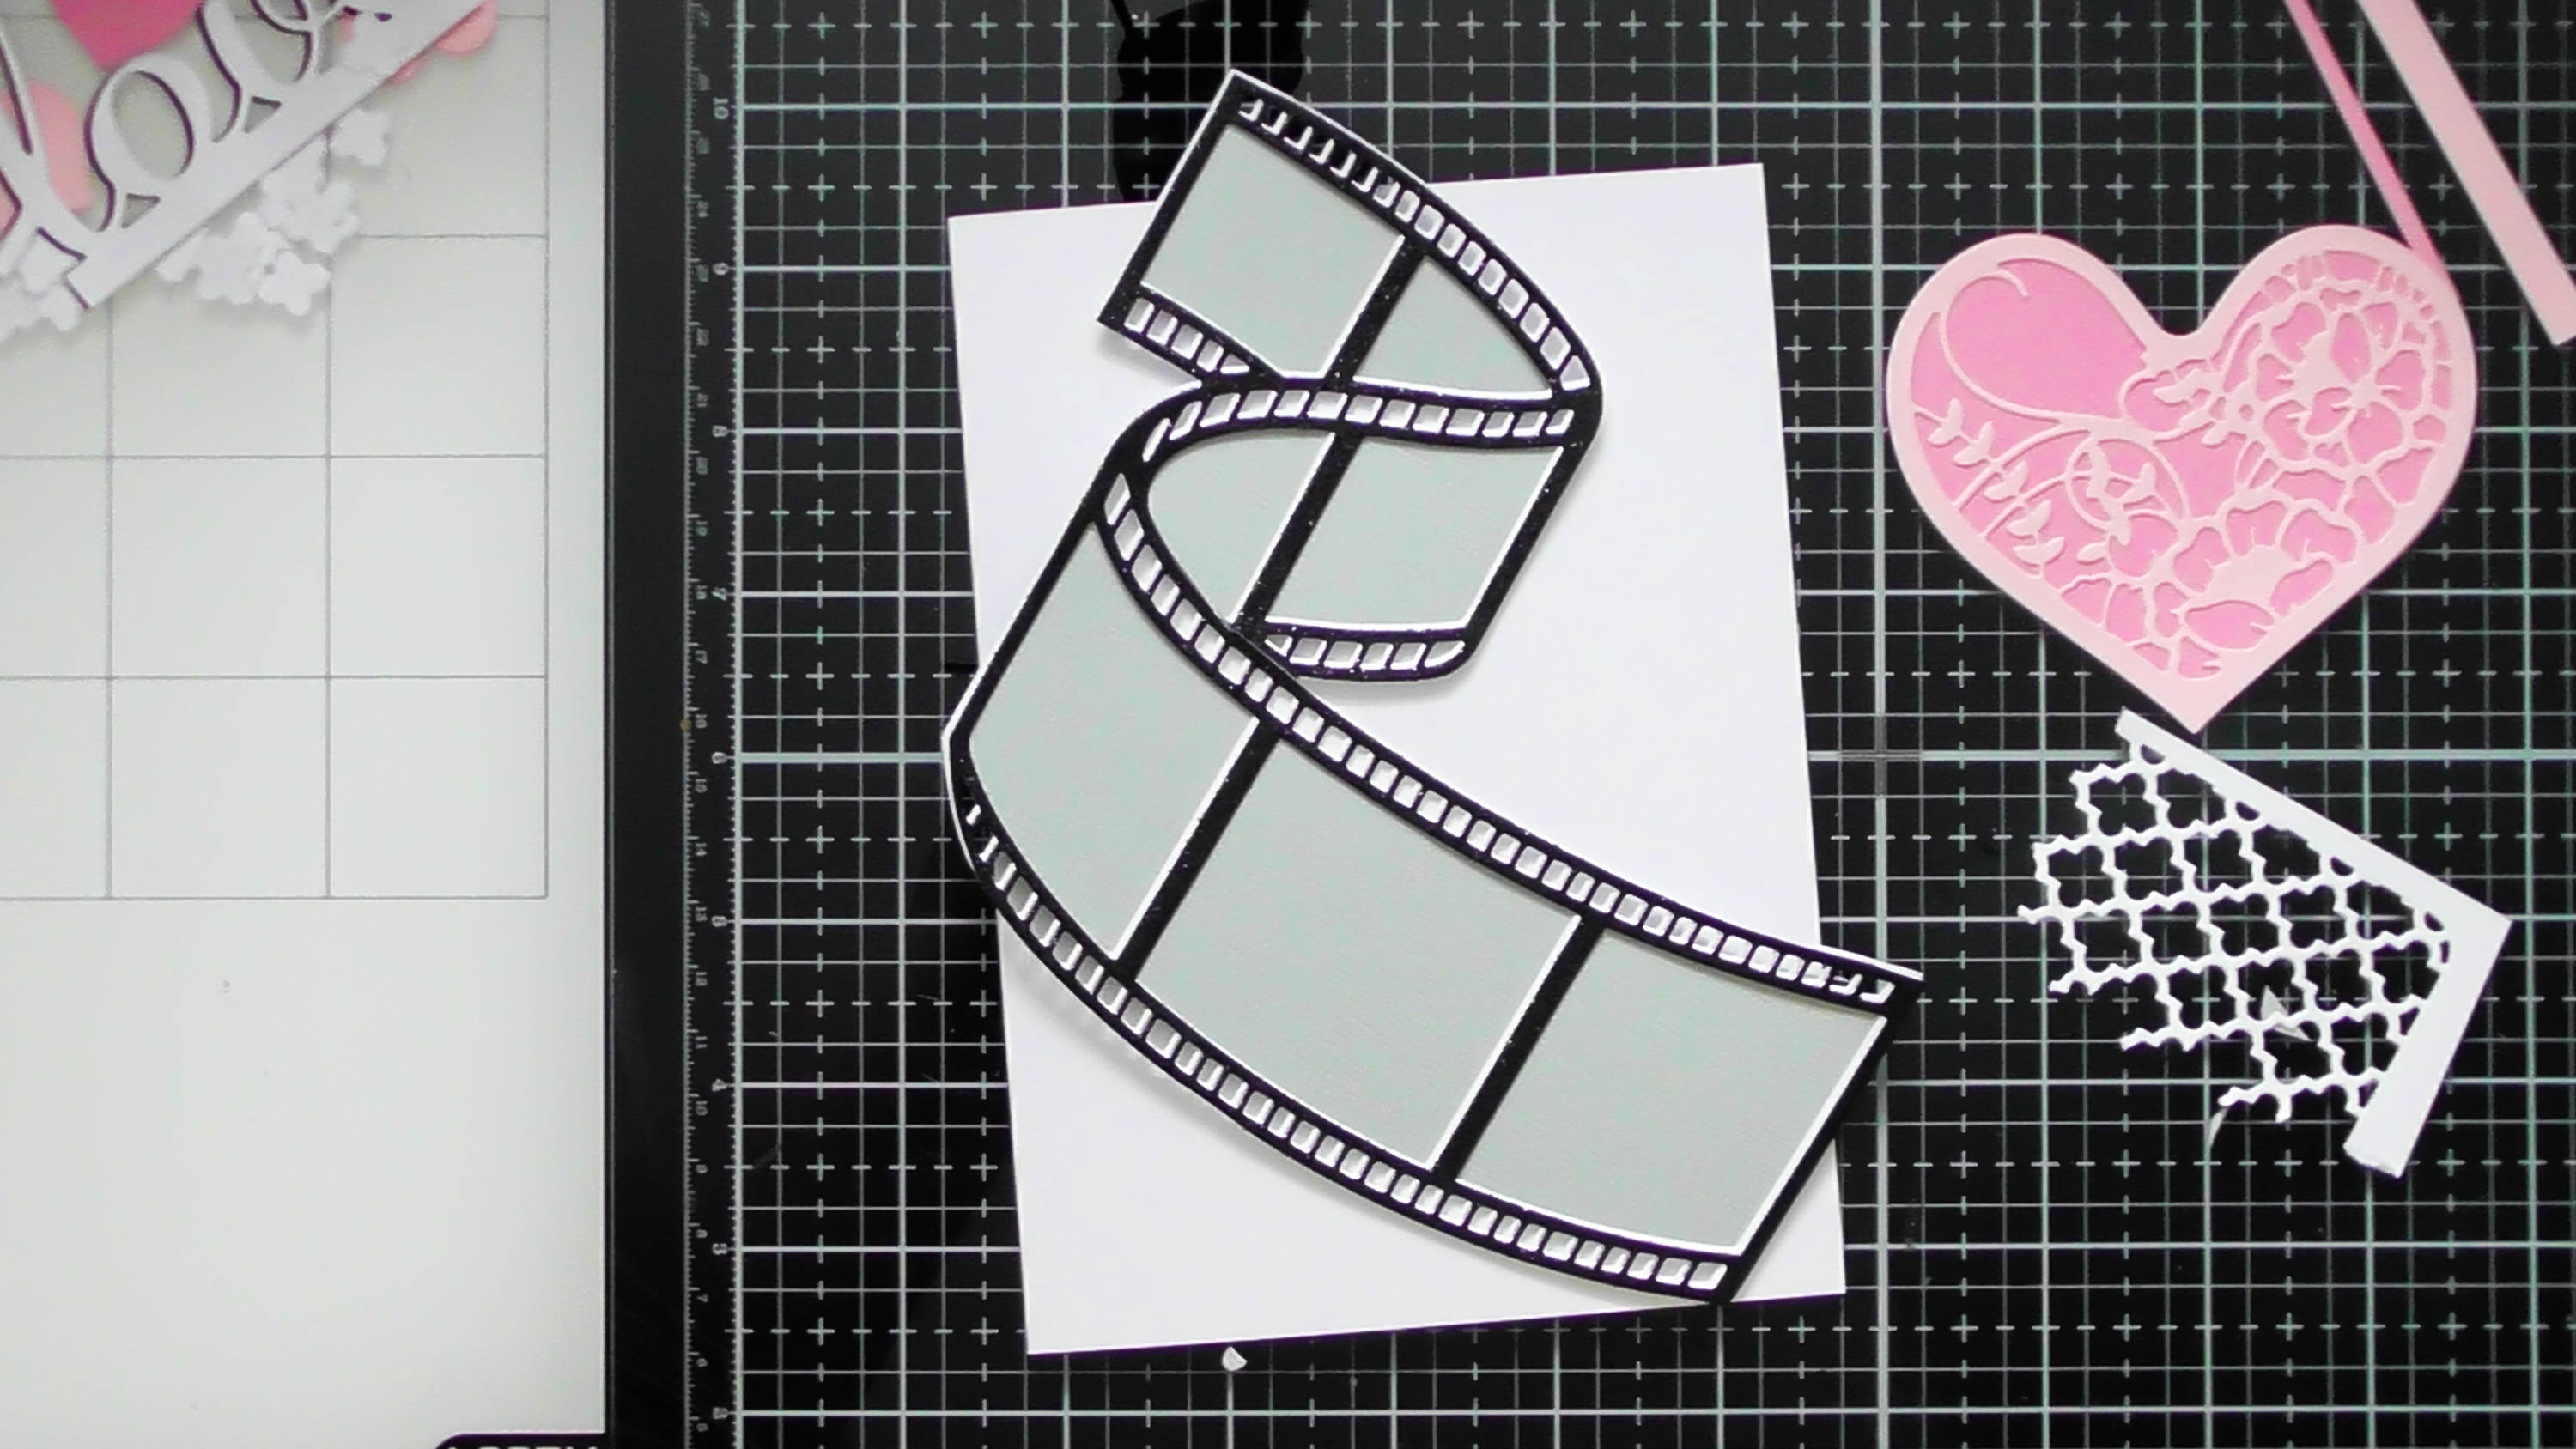
Then I checked I liked it, and I did
Step 8
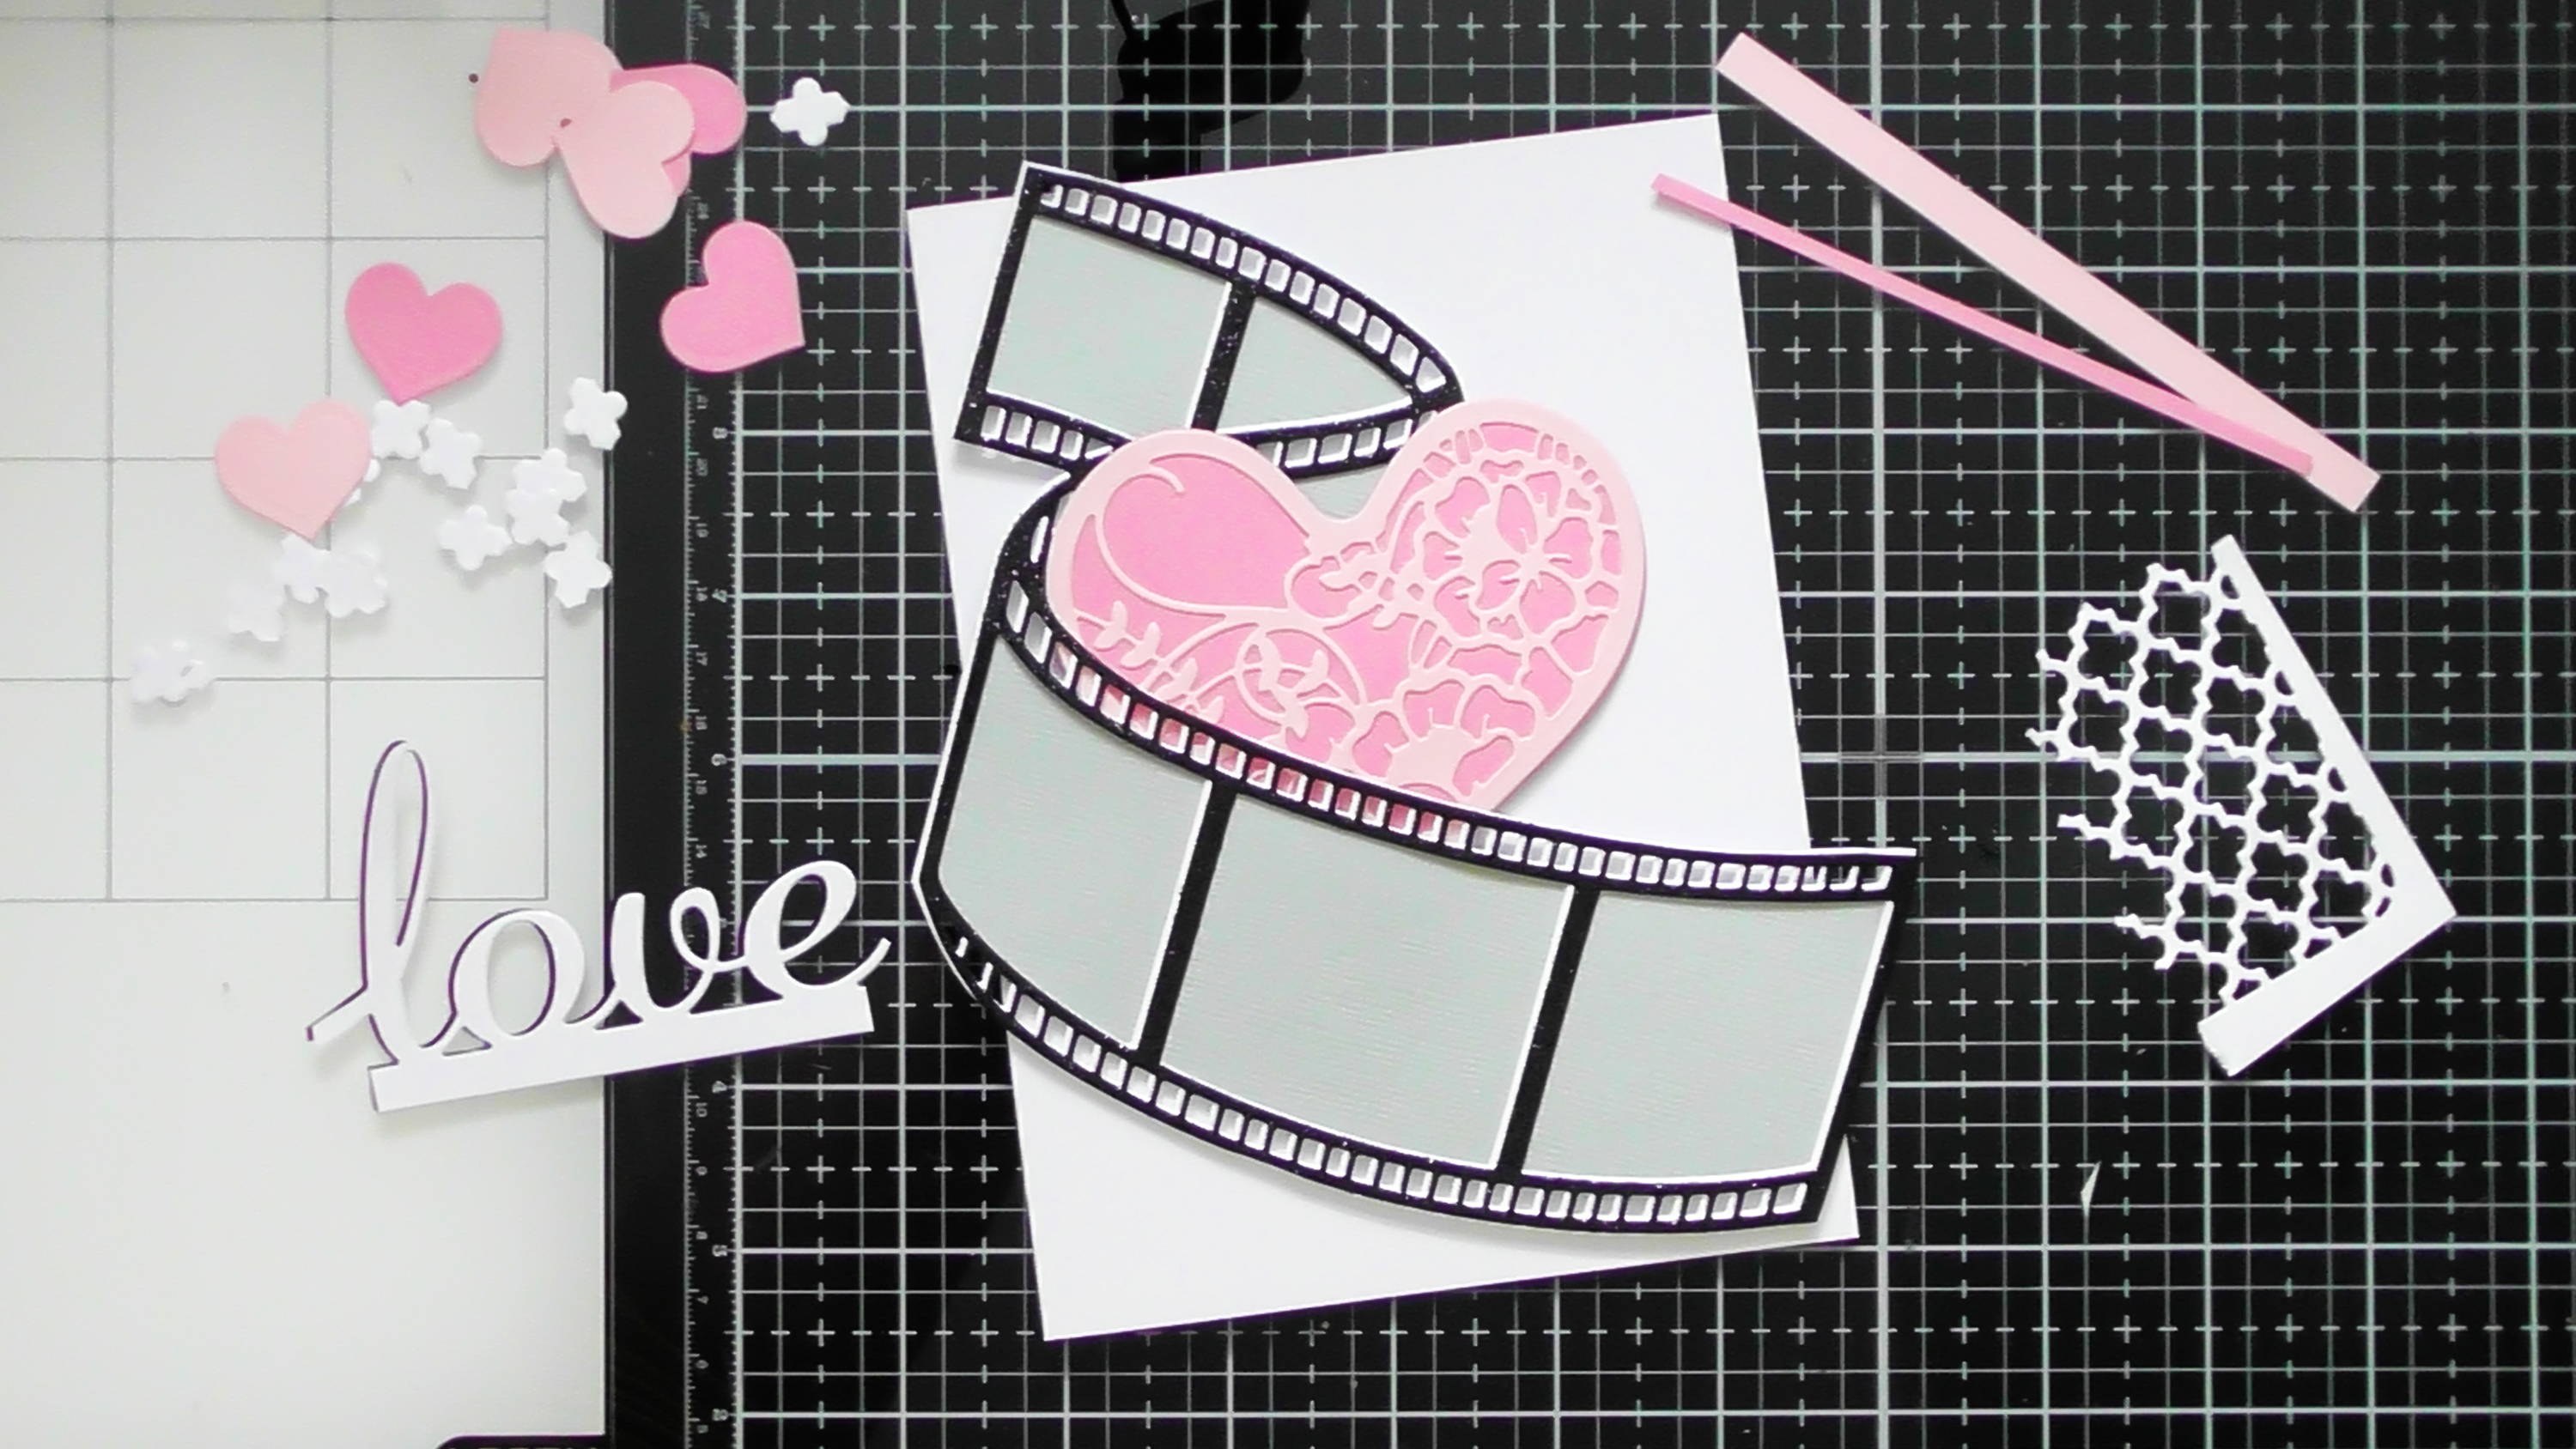
So I began adding my other elements. I actually snipped into the filmstrip so I could nestle the heart in
Step 9
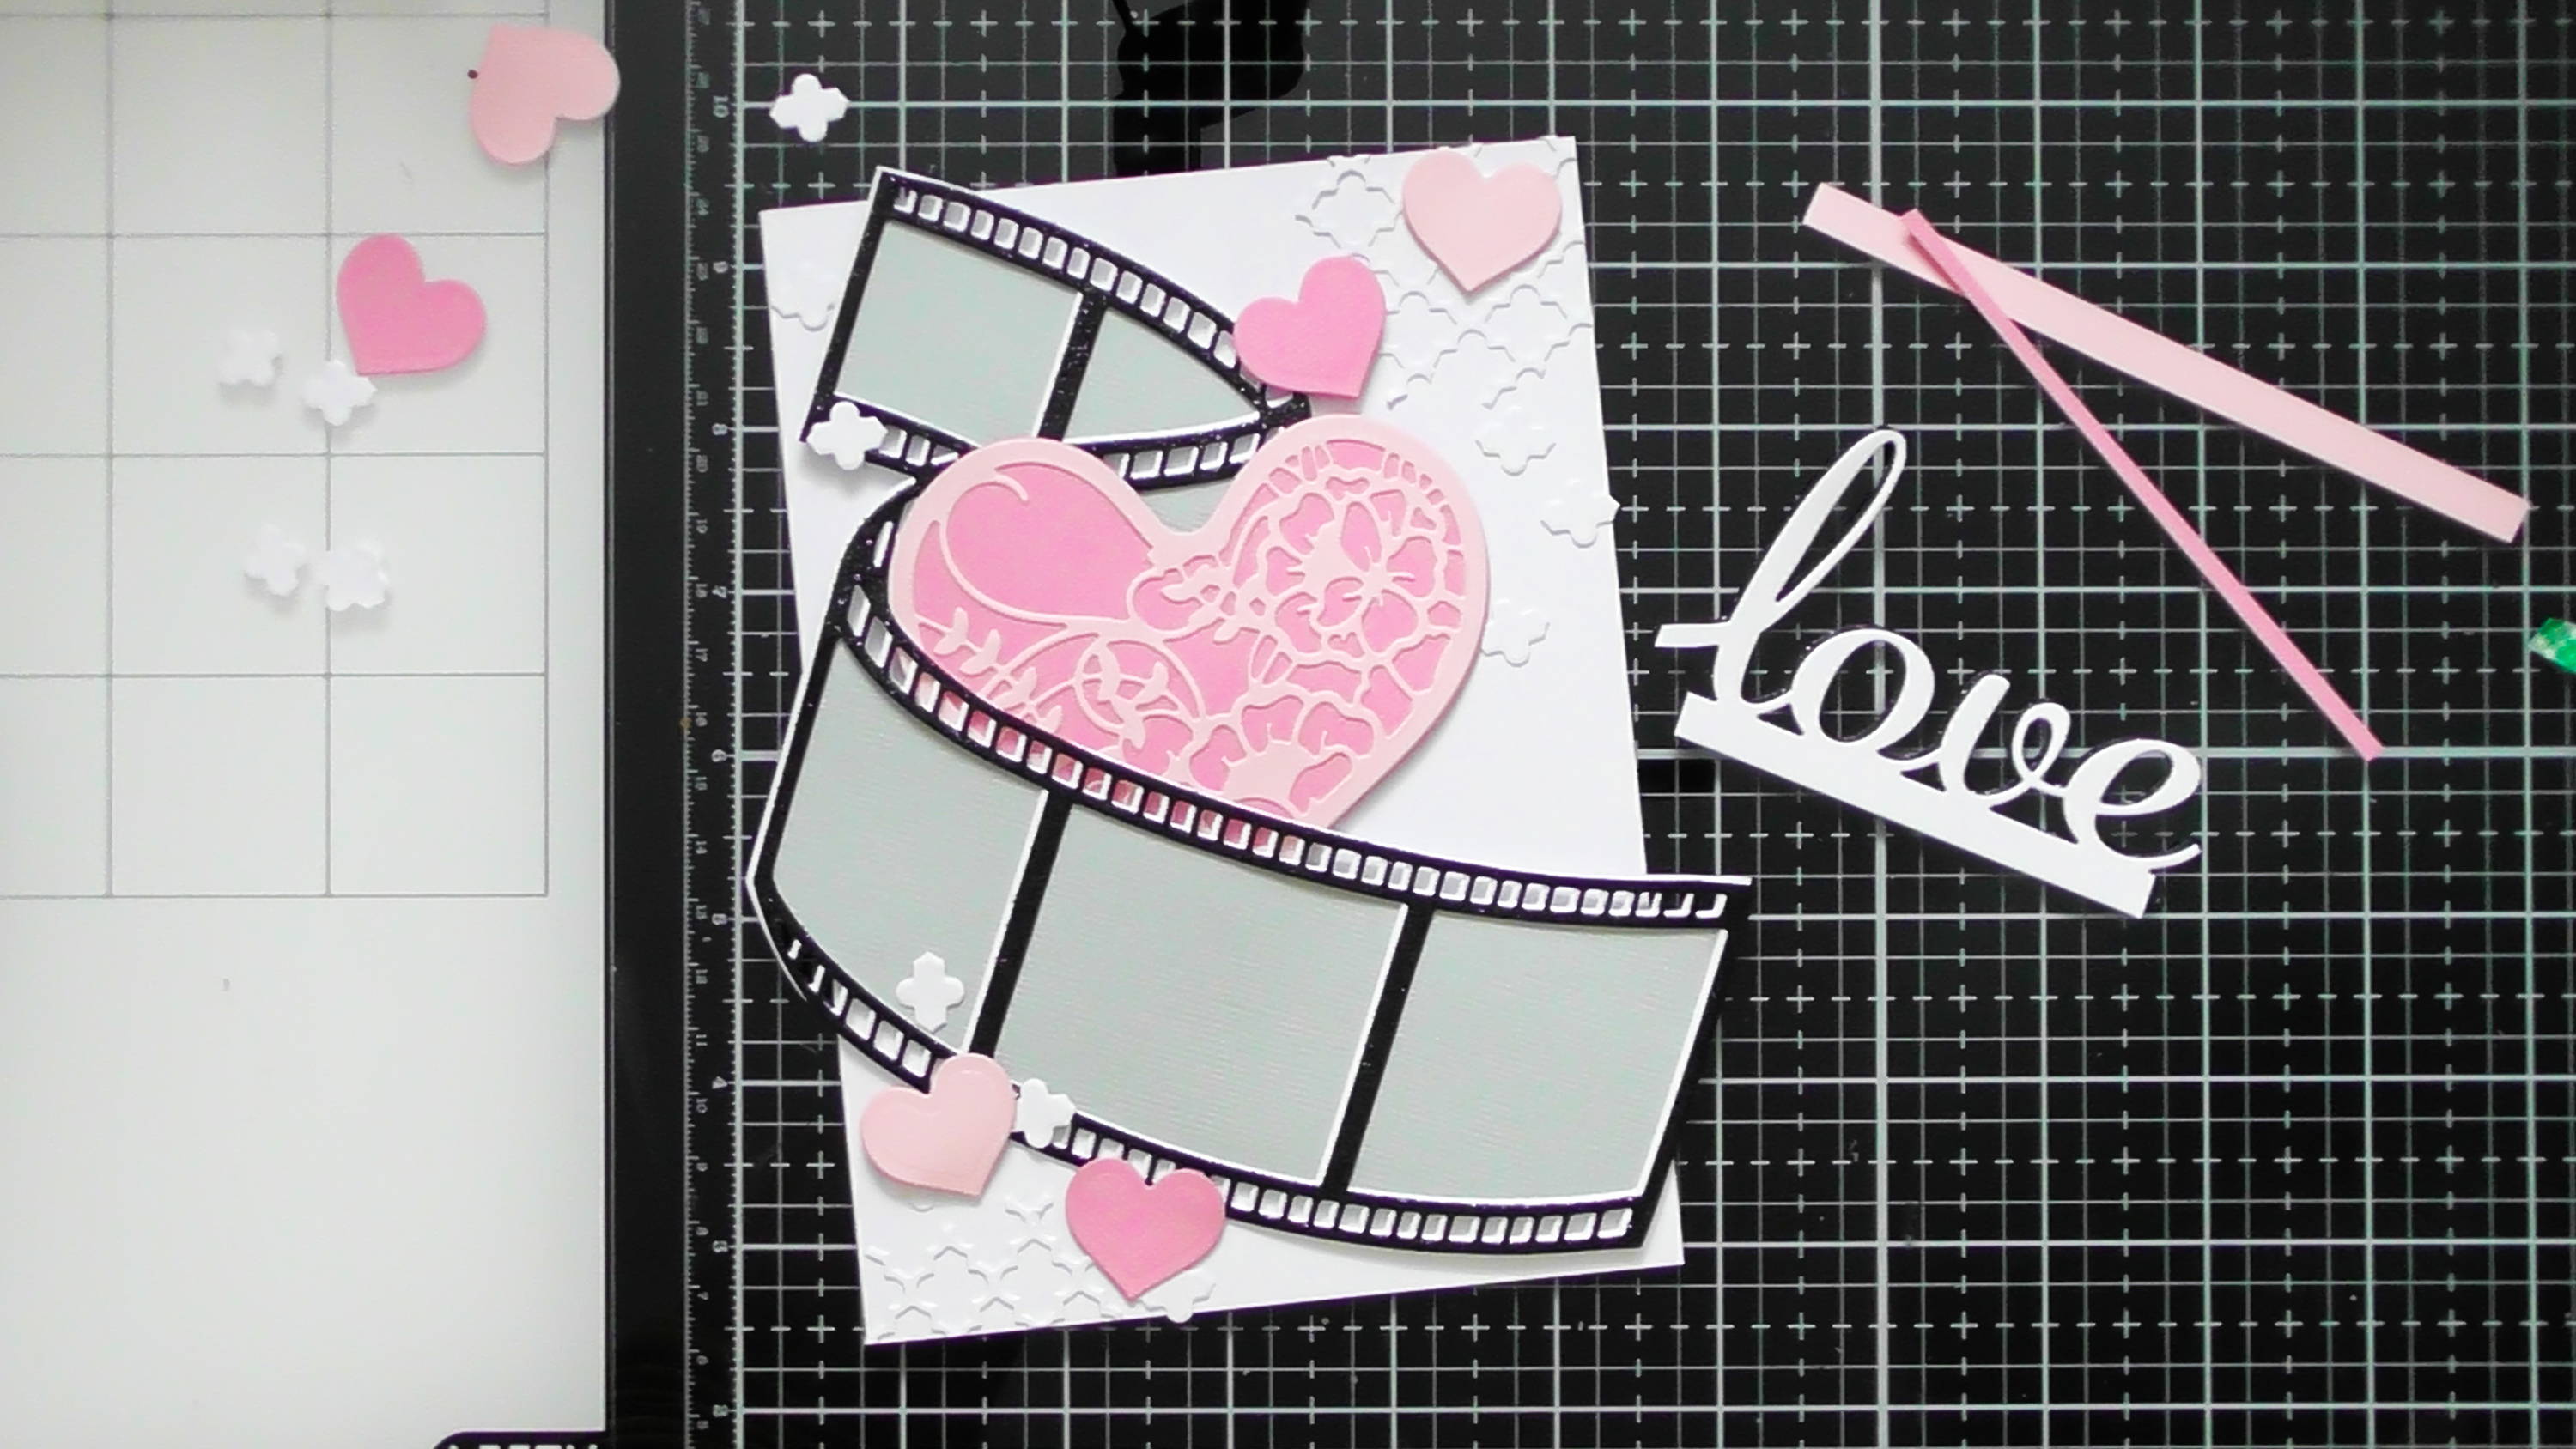
I also added that ripped up trellis to a couple of areas in the background, as well as the fall away pieces, and the smaller pink hearts too
Step 10
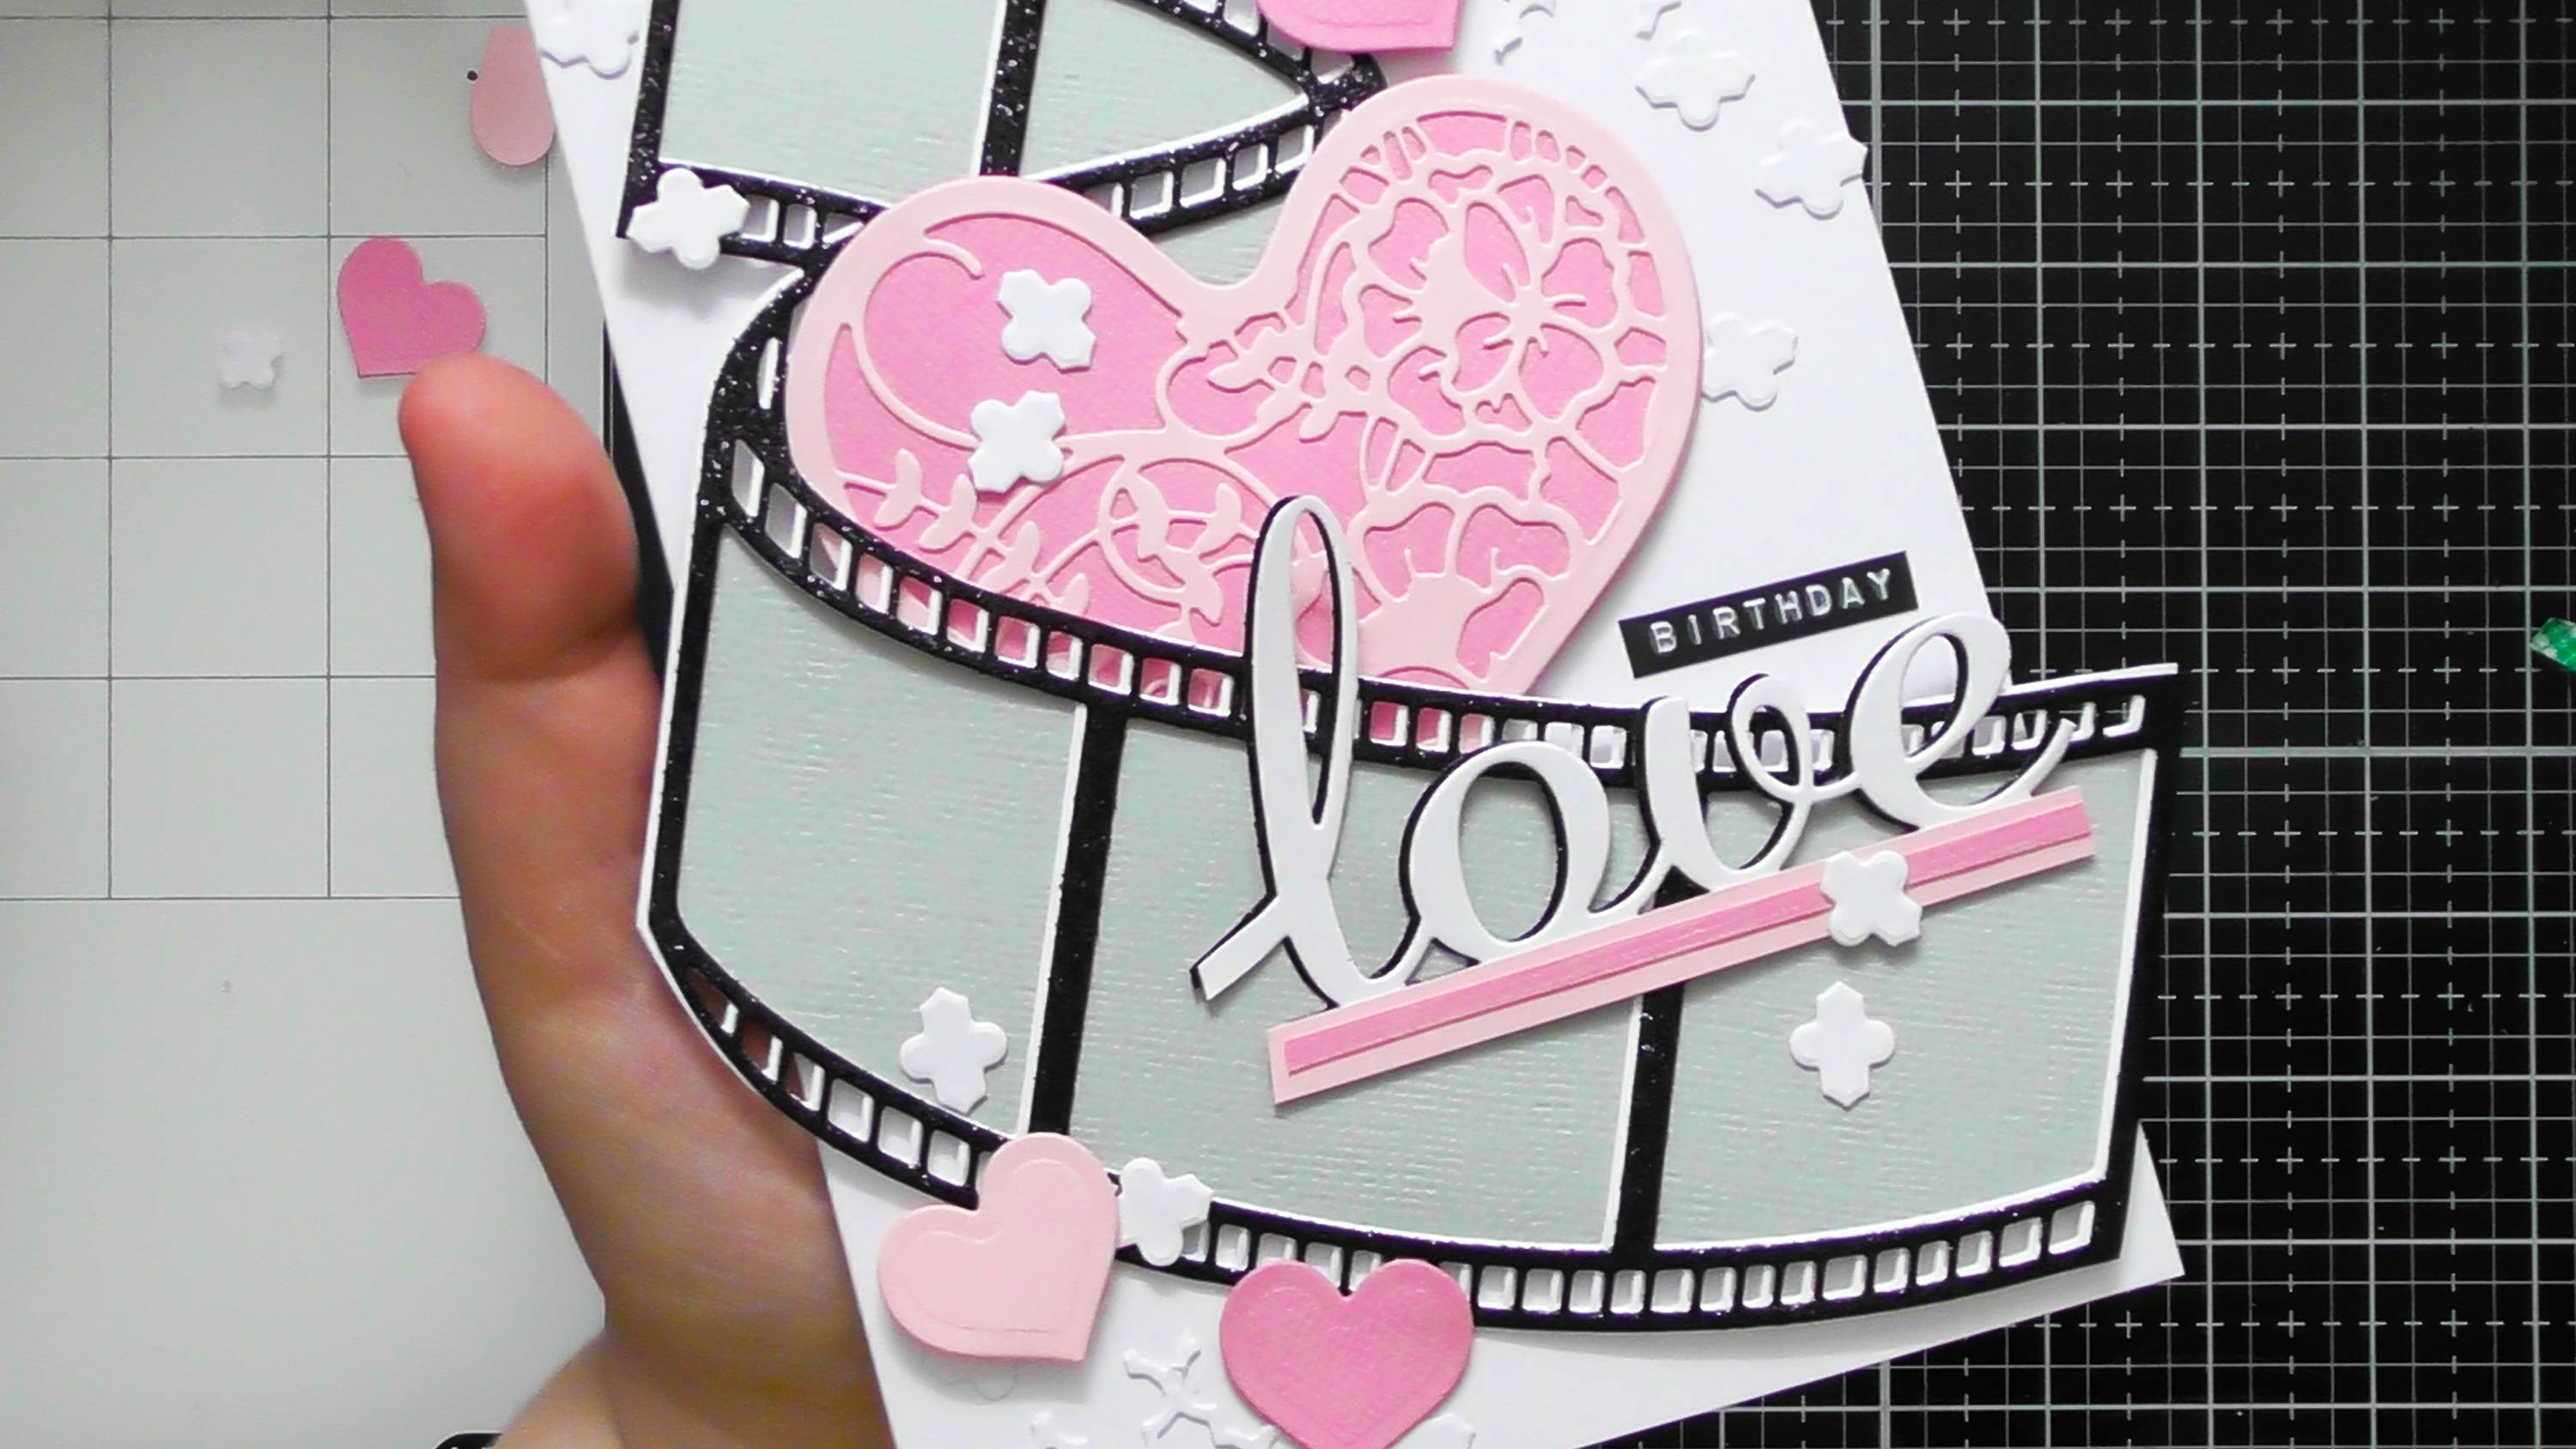
I added the love sentiment which I supplemented with a Dymo word ‘Birthday’ so the sentiment reads ‘Birthday Love’
Step 11
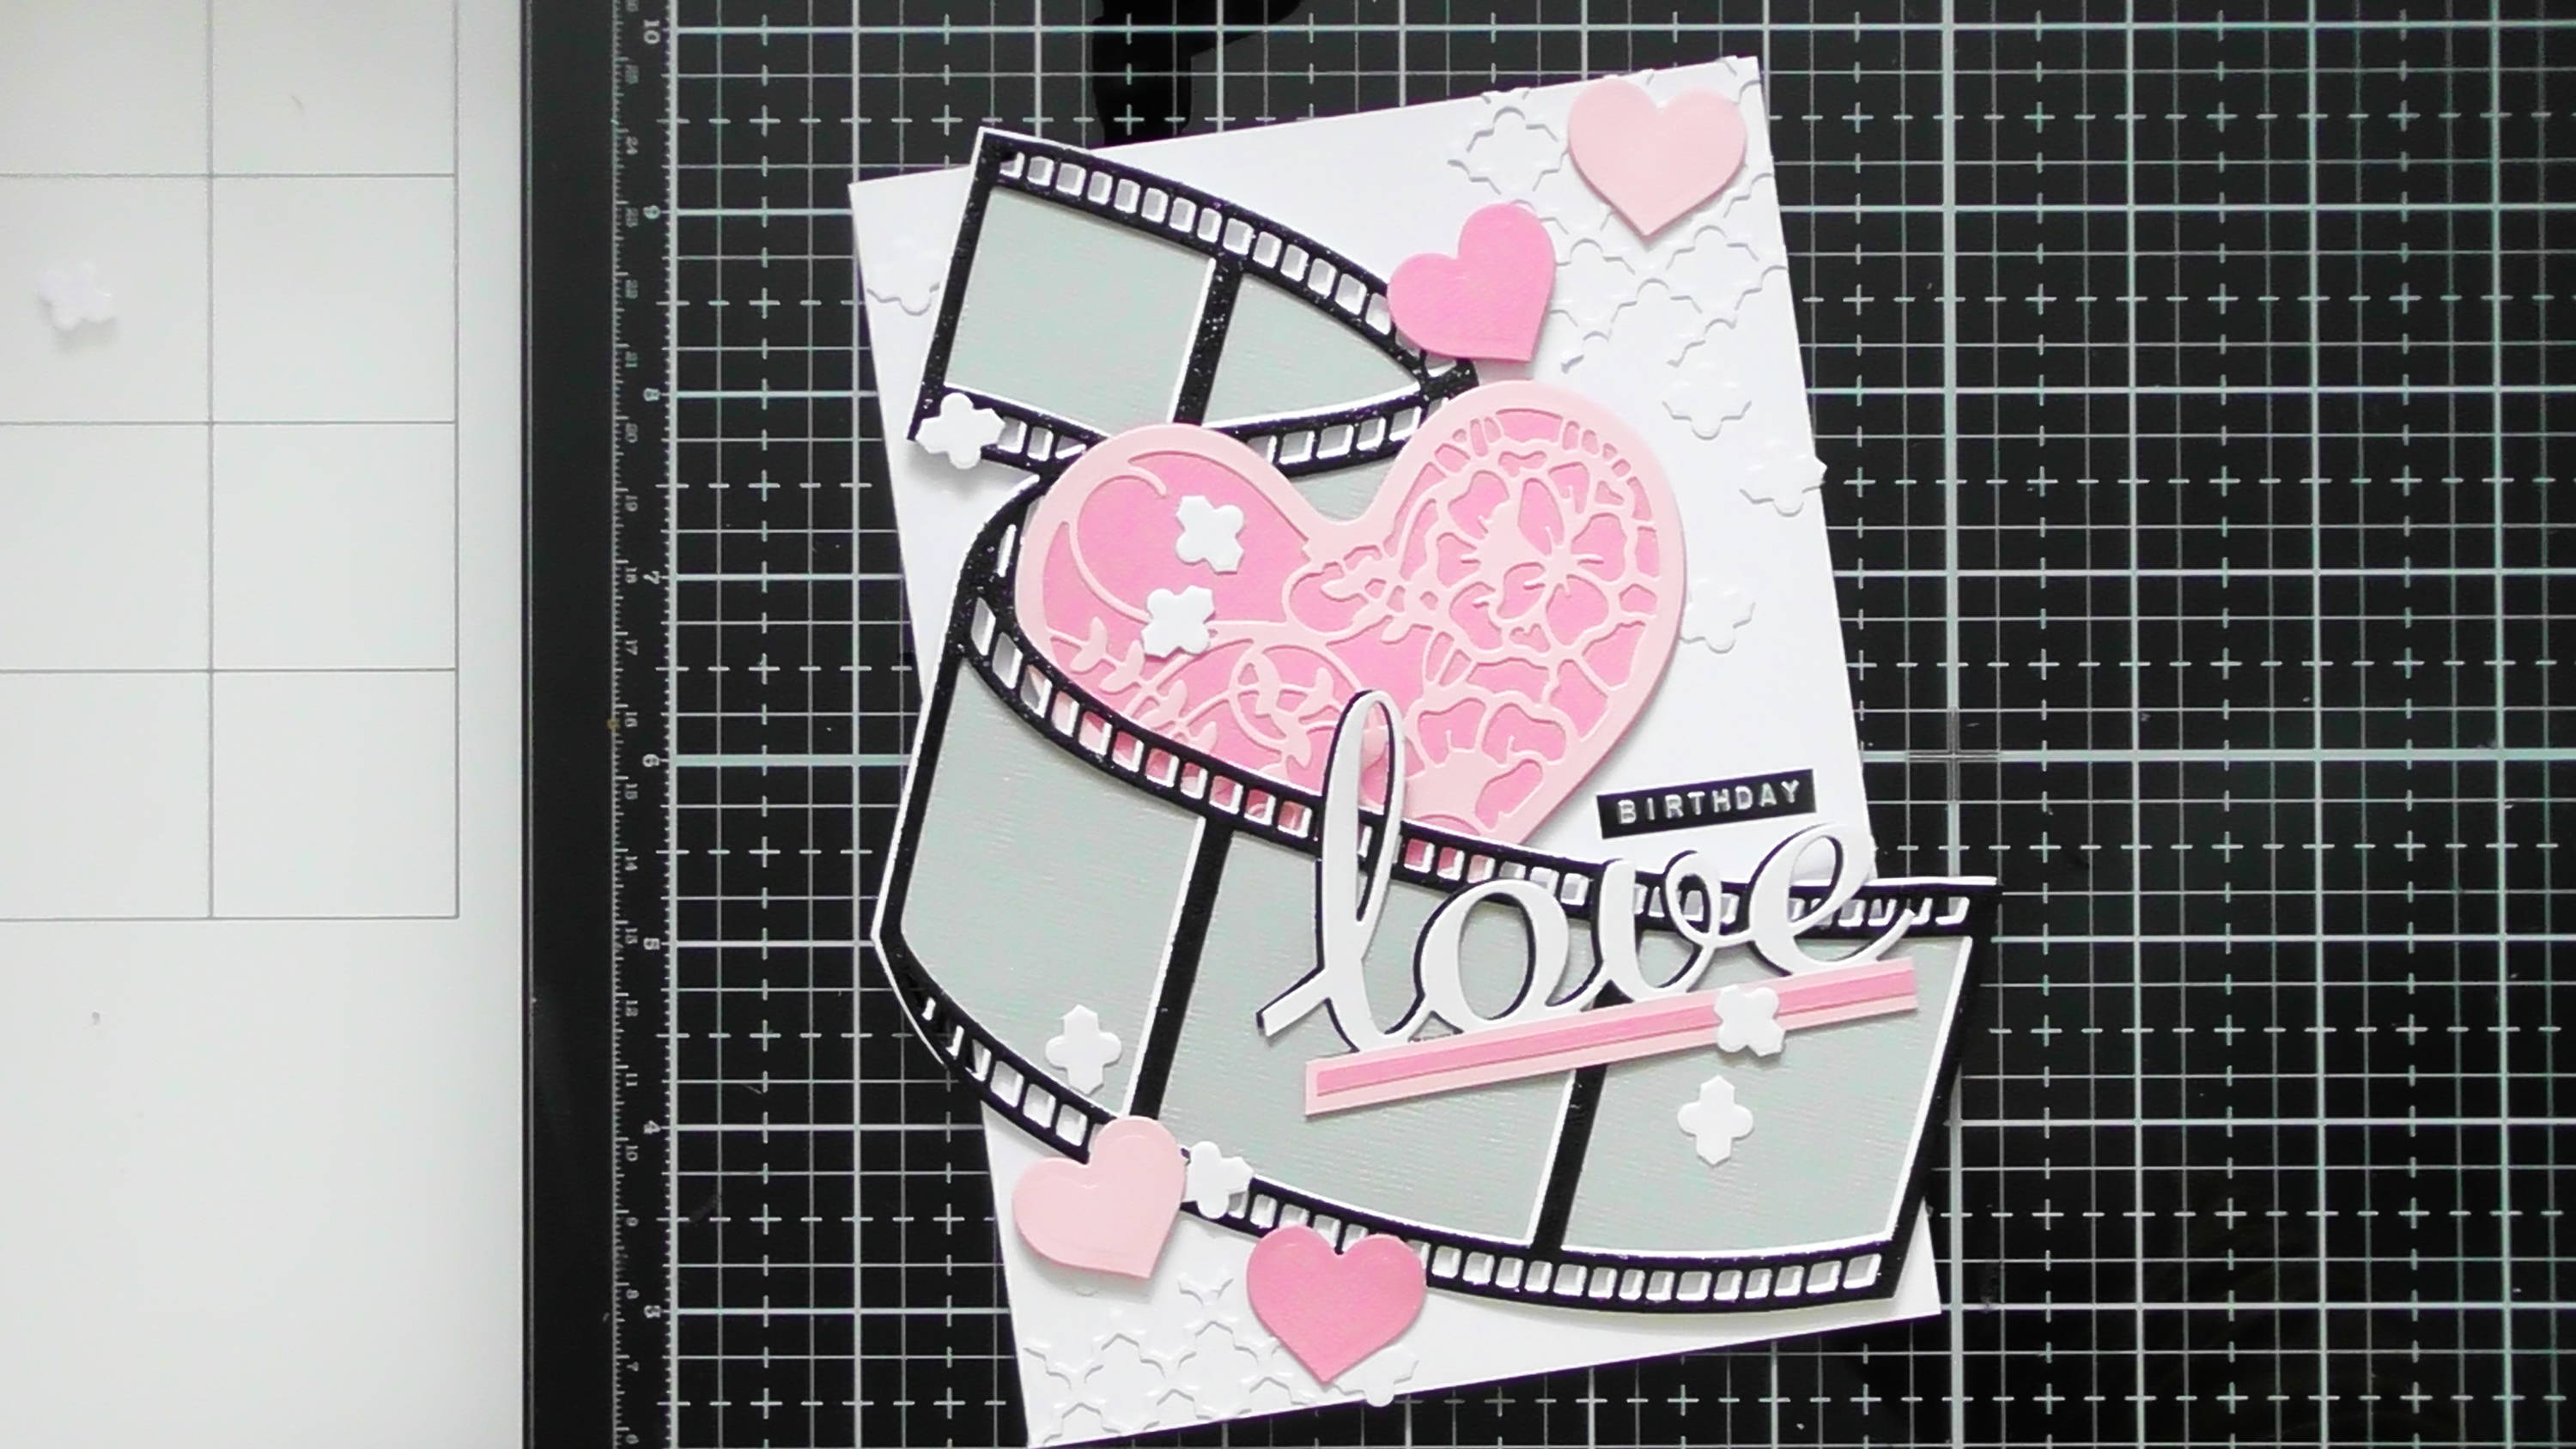
Here we have the finished 5x7 card! You could also replicate this on the front of memory book 2 as well
Hope you liked this simple layered up die-cut card, but there are numerous possibilities with these Sentimental Frames! They’re the kind of die set that’ll keep you busy for ages :D :D Christine xxx
Buy The Craft Project


