![](https://ucarecdn.com/6052b78e-58d6-4cda-8b73-2e91e85a2577/-/format/auto/-/preview/3000x3000/-/quality/lighter/good%20luck%20mobile%20banner.jpg)
![](https://ucarecdn.com/b3714110-1789-41d5-b607-b7b2125e085a/-/format/auto/-/preview/3000x3000/-/quality/lighter/TOP-BANNER-1800X450-good%20luck.jpg)
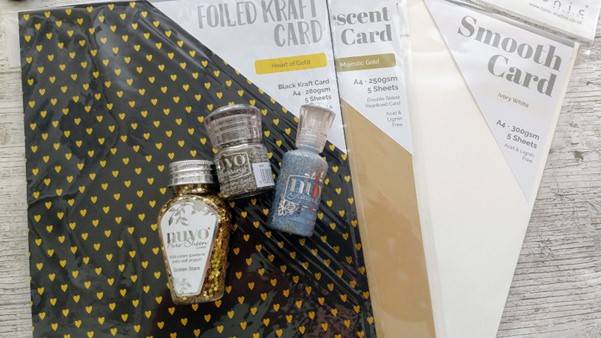
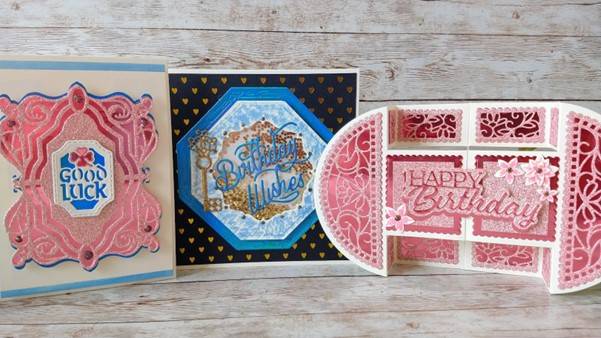
In this Step by Step blog post I show you how I used the bundle shown below (along with Ivory Smooth Card and Gold Dust Glitter Drops from the extra bundle in the next photo
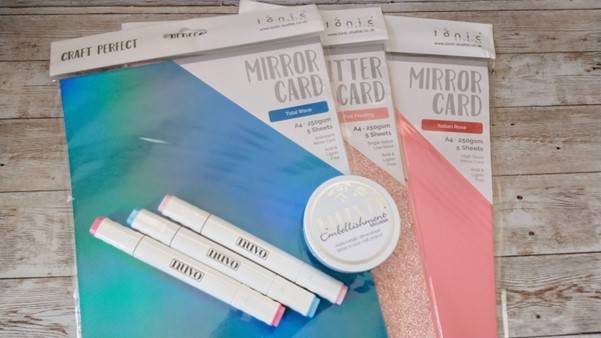
![](https://ucarecdn.com/0377cd00-12a0-4e0d-a683-05b91653e4d6/-/format/auto/-/preview/3000x3000/-/quality/lighter/Picture2.jpg)
![](https://ucarecdn.com/1be58077-f0b6-46ac-81be-4e5e4983270f/-/format/auto/-/preview/3000x3000/-/quality/lighter/Picture3.jpg)
What you will need
![](https://ucarecdn.com/dd3668e8-3b00-4c5a-85ae-cad0d2d8a352/-/format/auto/-/preview/3000x3000/-/quality/lighter/Picture4.jpg)
- Craft Perfect Tidal Wave Iridescent Mirror Card
- Craft Perfect Pink Frosting Glitter Card
- Craft Perfect Italian Rose Mirror Card
- Cornflower Blue Embellishment Mousse
- Craft Perfect Ivory Smooth Card
- Nuvo Gold Dust Glitter Drops
- Craft Perfect A6 Ivory Card Blank
- Friendship Frames die set 5235e
- Good Luck die set 4229e
- Craft Perfect 3D foam squares
- Nuvo Deluxe Adhesive
Step 1
![](https://ucarecdn.com/b96b763e-5d54-45aa-9297-4d1482a20aea/-/format/auto/-/preview/3000x3000/-/quality/lighter/Picture5.jpg)
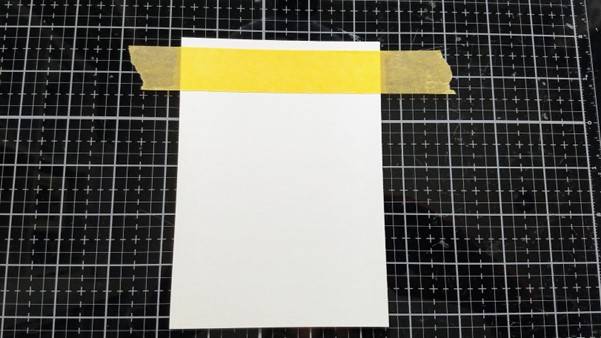
Cut a piece of ivory card measuring 10.5cm x 15cm and tape to your glass mat with masking tape along the top and bottom leaving a 0.5cm gap at the edges.
Step 2
![](https://ucarecdn.com/c1772907-022f-4fa0-b600-4a12cef40a1b/-/format/auto/-/preview/3000x3000/-/quality/lighter/Picture6.jpg)
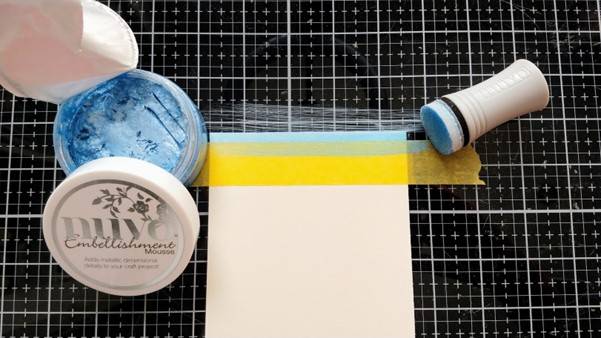
Using a sponge dauber, spread some Embellishment Mousse along the top and bottom edges of the card panel. Leave to dry.
Step 3
![](https://ucarecdn.com/ab175972-0d3b-45c7-bc25-e16d53b6e204/-/format/auto/-/preview/3000x3000/-/quality/lighter/Picture7.jpg)
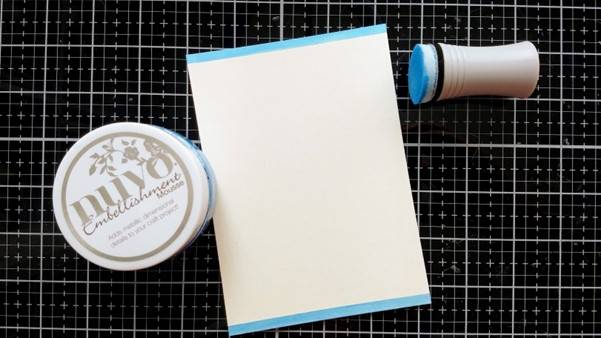
Remove the masking tape to leave a crisp line at the top and bottom.
Step 4
![](https://ucarecdn.com/56d55b2c-0014-4529-a11a-cc9b5ef9fc9d/-/format/auto/-/preview/3000x3000/-/quality/lighter/Picture8.jpg)
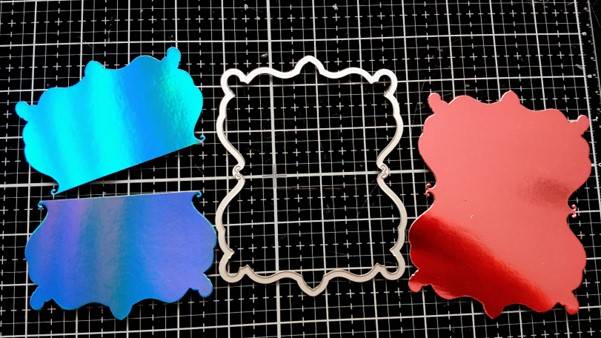
Using the largest die from the Friendship Frames set, die cut 2 shapes – one Tidal Wave and one Italian Rose. Cut the Tidal Wave shape in half across the narrowest part.
Step 5
![](https://ucarecdn.com/e99b960b-335d-43e2-b54e-41d085ce6d26/-/format/auto/-/preview/3000x3000/-/quality/lighter/Picture9.jpg)
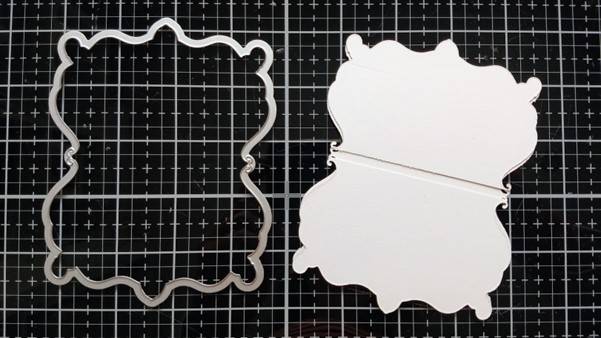
Glue these pieces onto the back of the Italian Rose shape, leaving a little gap in the centre.
Step 6
![](https://ucarecdn.com/3bc251ef-c1bd-46fa-937c-534b670e1843/-/format/auto/-/preview/3000x3000/-/quality/lighter/Picture10.jpg)
This will leave a little blue border at the top and bottom on the right side.
Step 7
![](https://ucarecdn.com/0a207bbe-b7ab-4e42-a3e9-4ea1a2733c2c/-/format/auto/-/preview/3000x3000/-/quality/lighter/Picture11.jpg)
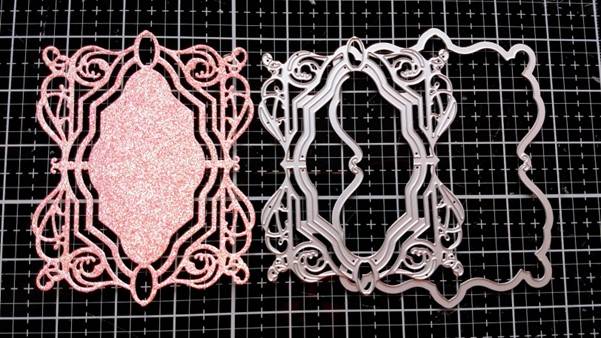
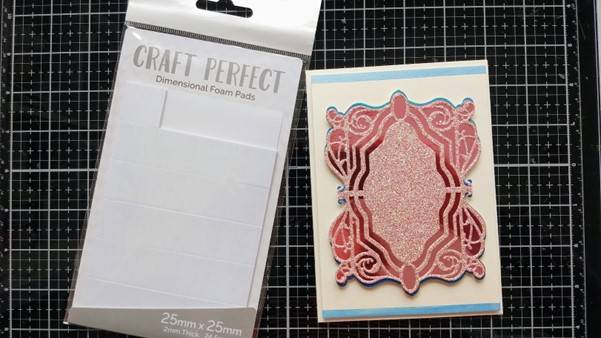
Use the 2 dies shown with the Glitter card to create a patterned panel.
Step 8
![](https://ucarecdn.com/095be7ee-c154-4df0-bece-e215a369d434/-/format/auto/-/preview/3000x3000/-/quality/lighter/Picture12.jpg)
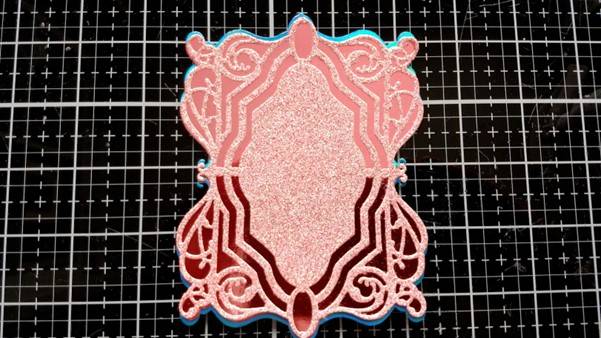
Glue the glitter panel on top of the mirror card.
Step 9
![](https://ucarecdn.com/1f82540c-0e57-42d5-a61e-839f1564f576/-/format/auto/-/preview/3000x3000/-/quality/lighter/Picture13.jpg)
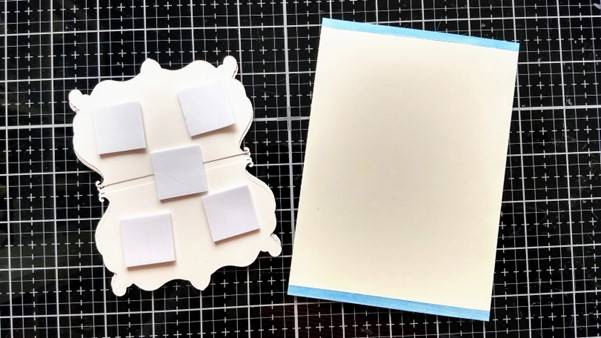
Attach this panel onto the ivory panel with 3D foam squares.
Step 10
![](https://ucarecdn.com/53cd3c53-56f8-4cf1-8734-5043de21f940/-/format/auto/-/preview/3000x3000/-/quality/lighter/Picture14.jpg)
Attach the whole panel onto the front of the card with more foam squares.
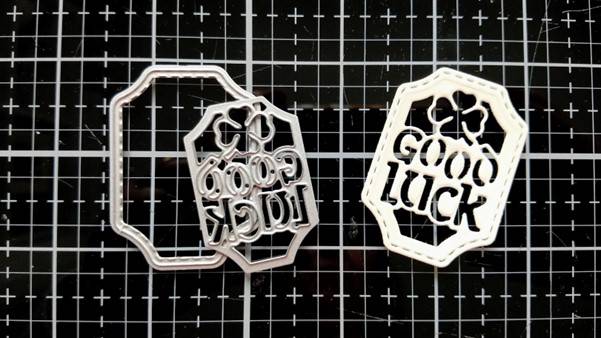
Step 11
![](https://ucarecdn.com/3fcf96c1-1e35-463b-99e4-d989d1f0329d/-/format/auto/-/preview/3000x3000/-/quality/lighter/Picture15.jpg)
Use both dies from the Good Luck set together to create this shape.
Step 12
![](https://ucarecdn.com/6c47df7e-4305-4939-887c-2061b6aad66a/-/format/auto/-/preview/3000x3000/-/quality/lighter/Picture16.jpg)
Die cut the plain outer shape from the Good Luck set and glue the ivory sentiment panel on top. Glue this to the centre of the card.
Step 13
![](https://ucarecdn.com/5eaff166-227e-4601-838f-38579c33f2b0/-/format/auto/-/preview/3000x3000/-/quality/lighter/Picture17.jpg)
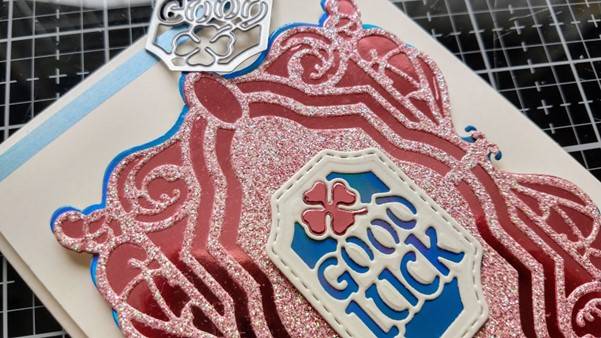
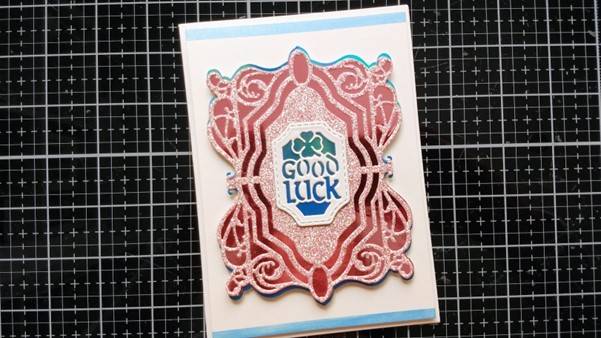
Paper piece a little Italian Rose shamrock into the shamrock outline.
Step 14
![](https://ucarecdn.com/80167693-0de9-448a-9457-78a71482cdef/-/format/auto/-/preview/3000x3000/-/quality/lighter/Picture18.jpg)
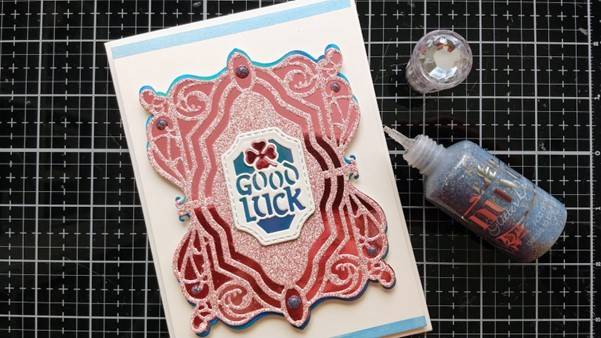
Add Gold Dust Glitter Drops to the areas shown in the photo.
Crafting Essentials