


Hello, everyone! Thanks for joining me today, as the holiday season ramps up! Today, I will be showing you how to make gorgeous napkin rings for your Thanksgiving dinner tables. These are easy to work up, and beautifully created using amazing papers and dies! I will be using the “Magic Shutter Card Creator” and “Picnic Season” showcase die sets, along with Ginger Pie Classic Card, Welsh Gold Glitter Card, Coffee Cream Pearlescent Card, and Copper Mine Mirror Card. Let’s get started!
Part 1: Die Cutting the Decorative Strip for the Ring Itself!
Step 1

Generally, napkin rings have diameters of 1” to 2”. The napkin ring I create here is about 1 1/2” diameter. I will use the belly band dies from the Magic Shutter Card Creator set to cut what will become the ring. For a smaller diameter ring you can cut down the belly band or just use the decorative topper die pieces.
Step 2


I will cut the belly band using Ginger Pie, and then cut the topper and inlay using Welsh Gold. Make sure to secure the smaller die and inlay with washi before running through your die cutting machine.
Step 3

Glue the inlaid topper piece to the center of the belly band. For a larger napkin ring, you can also cut the decorative topper pieces that coordinate with the smaller areas of the belly band, and adhere those. Place this piece to the side.
Part 2: Die Cutting the Decorative Flower Topper!
Step 1

I will use flower and leaves dies from the Picnic Season die set, and cut them into Copper Mine, Coffee Cream and Ginger Pie papers.
Step 2

I will die cut the leaves die into the Ginger Pie paper, and the flower and inlay into the Copper Mine paper.
Step 3

Once again, make sure to secure your inlay dies before running through your die cutting machine.
Step 4

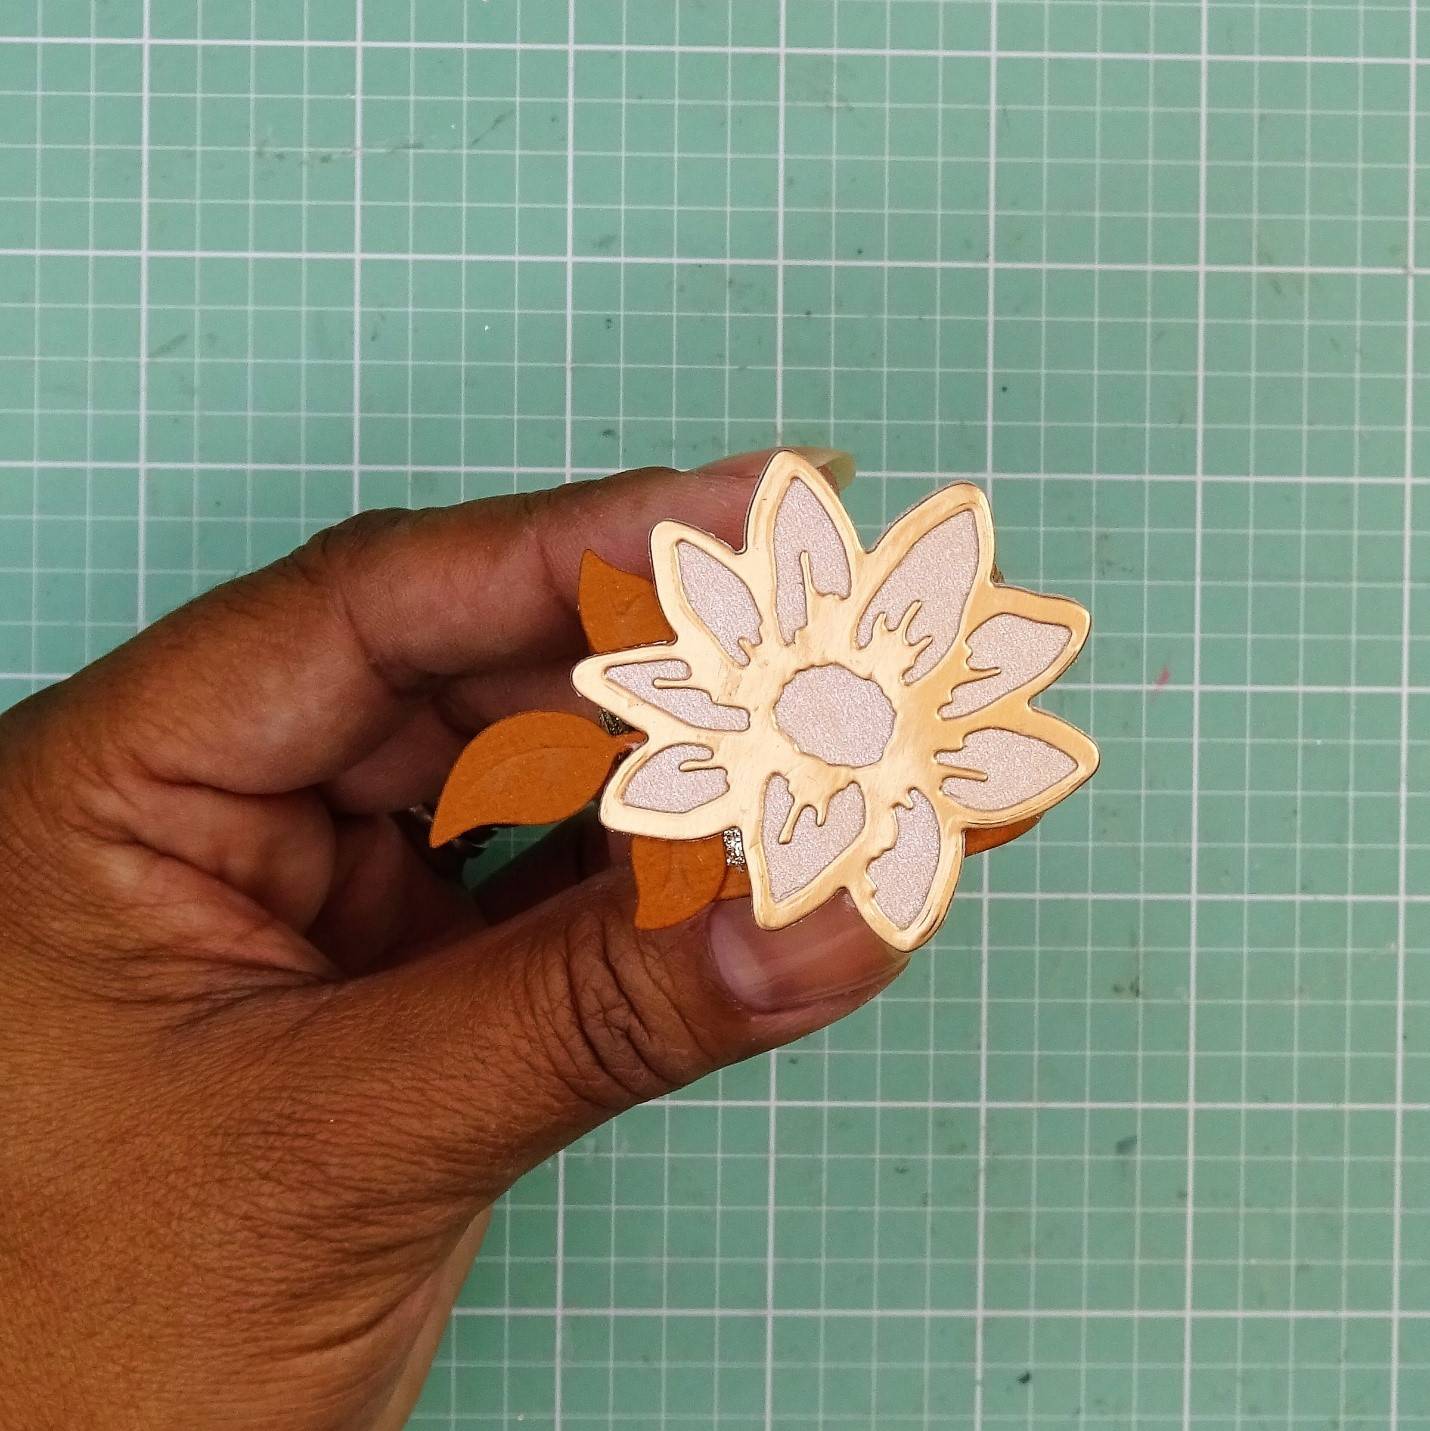
Lastly, I will die cut the shadow flower die from the Coffee Cream paper.
Step 5

I will now adhere the inlay and shadow layers of the flower together.
Part 3: Assembling Our Decorative Napkin Ring!
Step 1

Now we have our pieces cut and ready to go! These are very easy to make in assembly line fashion.
Step 2

I will take a moment to round the belly band die cut, just run between your fingers to give it a smooth and curved shape.
Step 3

I will then trim away the excess pieces of paper at the opposite edges, leaving just a bit to adhere to form the ring. If you are making a larger napkin ring, just trim where you would like to obtain the size ring you desire.
Step 4

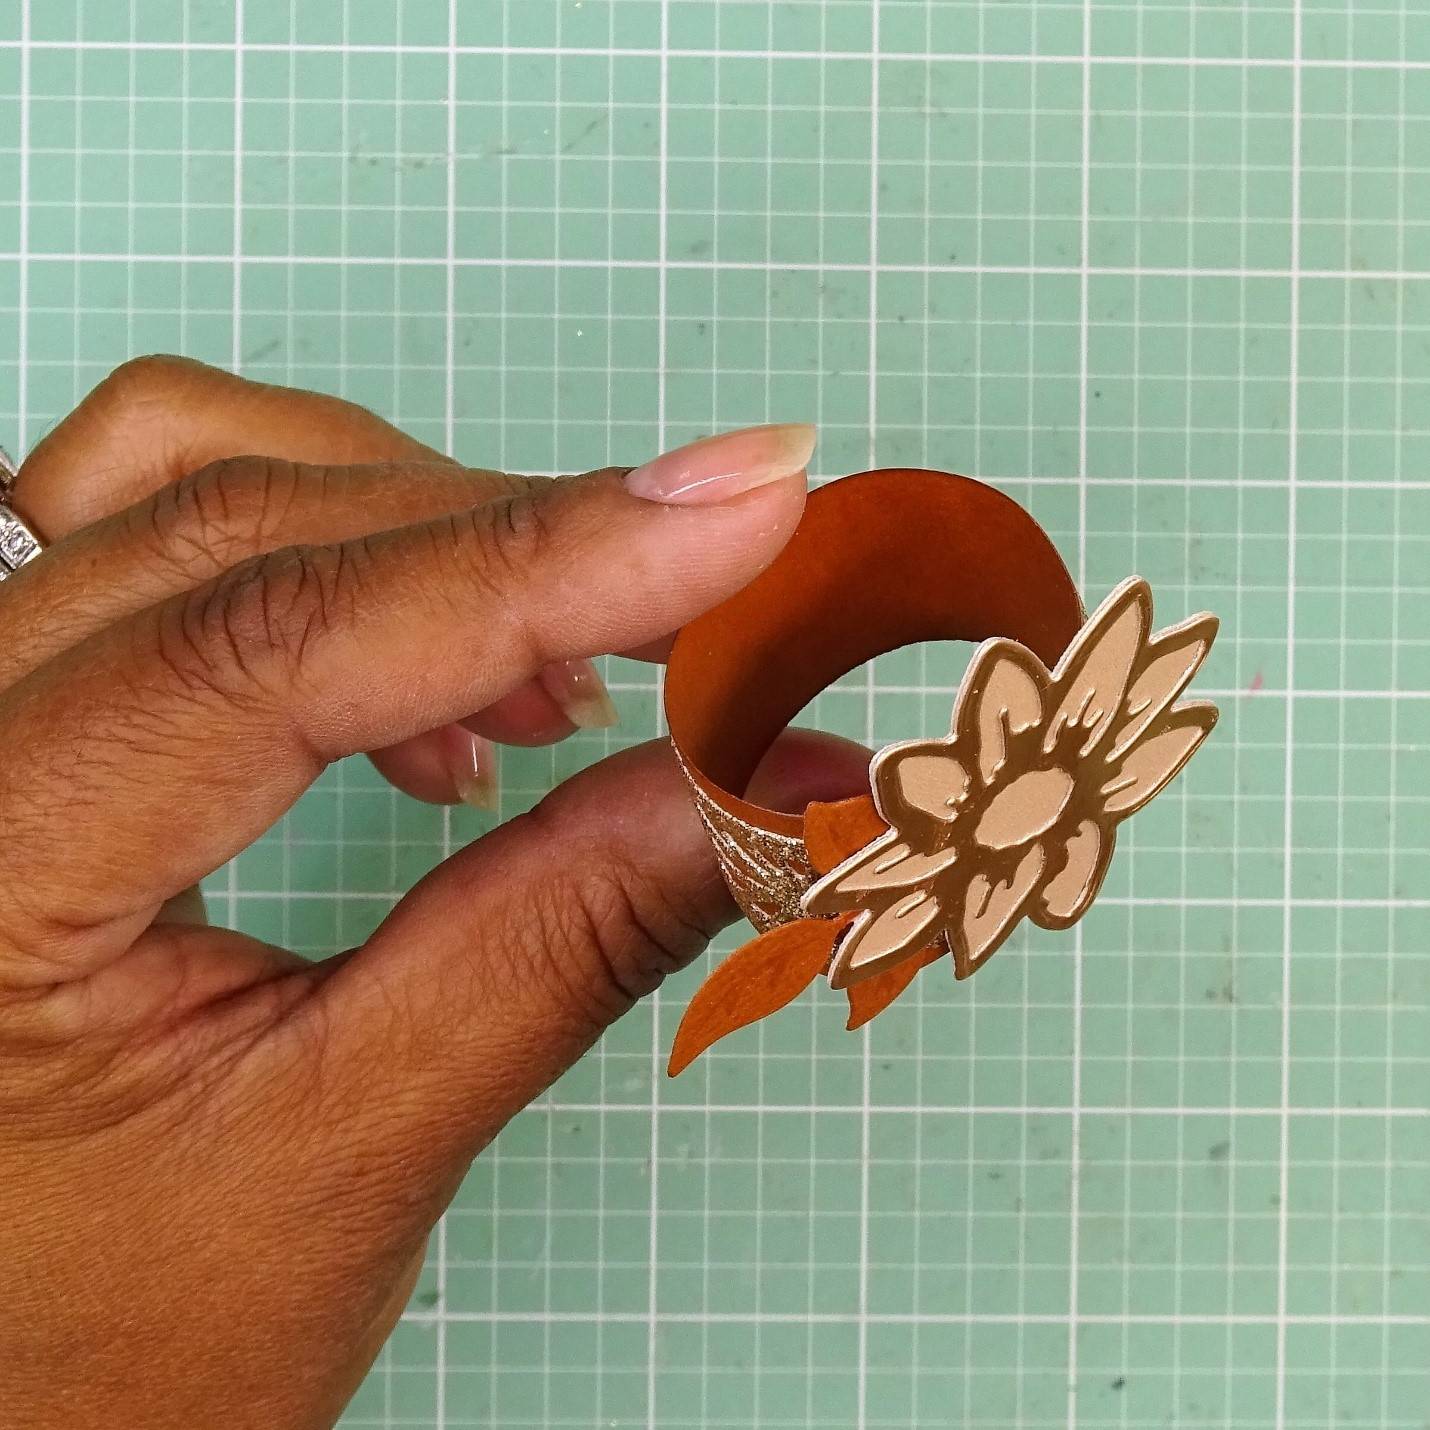
Place some glue along one edge and then adhere into a ring. Hold in place until the glue is set.
Step 5


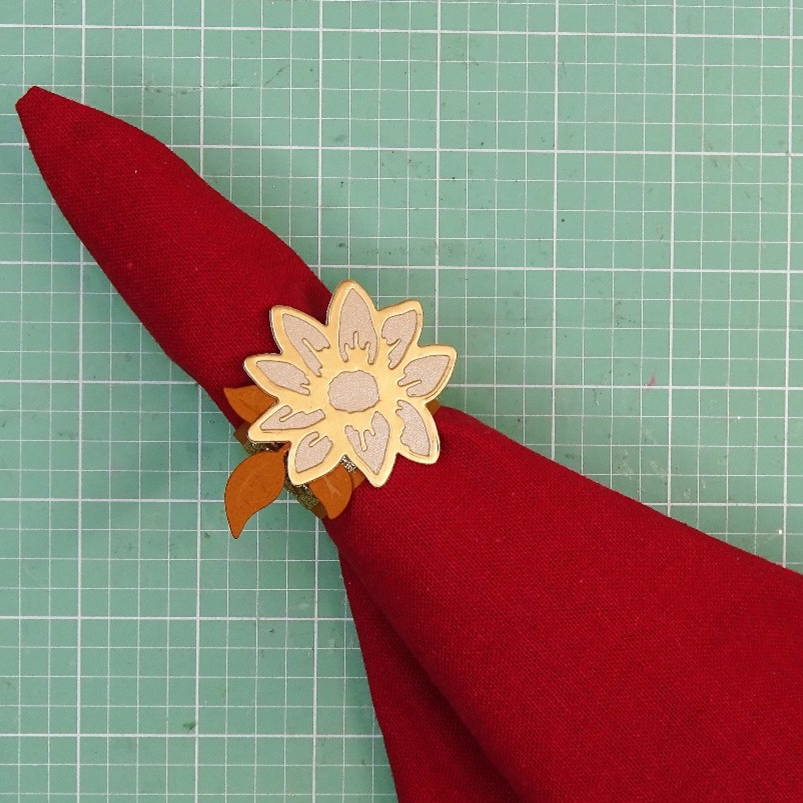
To add my flower and leaves, place some glue over the junction we just made. Place the leaves and flower. Hold until set. This will hide the ring junction and secure the ring very well.
Such a quick and easy project to add a touch of beauty to your holiday table! Thank you for spending time with me today. Bon Appetit!
Buy The Craft Project
