


Step 1
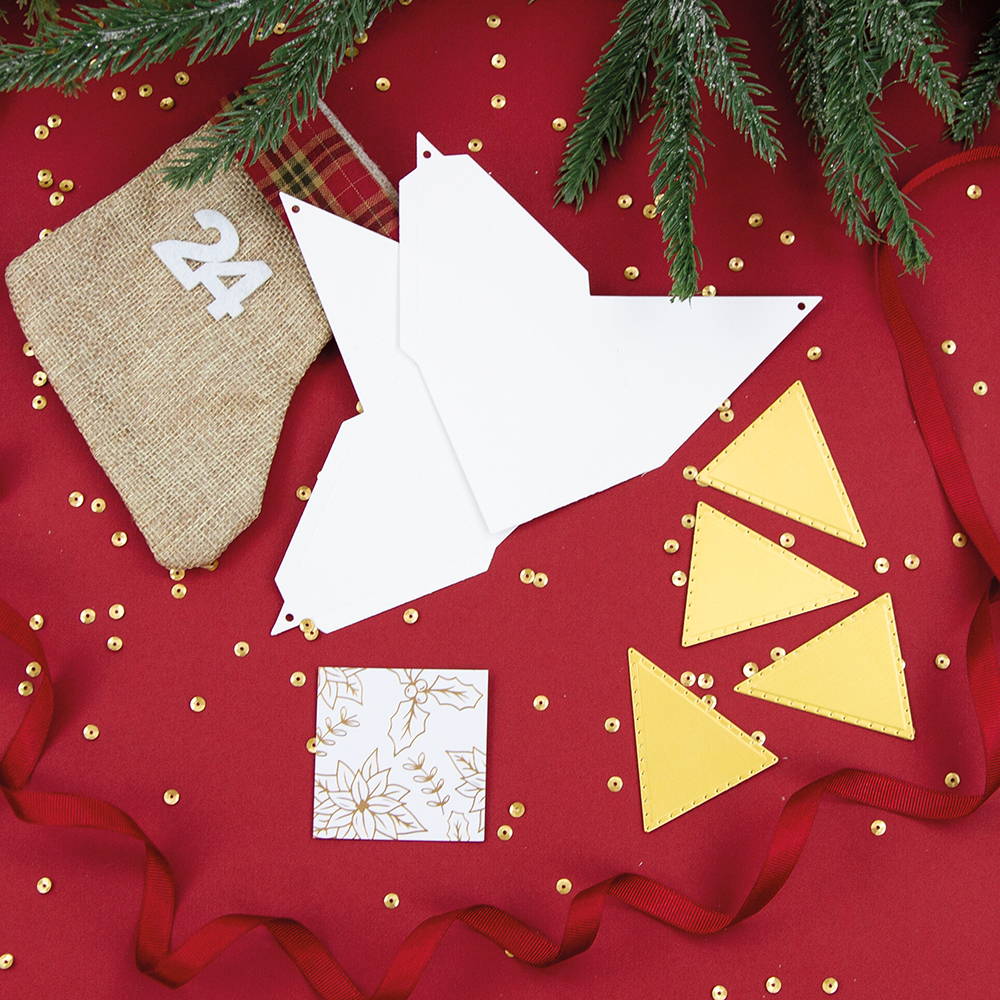
Using white card stock, cut out two of the ornament shapes that have a bottom. Using gold metallic card stock, cut out four of the triangles with the embossed edges. Using a paper trimmer and the gold leafed paper, cut a 2” square.
Step 2
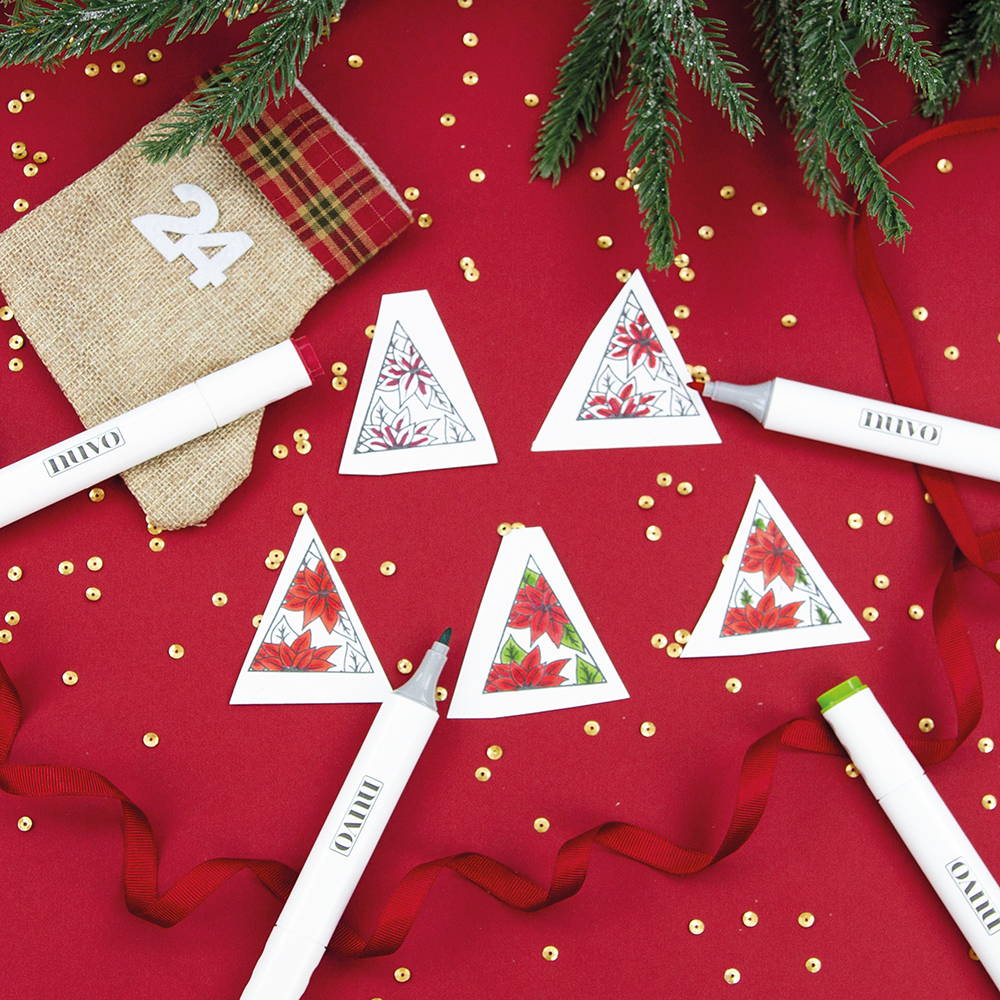
Stamp out the triangle of poinsettia flowers, four times. Using markers or colored pencils, apply a dark red to the center of the flower petals. Blend out with a medium red then light red. Follow the same with green colors on the leaves. (I used Copic Markers R39, R27, R17; YG67, G94, YG17.) Hand cut the triangles out
Step 3
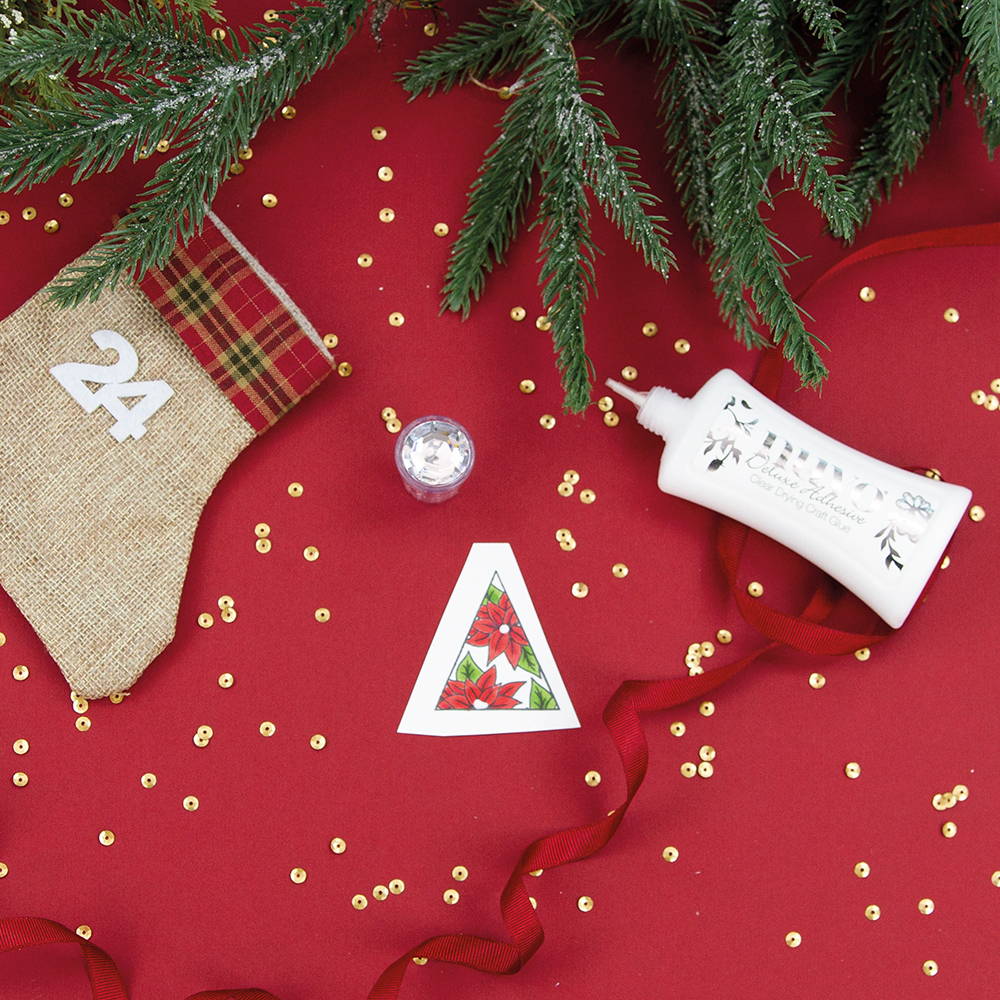
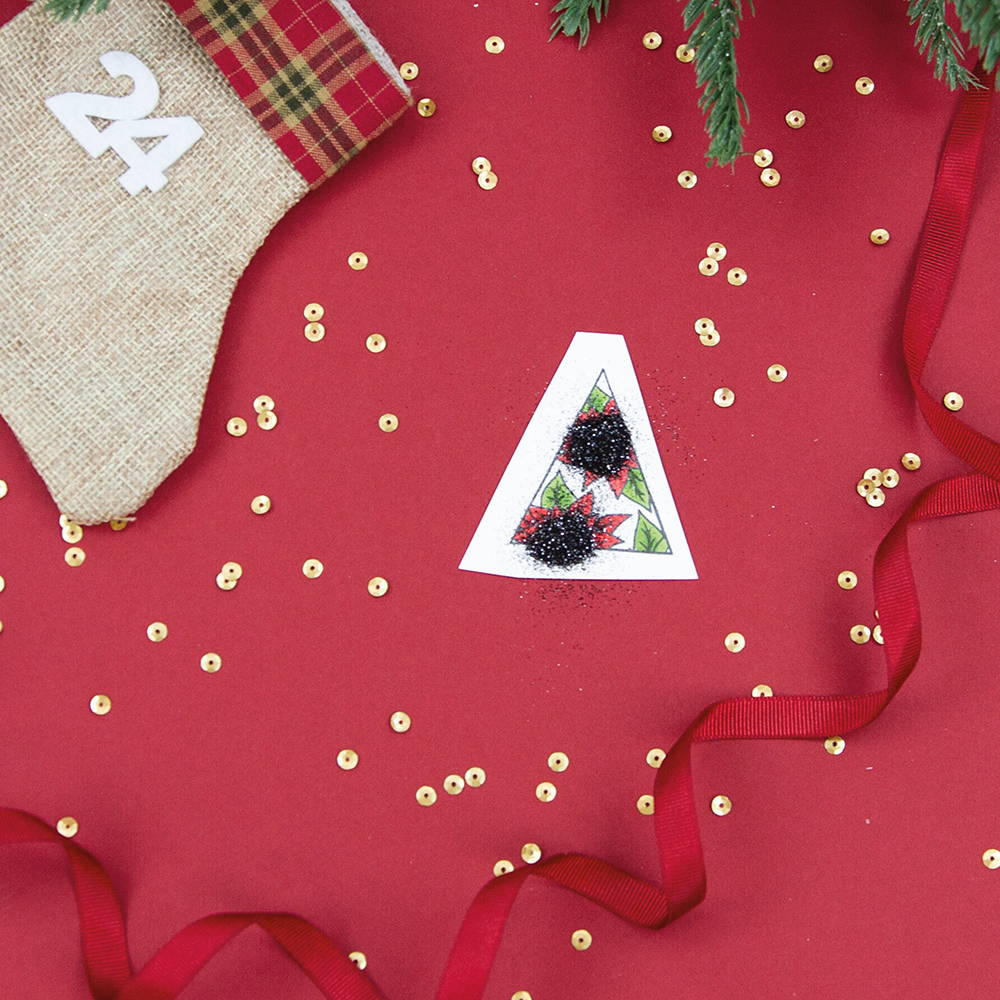
Using Deluxe Adhesive, apply dots of glue on the centers of each poinsettia flower. Sprinkle black glitter over the glue and let dry. Brush off excess glitter.

Using Deluxe Adhesive, apply dots of glue on the centers of each poinsettia flower. Sprinkle black glitter over the glue and let dry. Brush off excess glitter.
Step 4
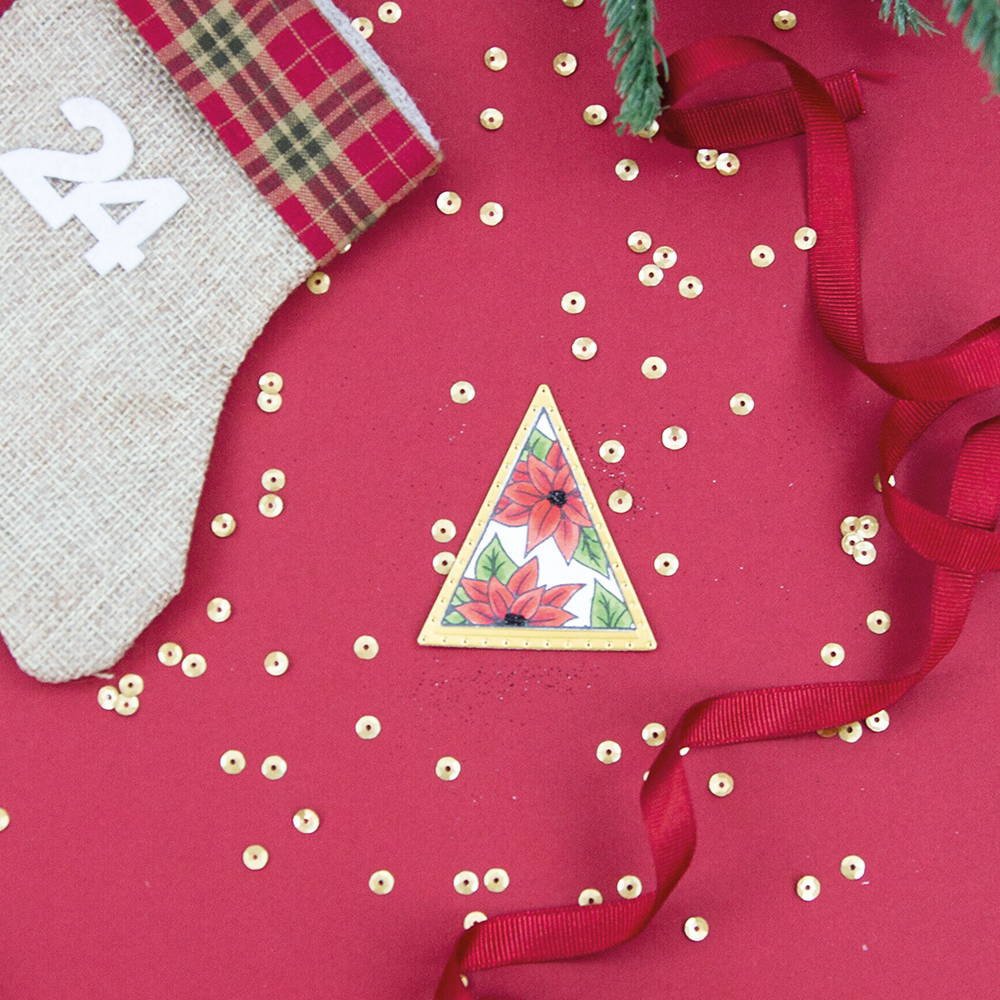
Glue the poinsettia images onto the gold triangles
Step 5
Glue the finished decorative triangles onto each panel of the ornament
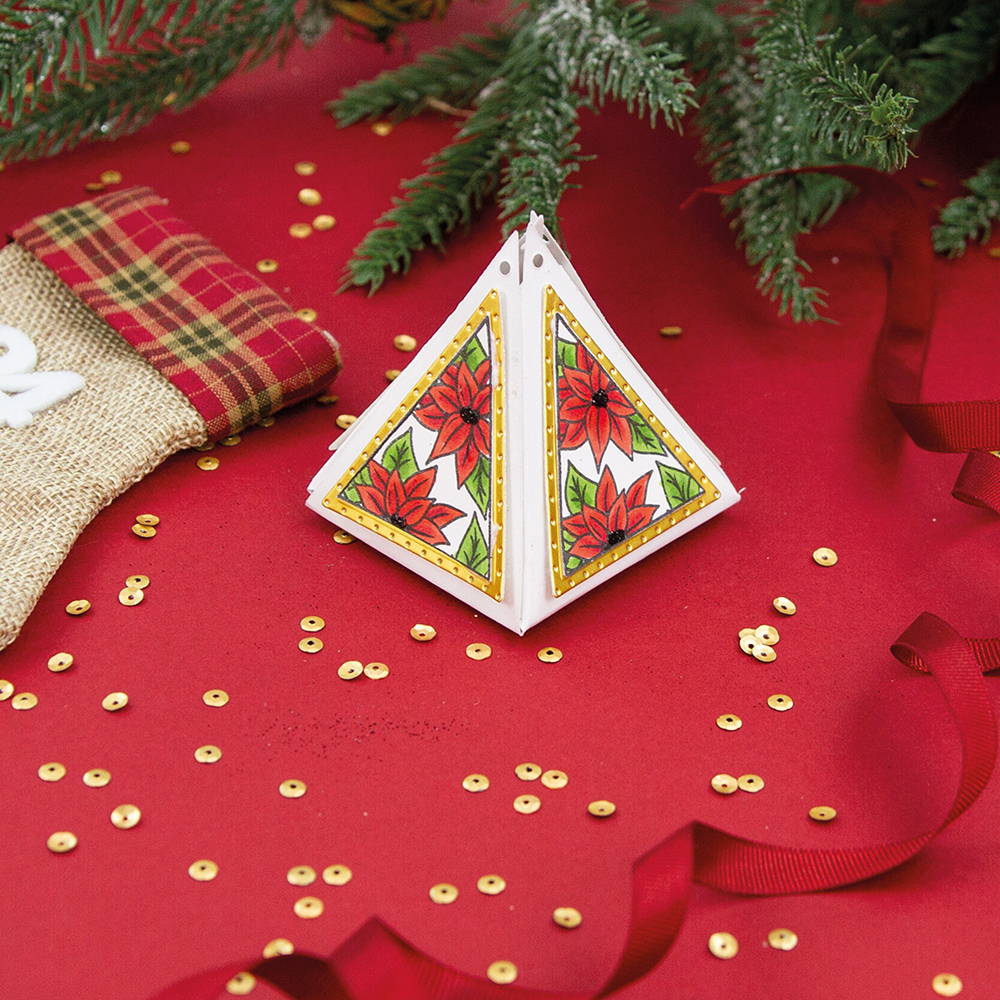
Step 6

Assemble the ornament. Glue the square foiled paper to the bottom of the ornament.
Step 7
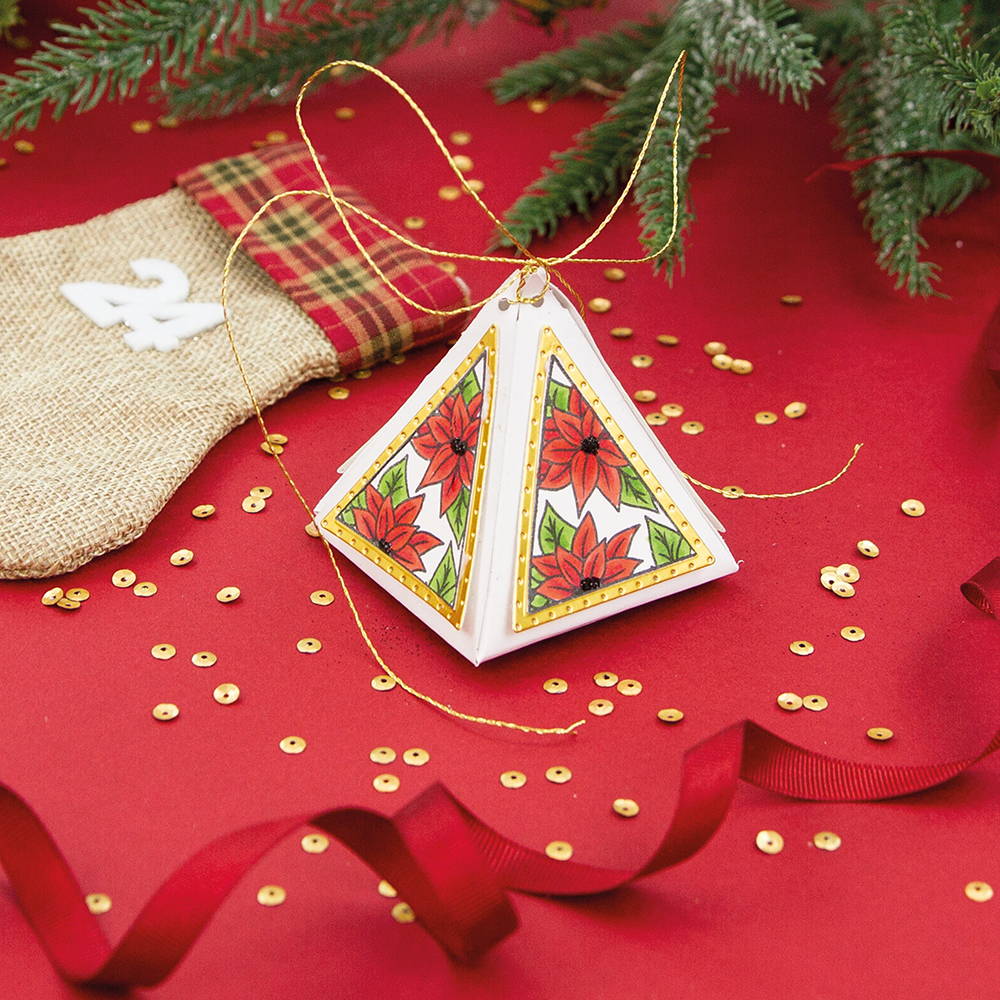
Attach gold thread through the holes for a hanger.
Buy The Craft Project
